Many DIY enthusiasts look forward to the next home improvement project they can take on in their homes. A hidden door is ideal for beginners and experienced folks alike. The process is not as challenging as you might think, as long as you follow the right steps.
DIY vs. Hiring Installers
Many people enjoy tackling home improvement projects themselves because it gives them financial and creative control. Others go the DIY route because they enjoy the craft. A survey by the Home Improvement Research Institute found that 68% of respondents complete these projects by themselves.
It’s common to turn to professionals if a project requires certain expertise or is too complicated. The good news is that the difficulty level is quite manageable, even for homeowners who have mainly dealt with the painting and redecorating side of DIY home renovations.
All secret doors from the Hidden Door Store are sent with installation instructions. They are designed to be as easy to install as regular doors and manageable by any homeowner with the right tools.
Doing the project yourself can also provide the shortest lead time. A DIY kit can be shipped a day or two after the order in some circumstances. Once received, the whole project should take only a few hours, provided measurements are correct beforehand.
Types of DIY Hidden Doors
HDS offers two main types of DIY secret doors: bookcases and panel secret doors. The DIY bookcase comes in one size but there are a wide range of sizes available for panel doors. If you want to explore even more sizing options, consider requesting other non-DIY secret doors or customizing your own.
DIY Bookcase
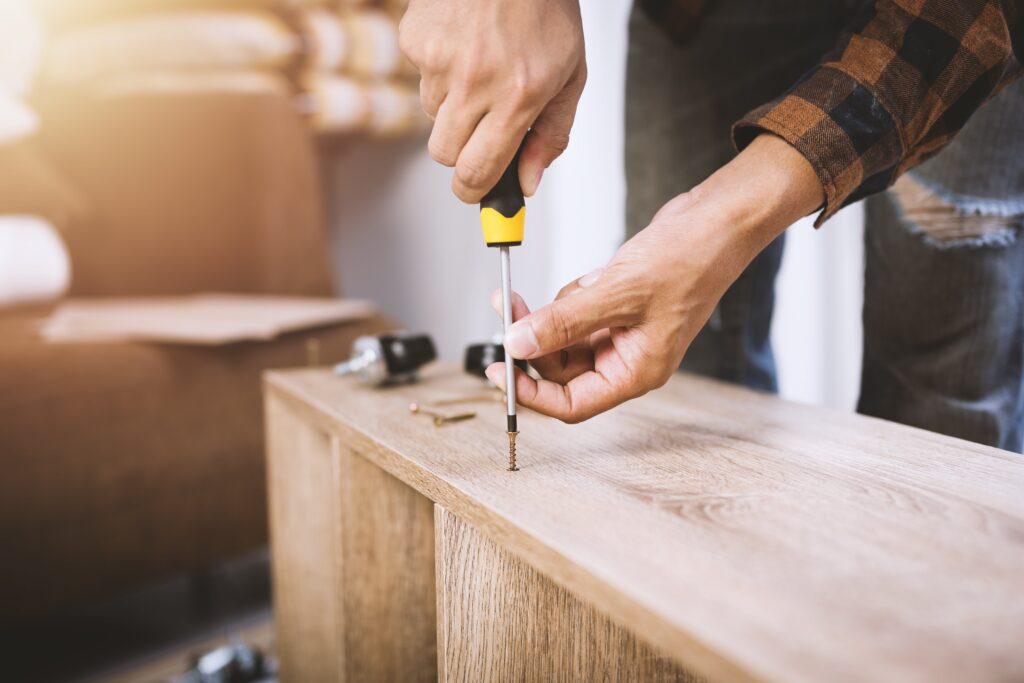
The rough opening of the DIY bookcase door is 38 inches by 82.5 inches, which can replace a standard interior door. The main tools needed are:
- No. 1 square bit (included)
- No. 2 Phillips bit
- Electric drill or driver
- 7/64-inch drill bit
- 5/16-inch hex key
- 1/2-inch wrench or adjustable wrench
- 1-1/8-inch wrench or adjustable wrench
- Laser level
- Tape measure
- Pencil
- Brad nailer with 2-1/2-inch trim nails or hammer
- Caulking gun
- Construction adhesive
- Appropriate protective equipment
Before assembling or installing anything, check for level and plumb. A laser level is a great tool for this and many other projects around the home. Make sure to run the device for five minutes as a warm-up for laser calibration. Once the Y and X axes are verified, you can proceed with the process. The hidden bookcase door is estimated to take about three hours to build.
Instructions come with the kit and Hidden Door Store offers a full video walkthrough to help with the process. DIYers will start by assembling the frame before putting together the door. The process isn’t much more complicated than simply assembling an IKEA bookcase. The door and jamb are preconnected in pivot doors, but HDS allows you to set and attach the pivot yourself for better swing configuration.
The pivot set should be installed after the frame. Then, you hang your door and tighten the jamb nuts to lock in the mechanism. Assess the bookcase’s orientation once it’s loaded with items, as adjustments are needed to accommodate the weight. The material can typically hold 100 pounds without sagging.
Panel Secret Doors
Panel secret doors are a newer addition to the HDS DIY options. This project is a little more challenging, as homeowners must consider the surrounding panels. Previously, panel doors were exclusively more expensive custom projects, as customizing panel camo can be trickier than most of Hidden Door Store’s options. However, installing a panel door through a DIY approach is a great money-saving option. If you’re a more seasoned DIY enthusiast with a decent skill level, this project is an excellent challenge to try.
The main dimensions of a panel secret door are 48 inches in width and 96 inches in height. Installation should take less than an hour if the opening is ready-to-go in advance, but the preparation portion can take longer. You’ll have to ready your drywall and ensure your surrounding paneling matches what you’re adding to the door to ensure a seamless installation that maintains the illusion.
Fitting Your Hidden Door Into an Existing Room
A DIY hidden door project can take plenty of planning and thought, though major renovations are unnecessary. The main concern is measuring and preparing the opening to adhere the door as smoothly as possible.
Measuring the space where the door goes is a crucial initial step for DIY enthusiasts to remember. Remove the old door and trim to get accurate opening measurements if doing a replacement.
Customer service is guaranteed throughout the process, so you’ll always have support when needed. While people are encouraged to call our door experts if necessary, they rarely need to with the tools and instructions provided by our DIY kits.
DIY Your Hidden Door
Creating your own DIY hidden door can be incredibly fulfilling, especially if you choose to reveal your handiwork to your most trusted loved ones and confidants. Visit our hidden door showroom to find your very own hidden door to install.