Vault Mirror Door
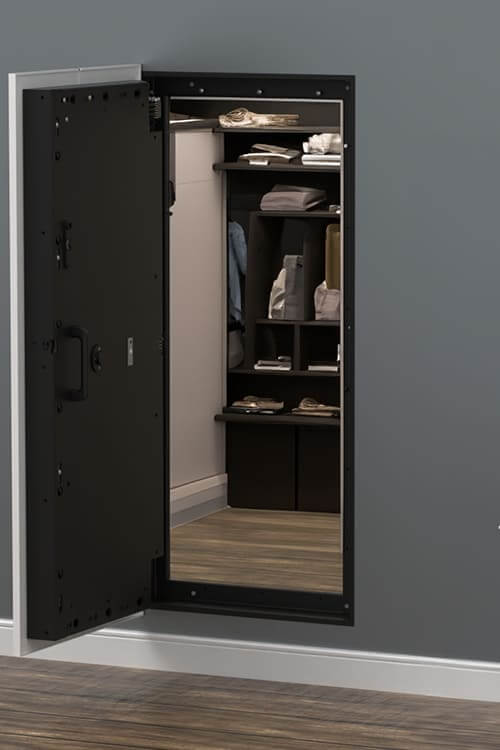
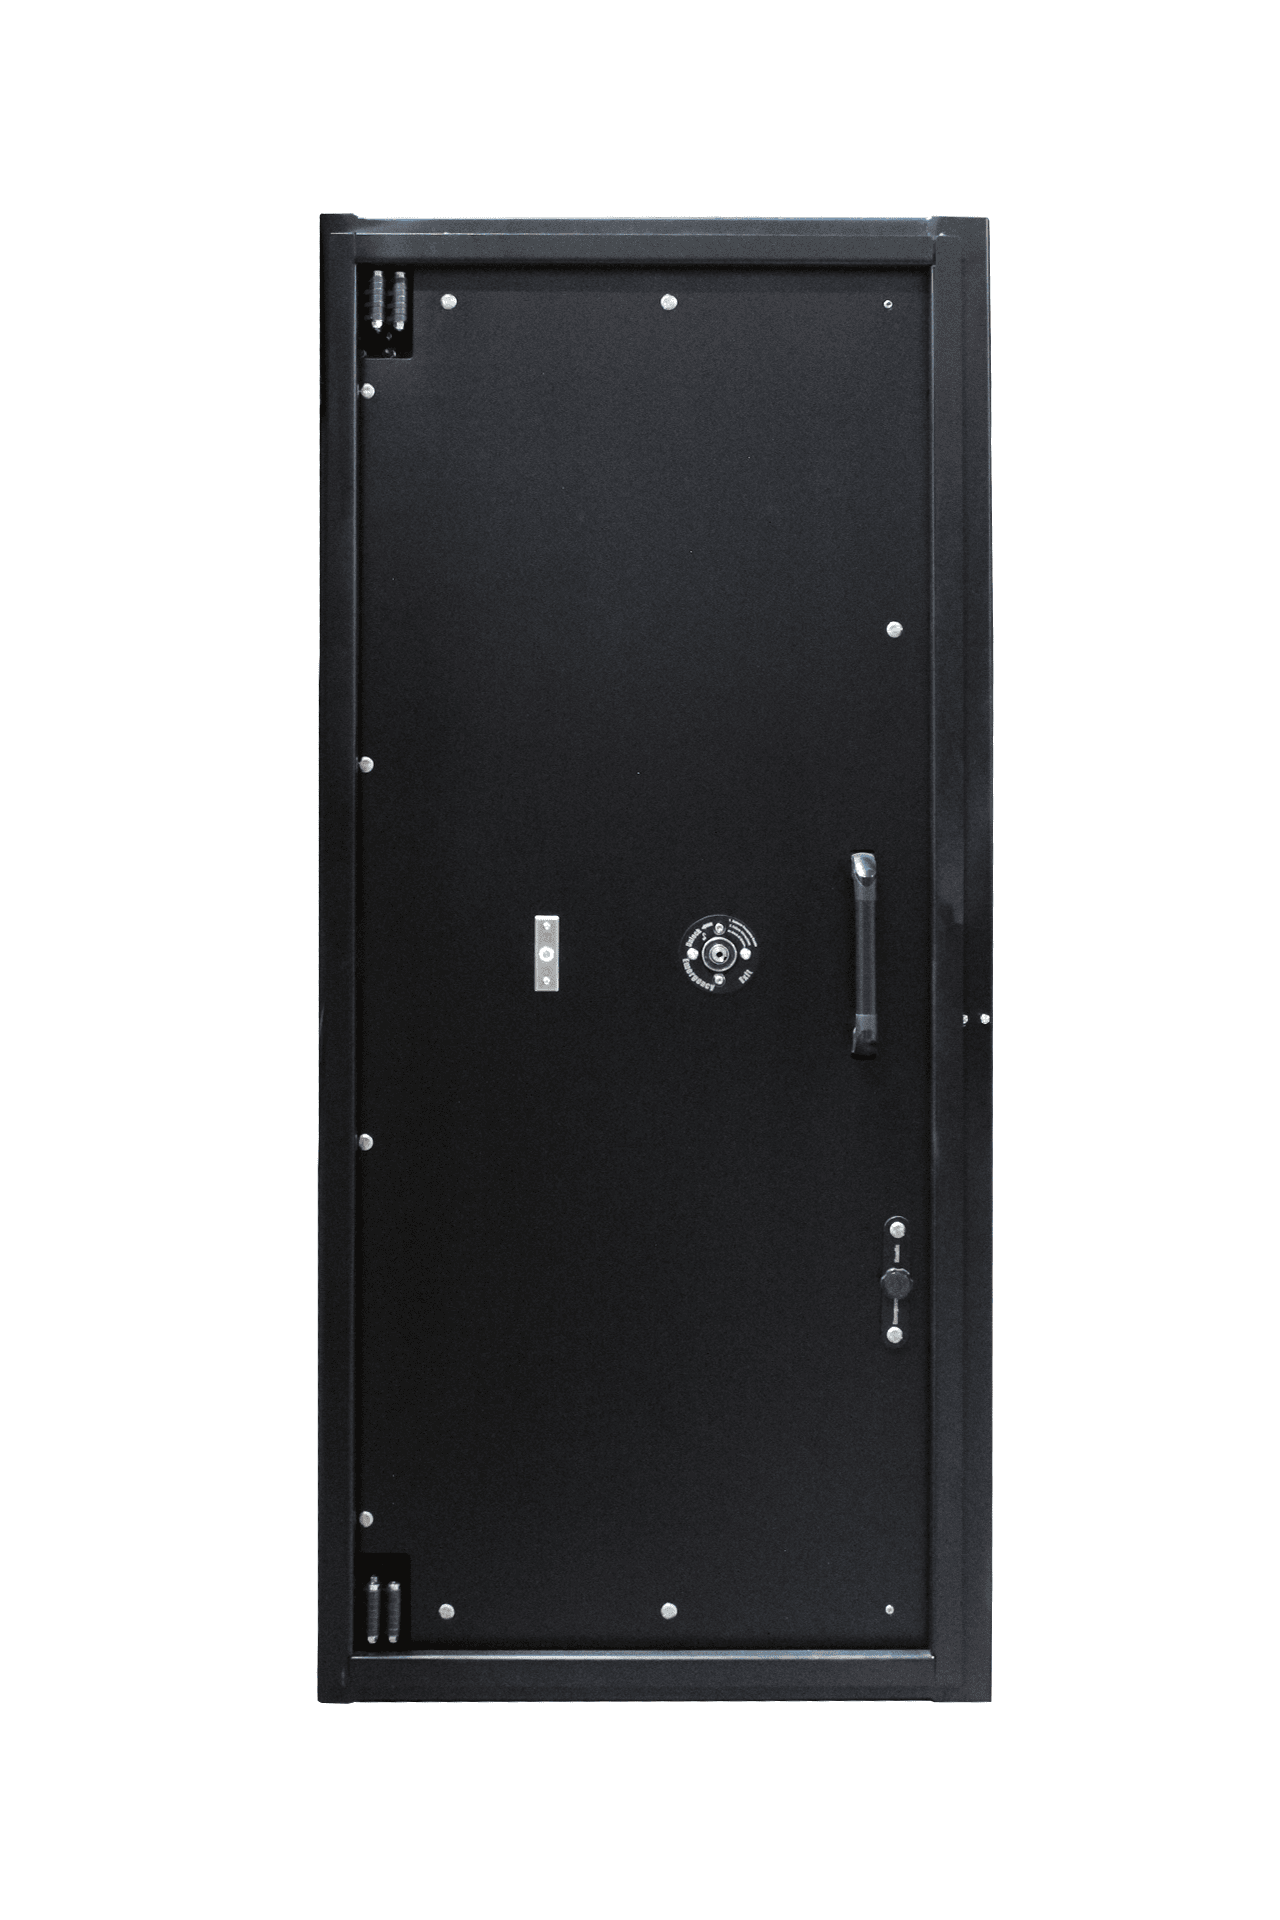
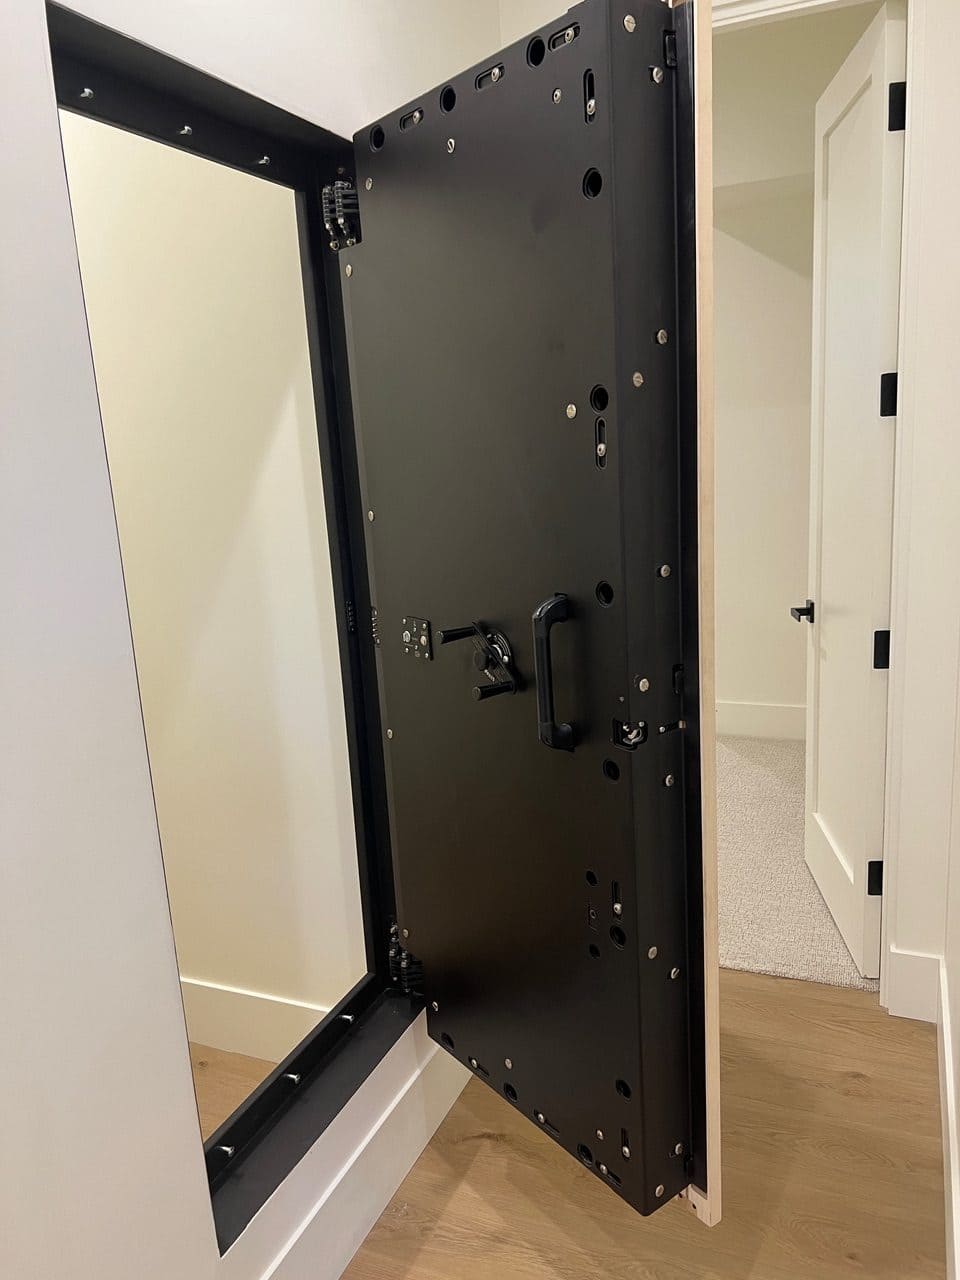
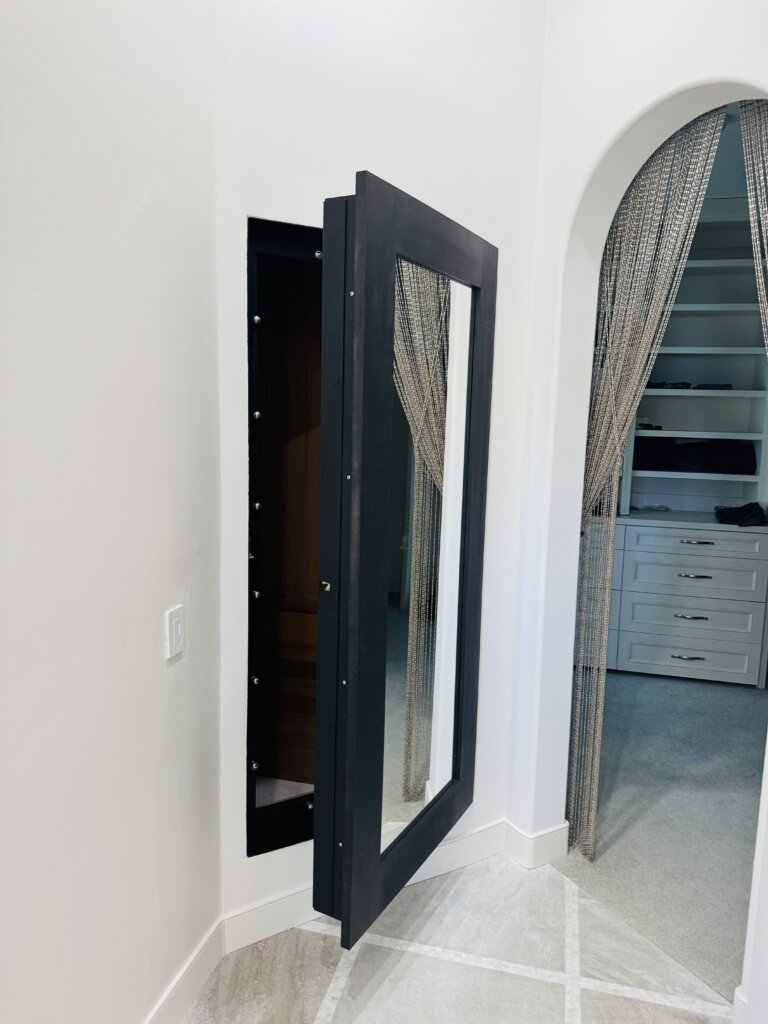
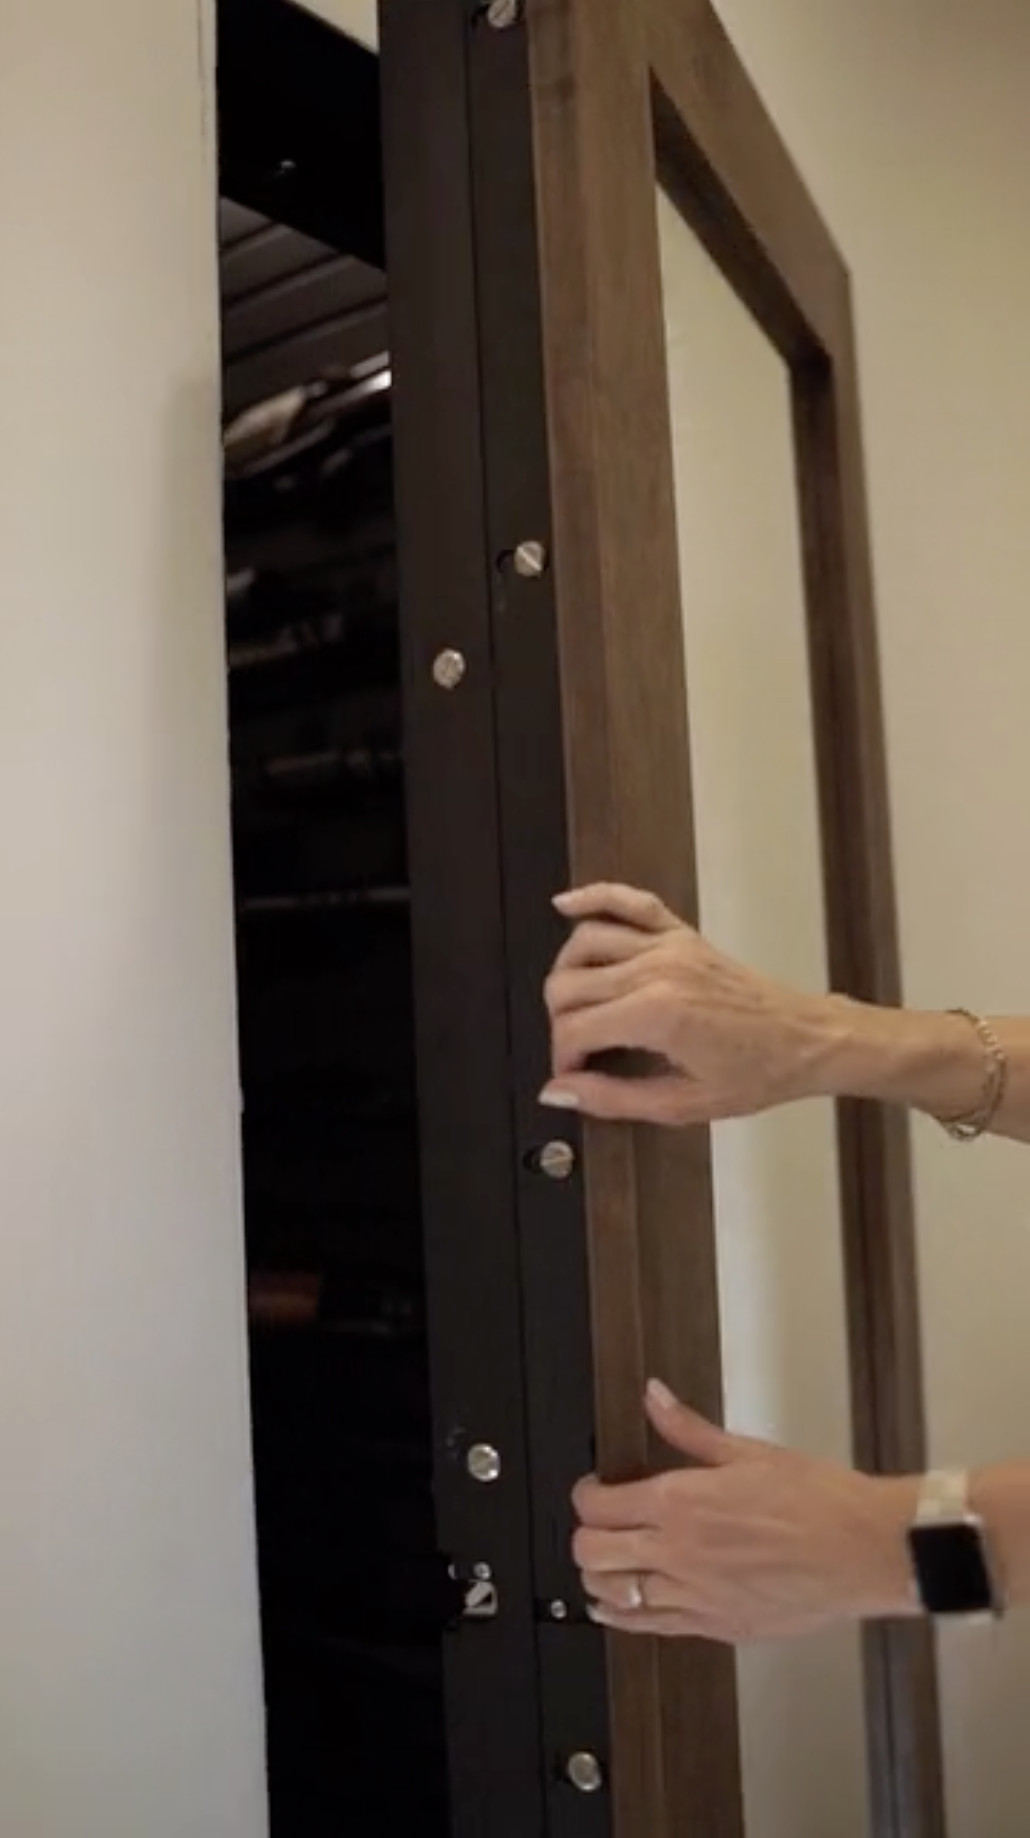
- 10 active locking pins and 8 passive locking pins for extreme forced entry resistance.
- Secure RFID access.
- Battery fallback system ensures the door operates even during power outages.
- Manual lock release on the interior means you can never be locked in accidentally.
- No wiring or assembly is required.
- Ten-year warranty on parts and materials. Longest in the secret door industry.
- Unlimited phone and video support. Expert advice before, during, and after installation.
- Left or right hinged. The symmetrical design installs in either configuration.
- Robust painted finish on all metal parts.
Discover what sets us apart and why we’re the best fit for your needs.
Vault Mirror Door
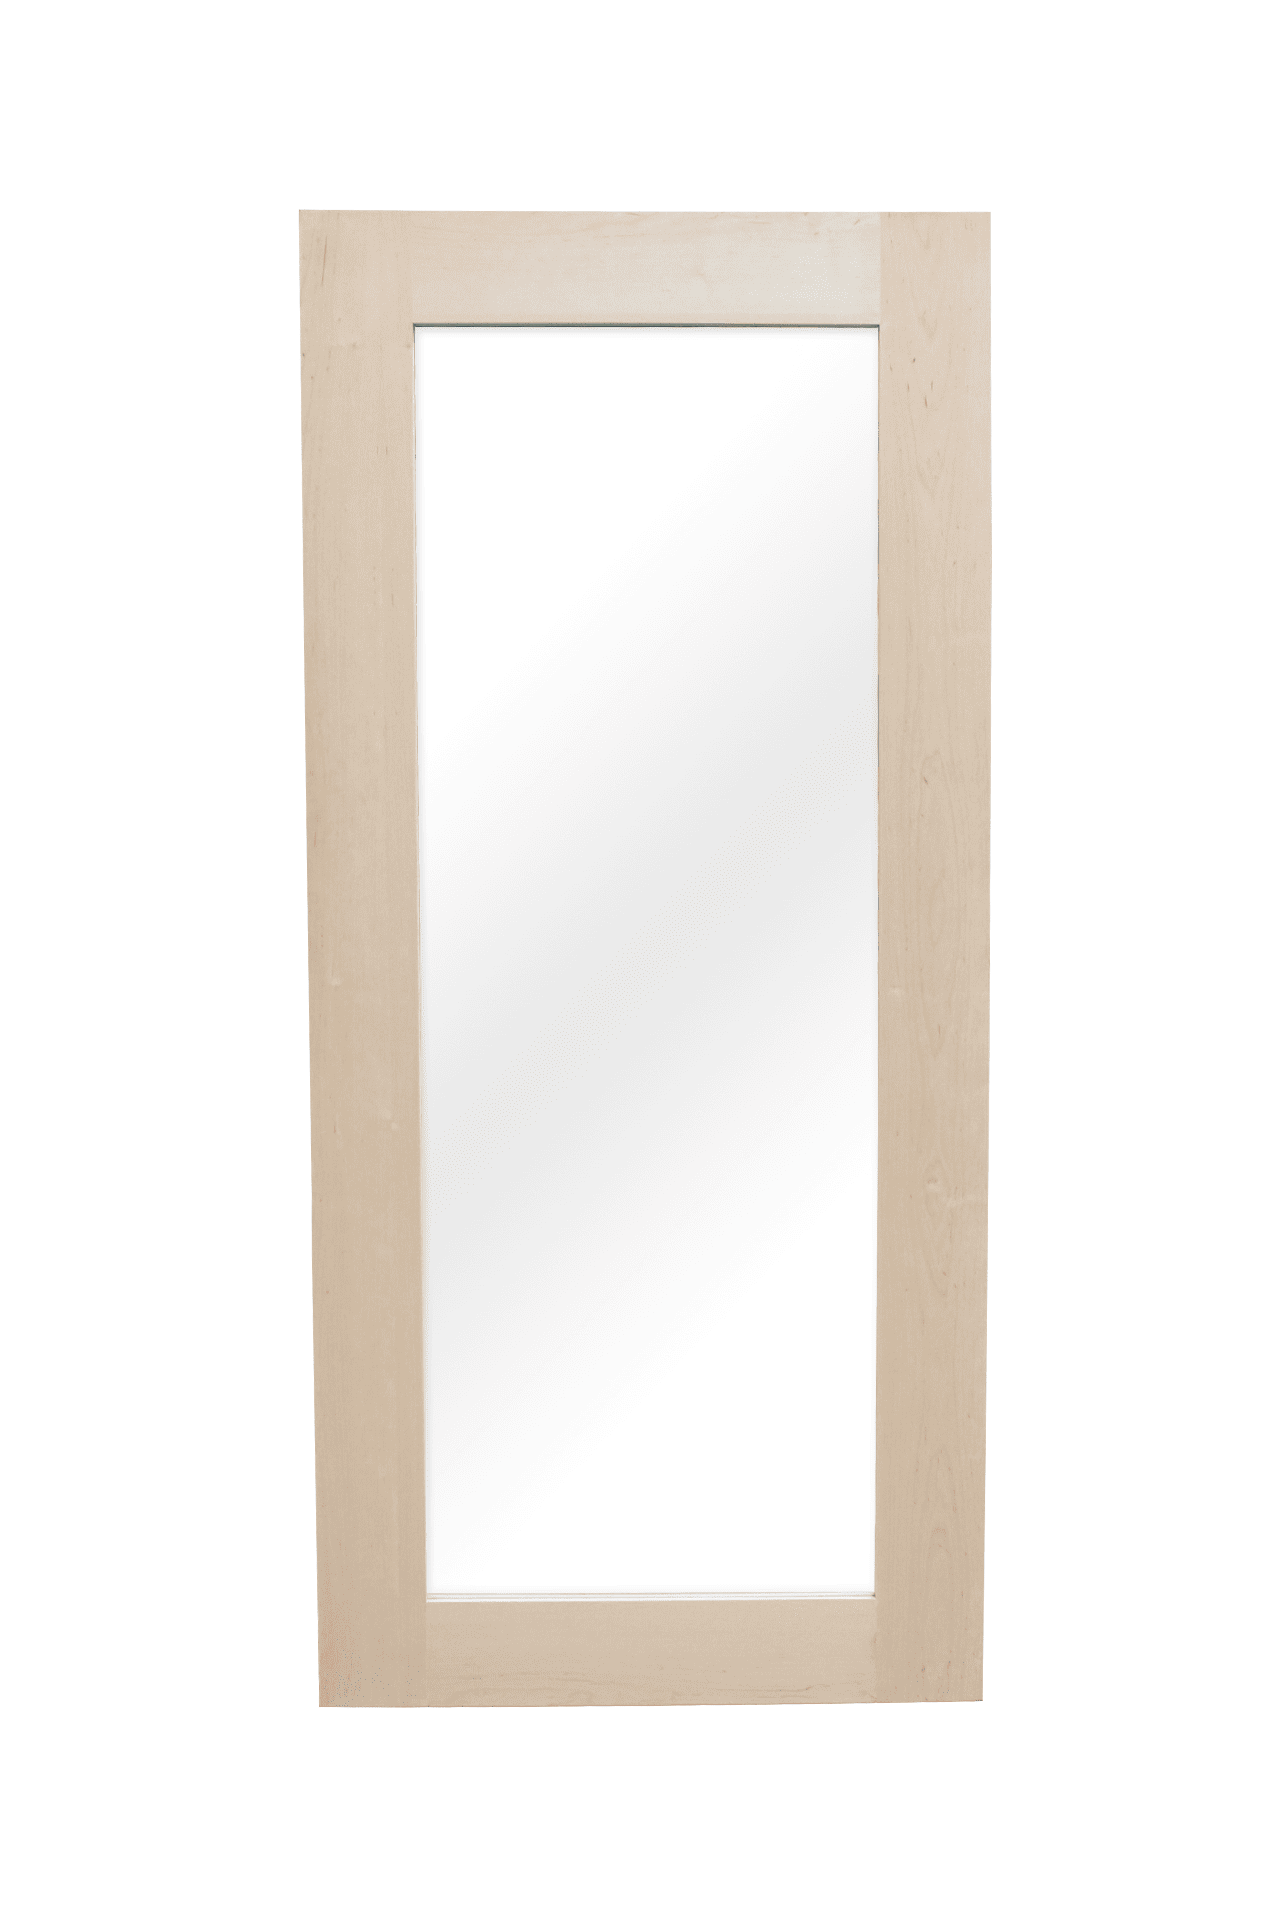
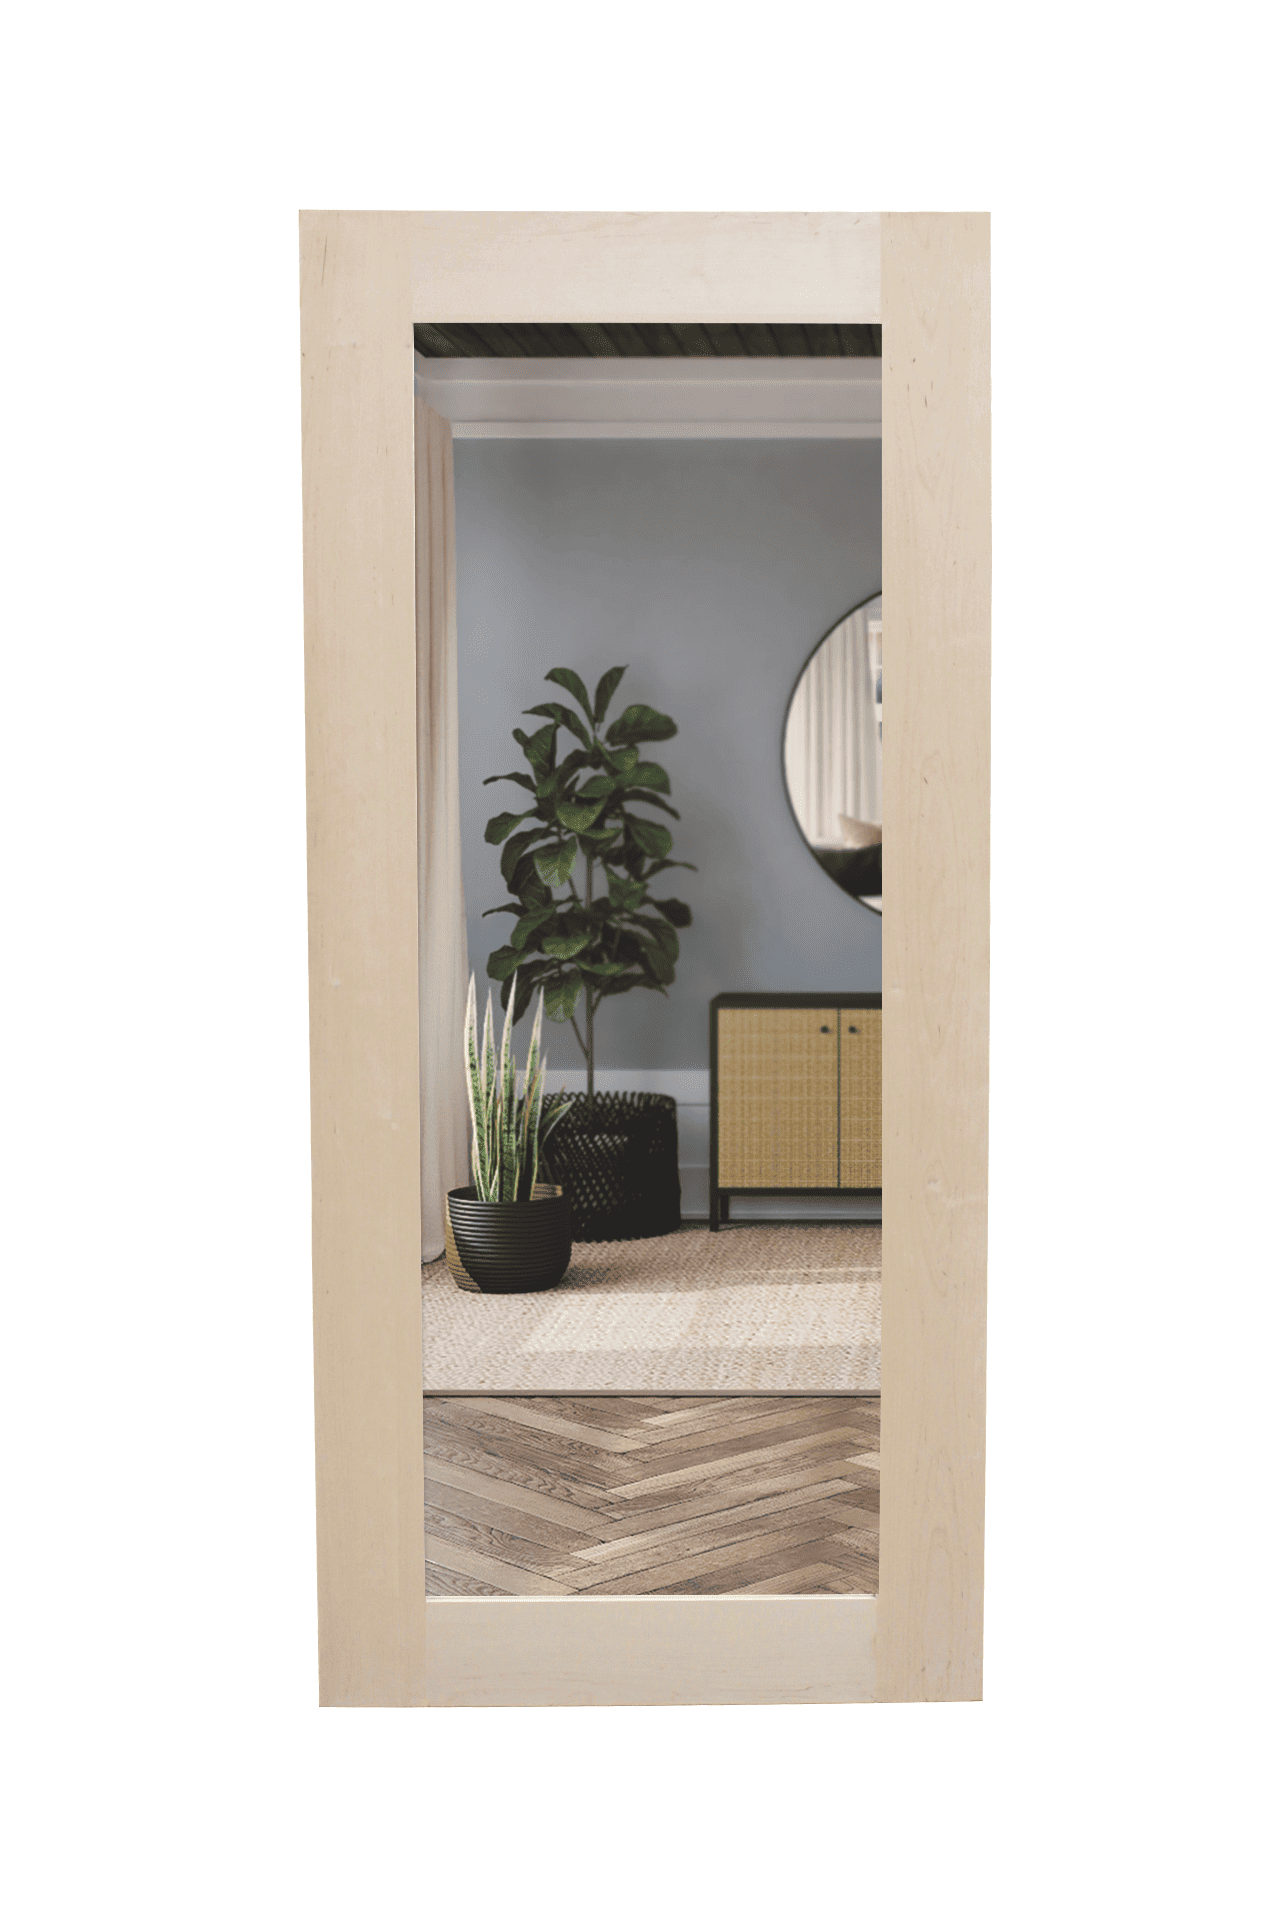
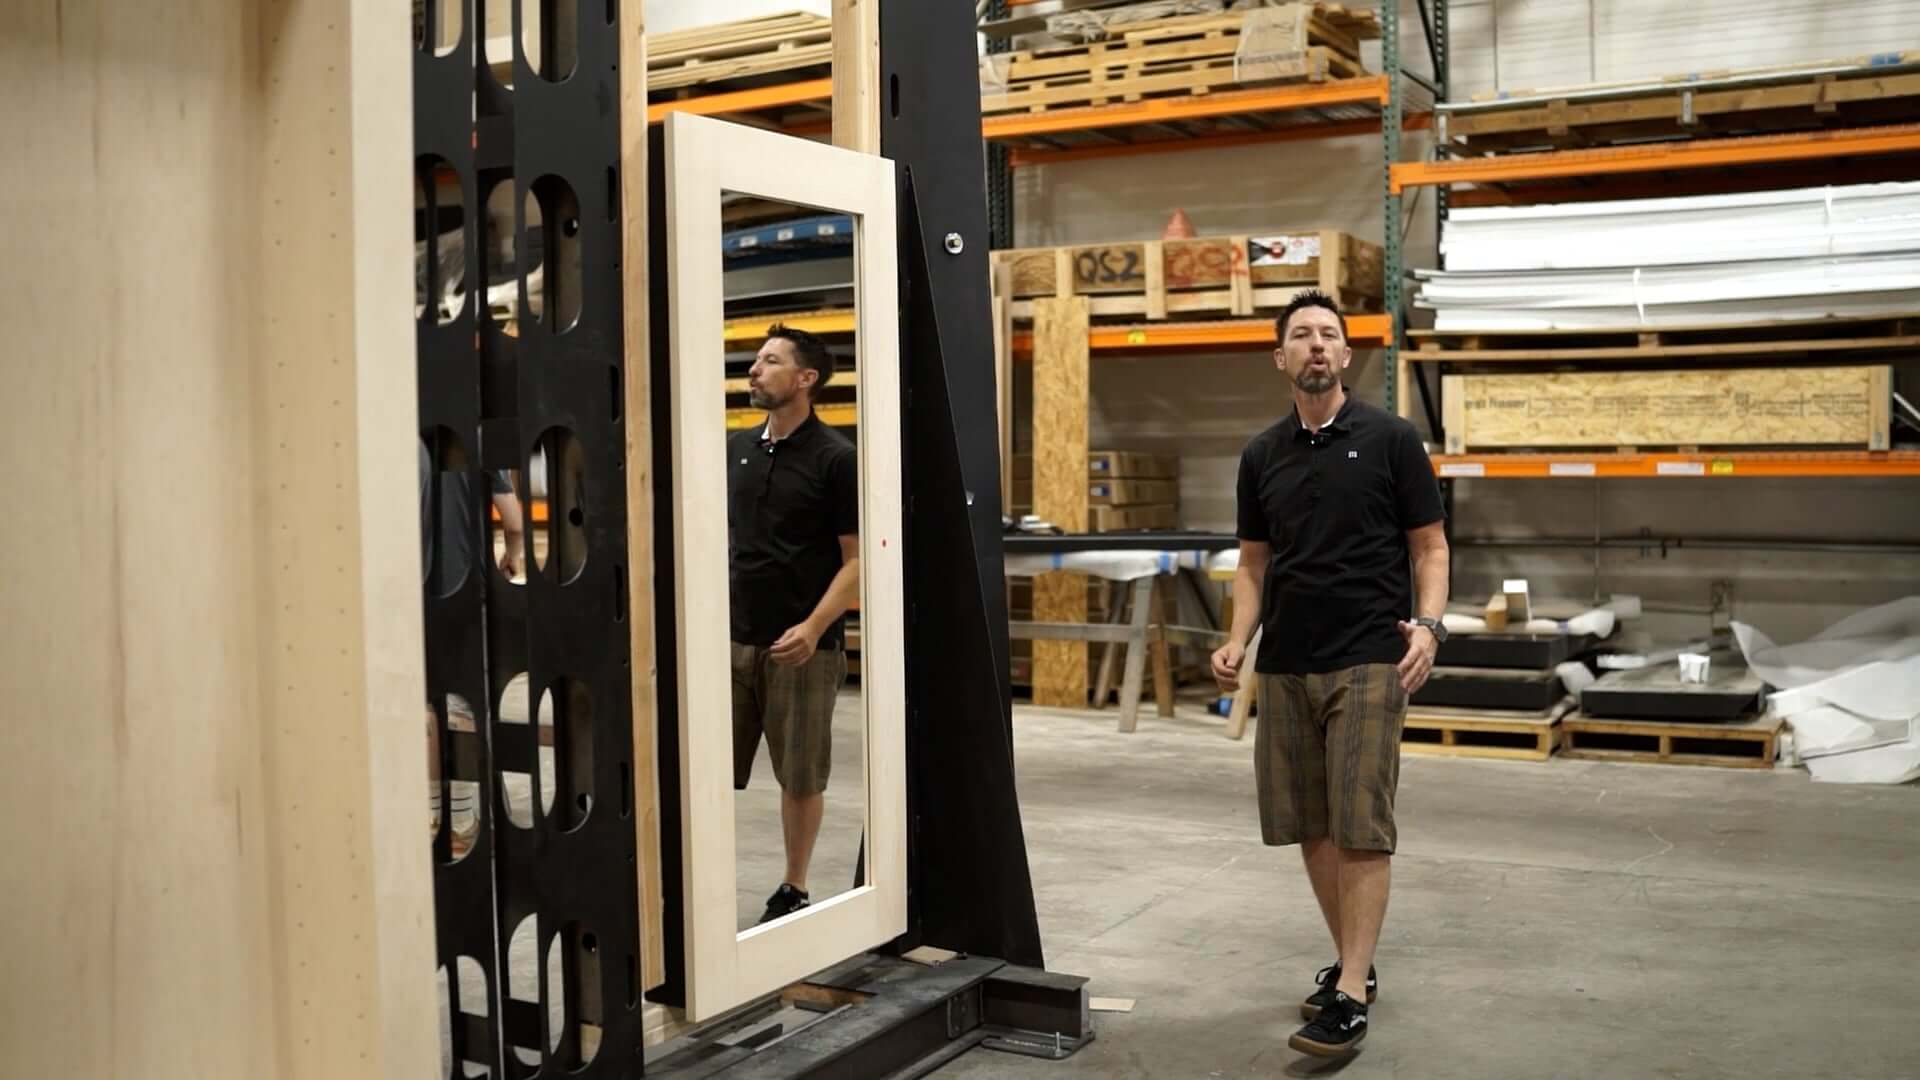
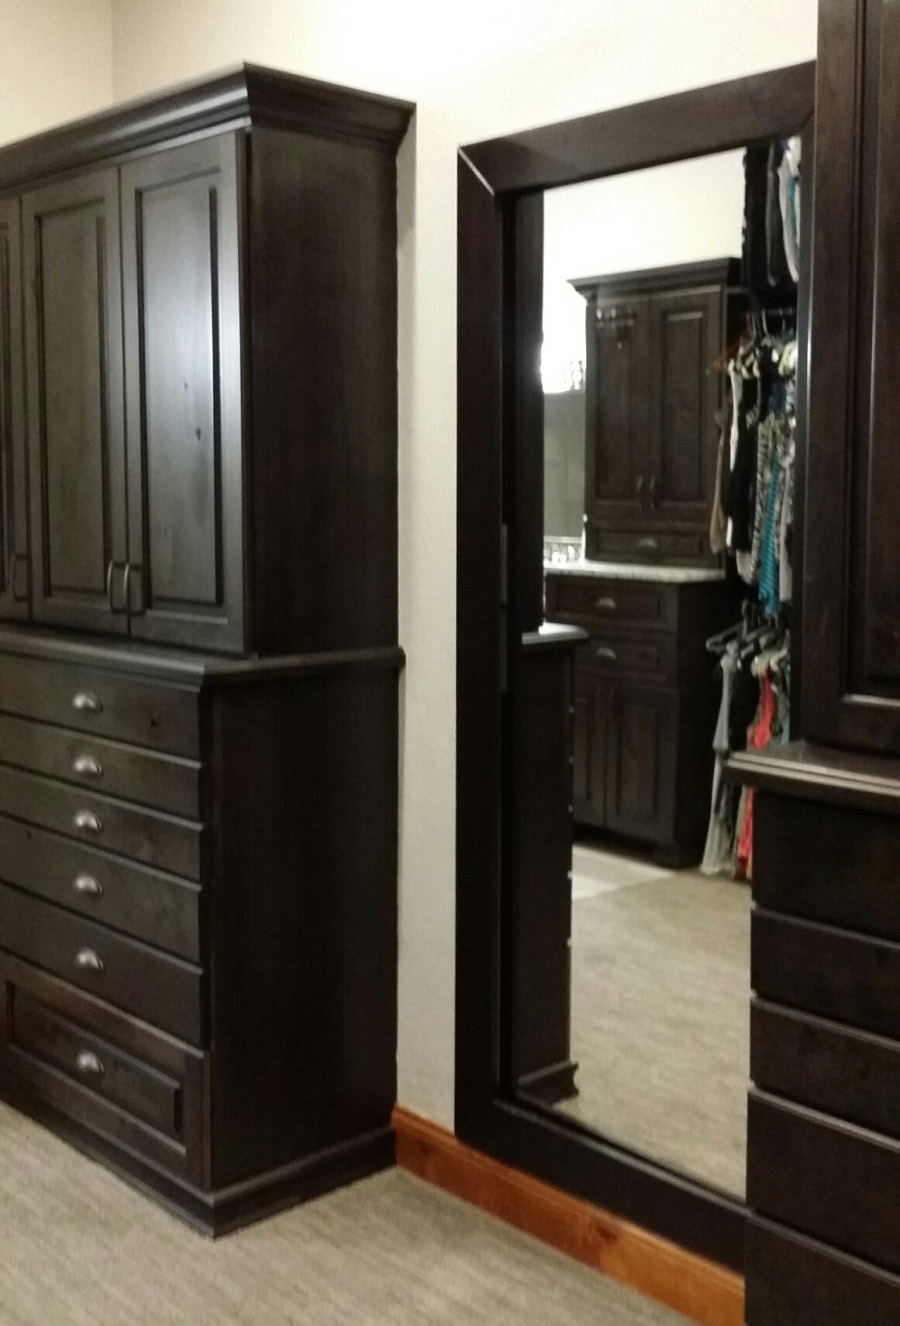
The face frame is made of Alder hardwood veneer over a stable, engineered wood substrate. This results in premium appearance, easy repair, and the ability to accept a wide variety of finishes.
Three stain options are available as well as an unfinished option if you wish to apply your own finish to match other cabinetry or furniture.
Vault Mirror Door
Proper wall preparation is important. The final quality of the concealment and function of the door depends heavily on the quality of the door opening. For best results, correct any wall or floor issues before beginning your installation. Clients can either build or remodel their home to incorporate the required dimensions or hire a general contractor to adjust an existing door opening.
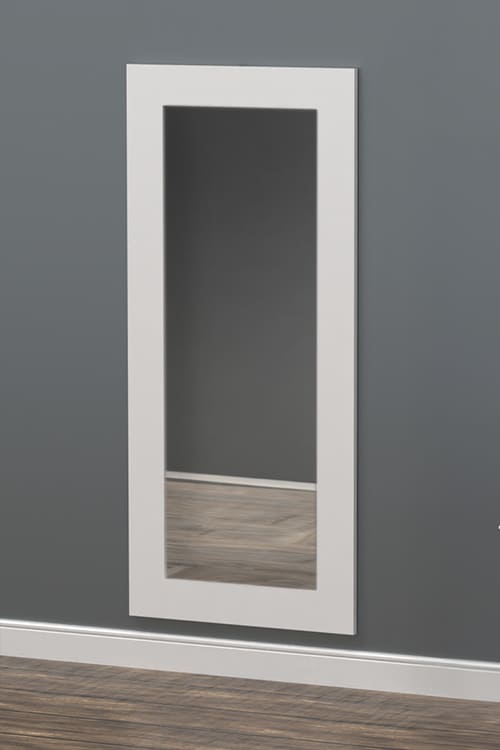
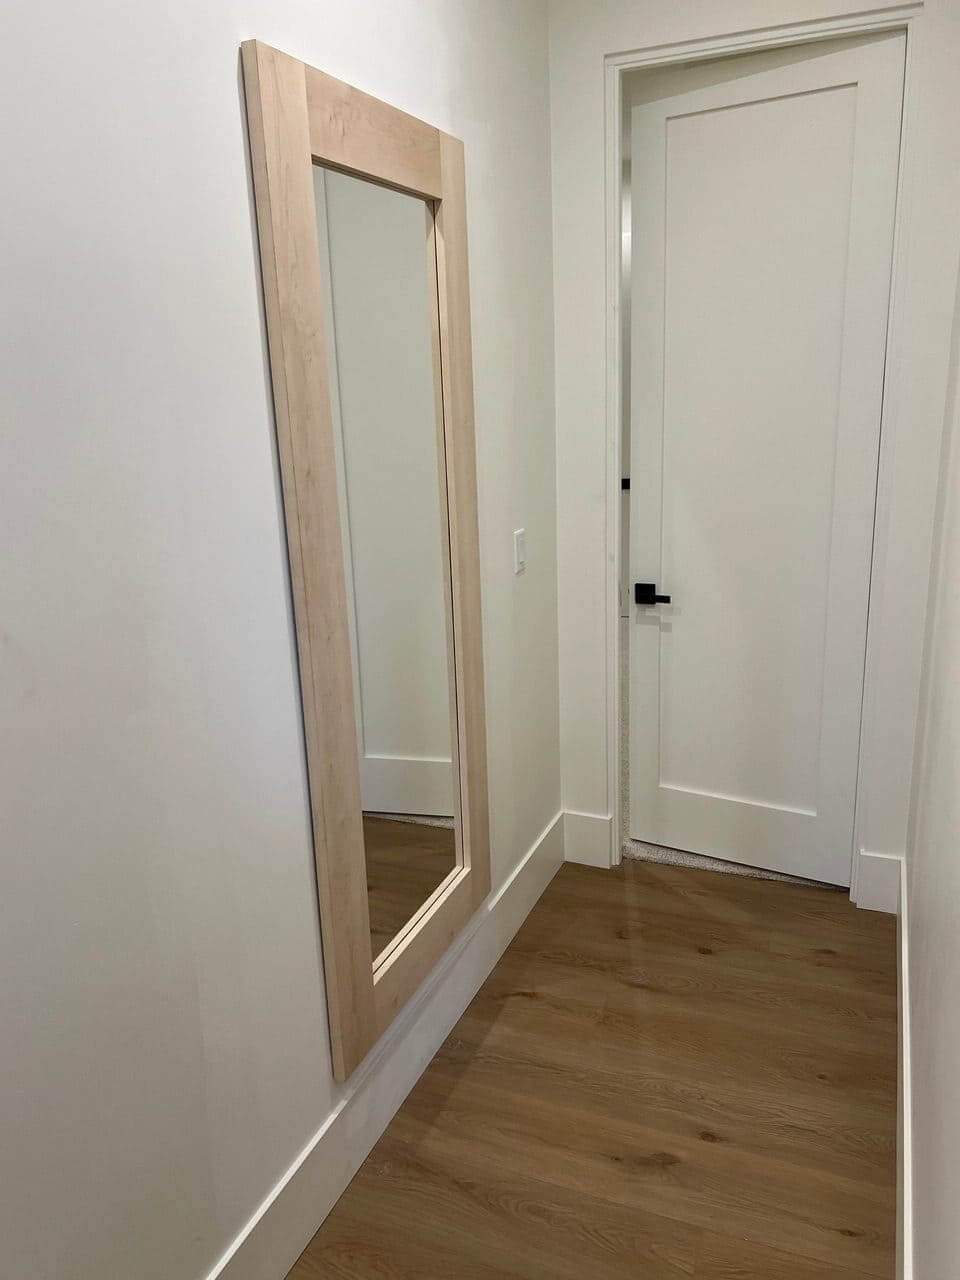
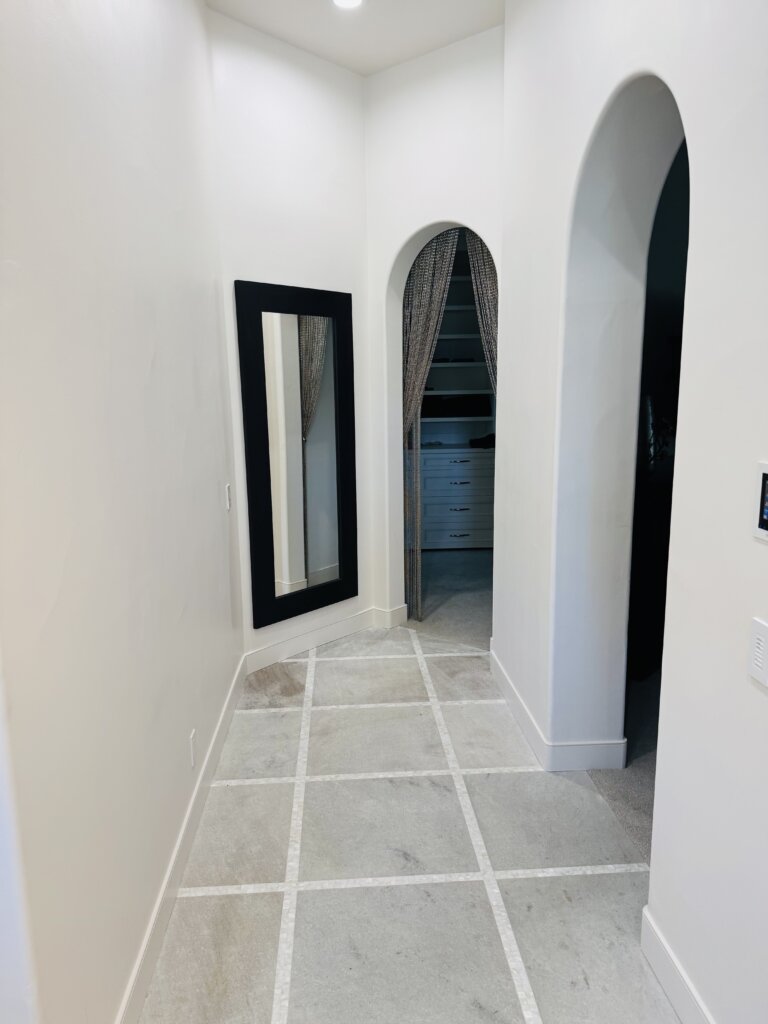
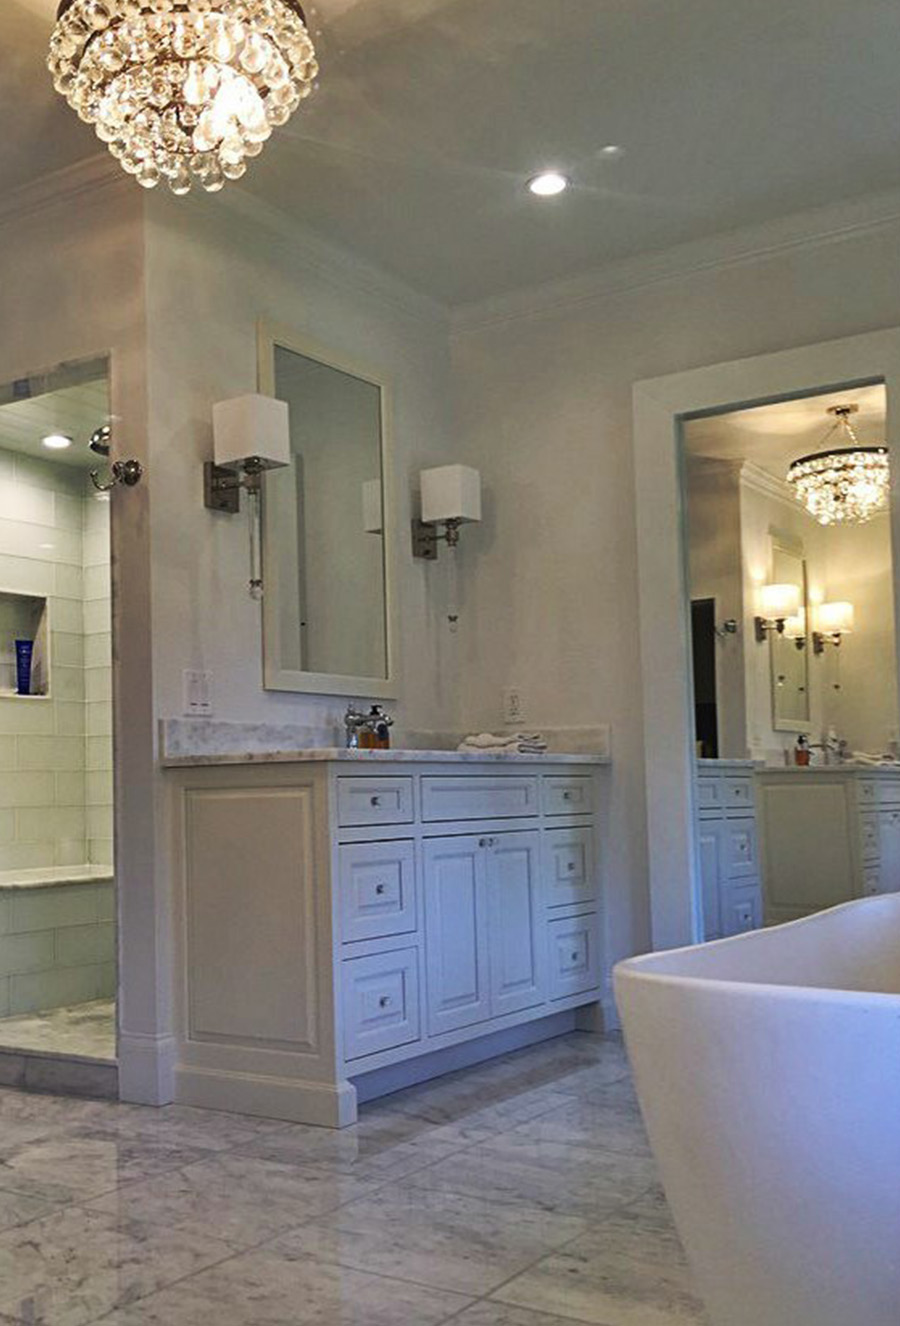
The door must be installed in a wall opening that is plumb and level. The jamb must be a hard surface (IE, concrete, wood,) and free of humps or bellies. It is also recommended to use a level on the face of the wall surrounding the opening and verify that the surfaces are flat. This gives a realistic-looking, hanging mirror appearance. See the diagram below for full details.
Vault Mirror Door
Bulletproofing options
- UL 3 Equivalent / FB4 Ballistic Standard: Designed to withstand fire from handguns (9mm, .357 Magnum, .44 Magnum, etc).
- Learn more about UL 752 ratings at Underwriter’s Laboratories.
Hidden Door Store Offical Security Certifications:
- Forced Entry FE5 / FE15 (US Department of State)
- Burglary Resistant | EN1627 (iFT Rosenheim)
- Durability 200,000 | EN1191 (iFT Rosenheim)
- Thermal insulation (iFT Rosenheim)
- Sound Insulation (iFT Rosenheim)
- Water and Wind Resistance (iFT Rosenheim)
Vault Mirror Door
Download Spec Sheet
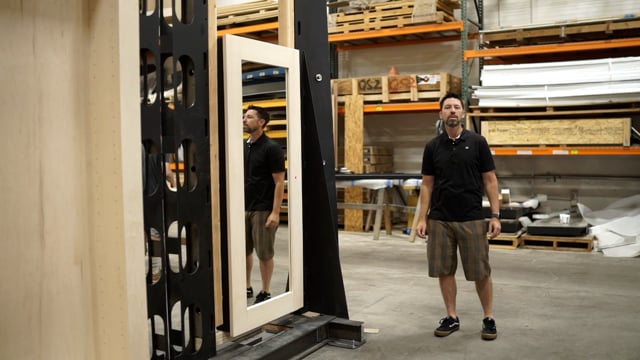
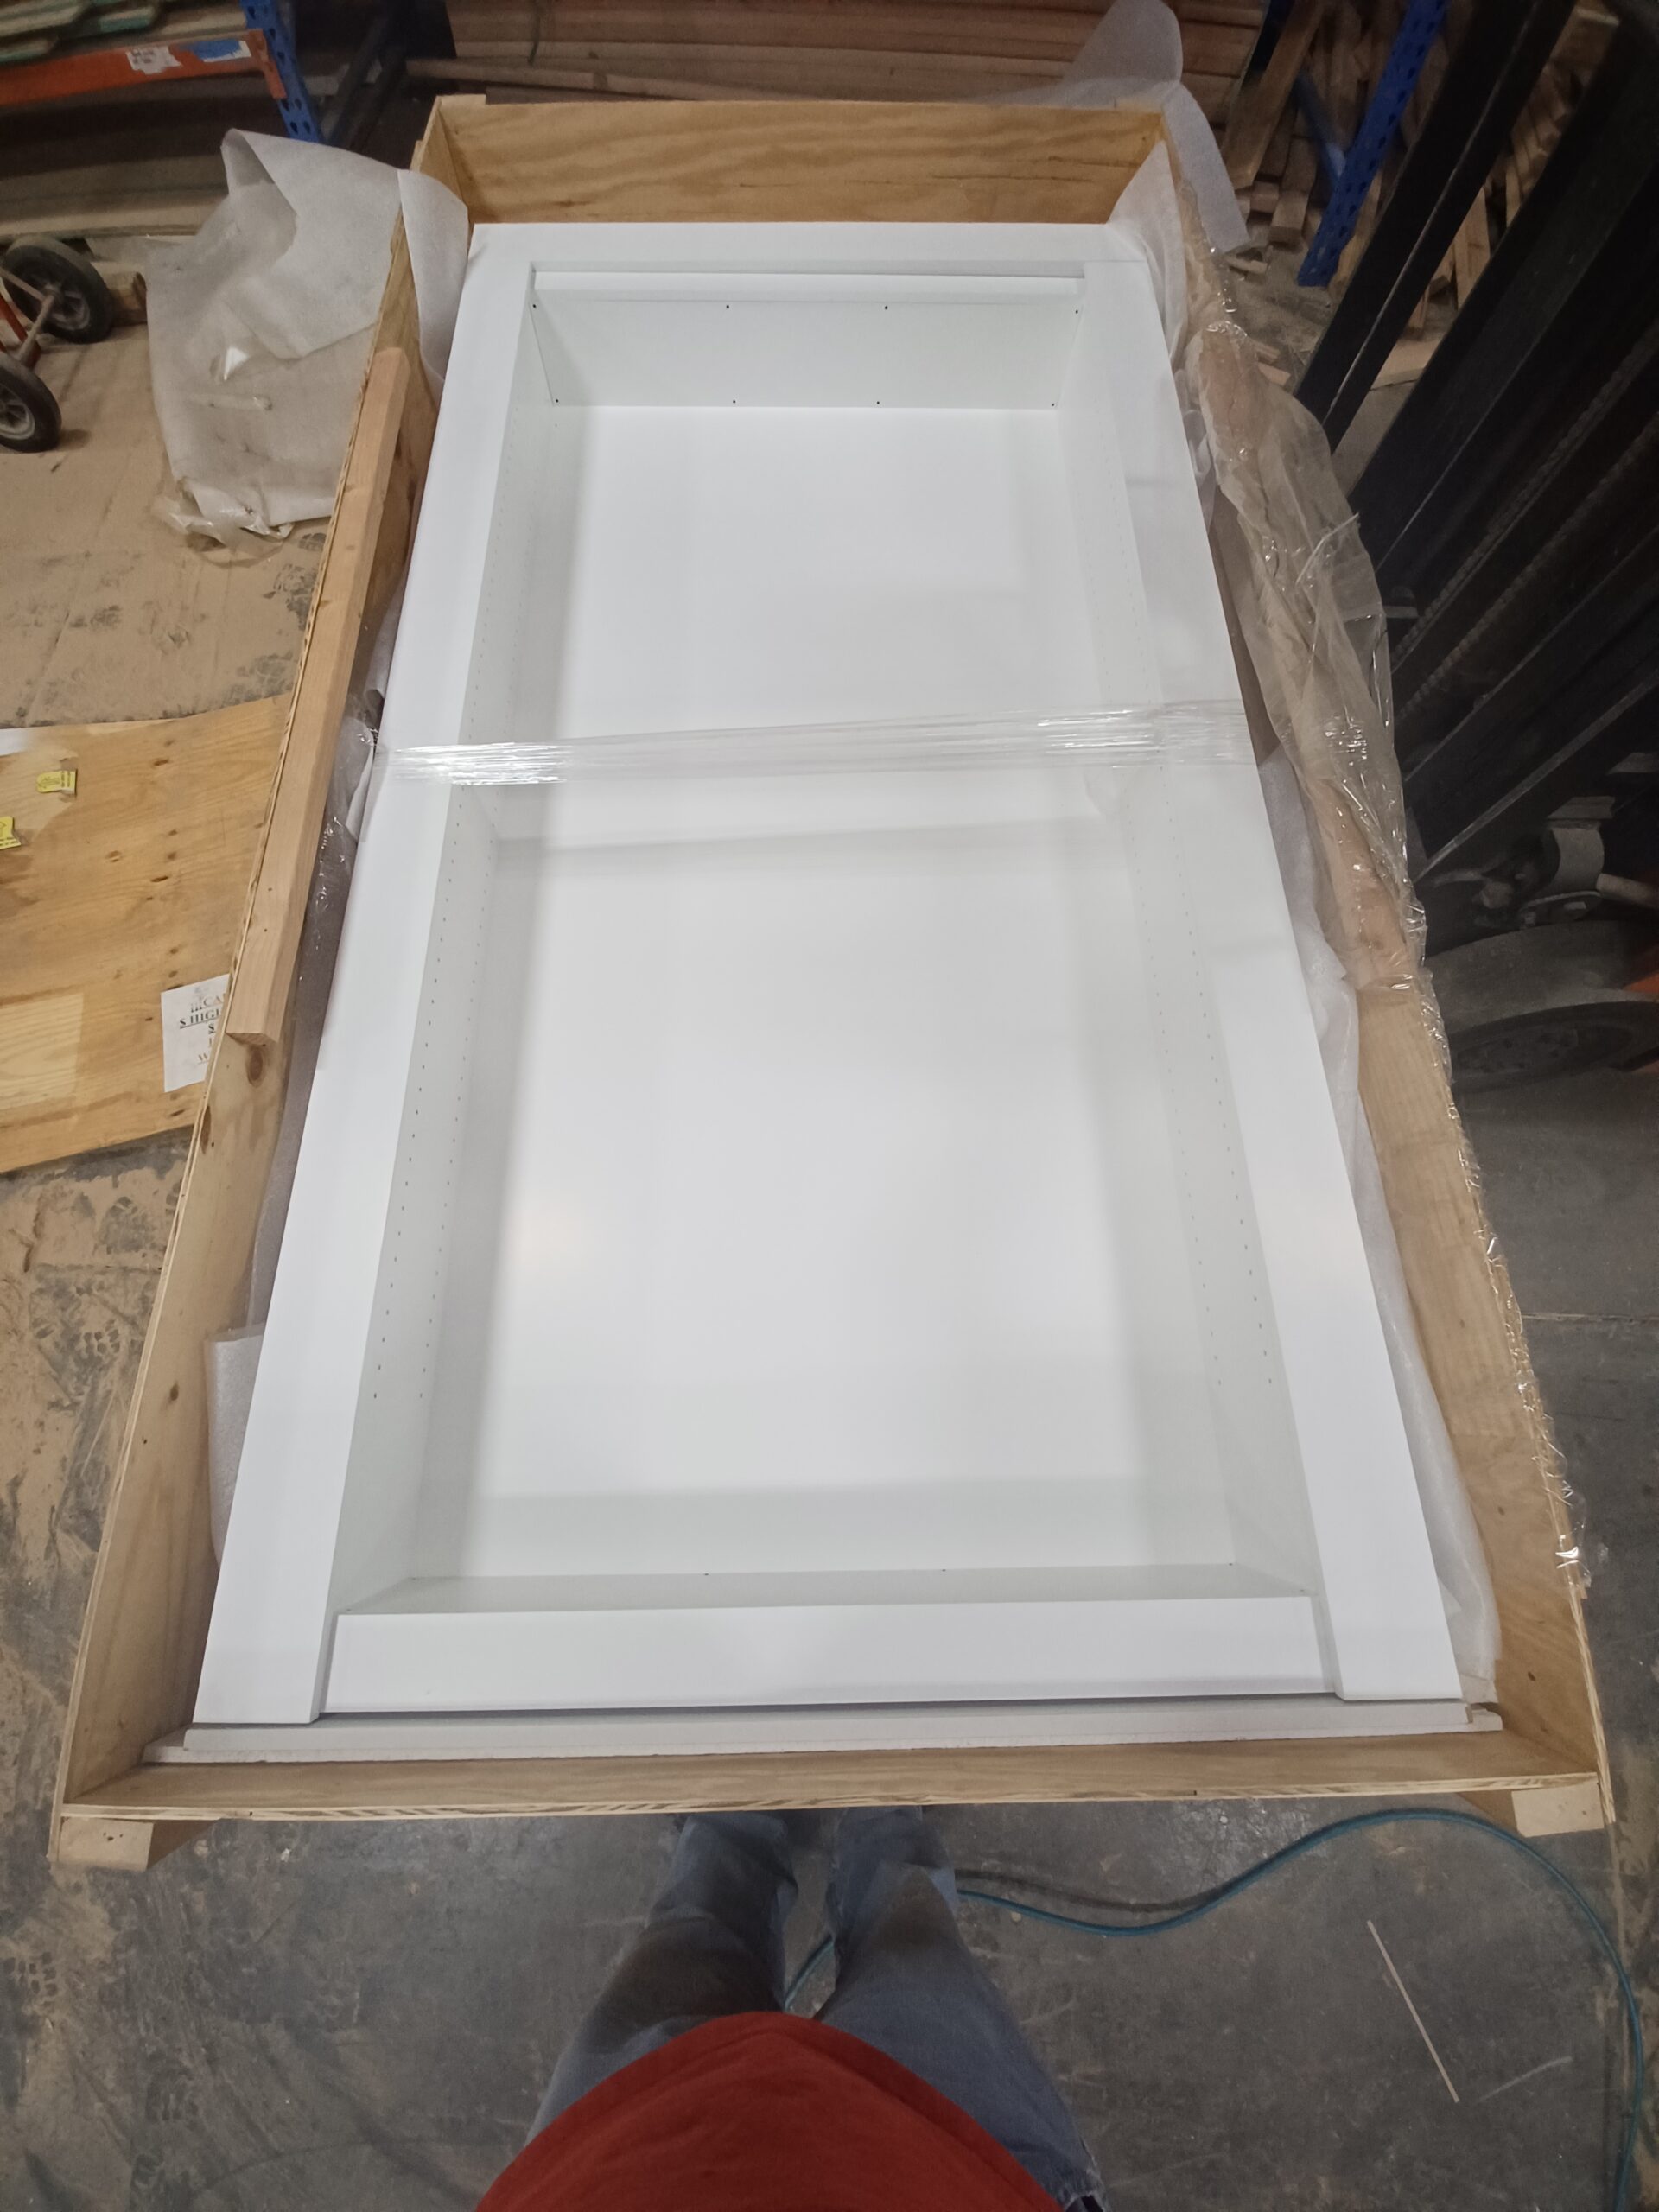
The Hidden Door Store team fully assembles and tests each door before shipment. This includes installing the door in our testing jig that simulates the required wall conditions.
The door is crated and shipped assembled so installation is fast and easy for a handy homeowner or contractor.
Unlimited phone support – though rarely needed – is both available and free.
How to Install a Vault Mirror Door
Step 1: Gather Your Installation Tools
Before you begin, you’ll need:
- Laser level
- Drill
- Impact driver
- #2 Phillips bit
- #3 Phillips bit
- T25 Torx bit
- T30 Torx bit
- Wood or composite shims
- Two 2×4 blocks (approximately 12 inches long)
- Tape measure
Step 2: Inspect the Vault Mirror Door
Before moving any components:
- Open the shipping crate carefully.
- Inspect the frame, steel door panel, and mirror face frame for shipping damage.
- Leave the protective shrink wrap on until installation begins.
- Save all packaging until installation is complete.
If anything appears damaged, stop installation and contact Hidden Door Store before continuing.
Step 3: Prepare the Wall Opening
Vault mirror doors require a highly accurate rough opening.
Before installation, verify:
- Opening dimensions match the product specifications.
- Width and height vary by no more than ¼ inch.
- The opening is square.
- The threshold sits at least 4 inches above the baseboard to create the appearance of a wall-mounted mirror.
- Because of the door’s weight, double studs are recommended on both sides of the opening, especially for ballistic models.
Step 4: Verify the Wall Is Level, Plumb, and Flat
Using a laser level, check:
- Floor is level.
- Both sides of the opening are plumb.
- Corners are square.
- Wall surface is flat from front to back.
Hidden vault doors cannot compensate for warped or uneven walls, so any framing issues should be corrected before installation.
Step 5: Install the Required Power Outlet
Vault Mirror Doors require electrical power.
Before installation:
- Install a standard 110V outlet inside the hidden room.
- Position the outlet within 15 feet of the doorway.
This powers the electronic locking system and access controls.
Step 6: Move the Door Components
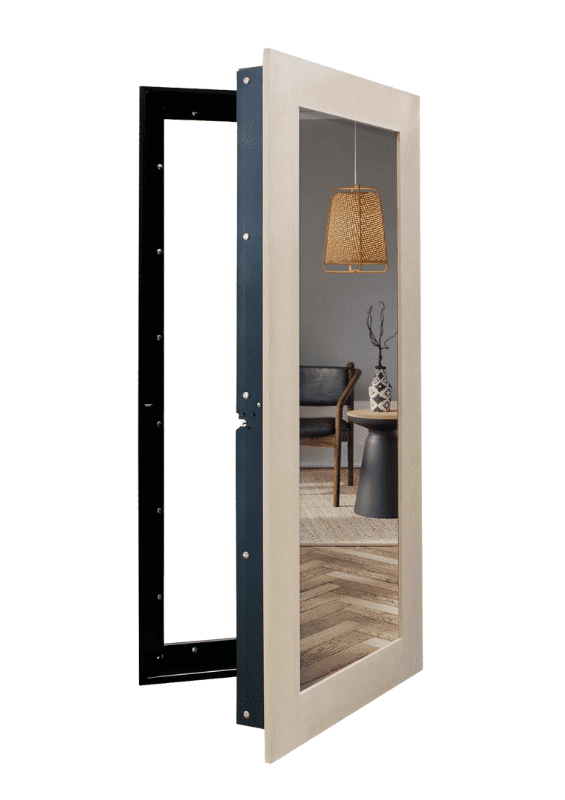
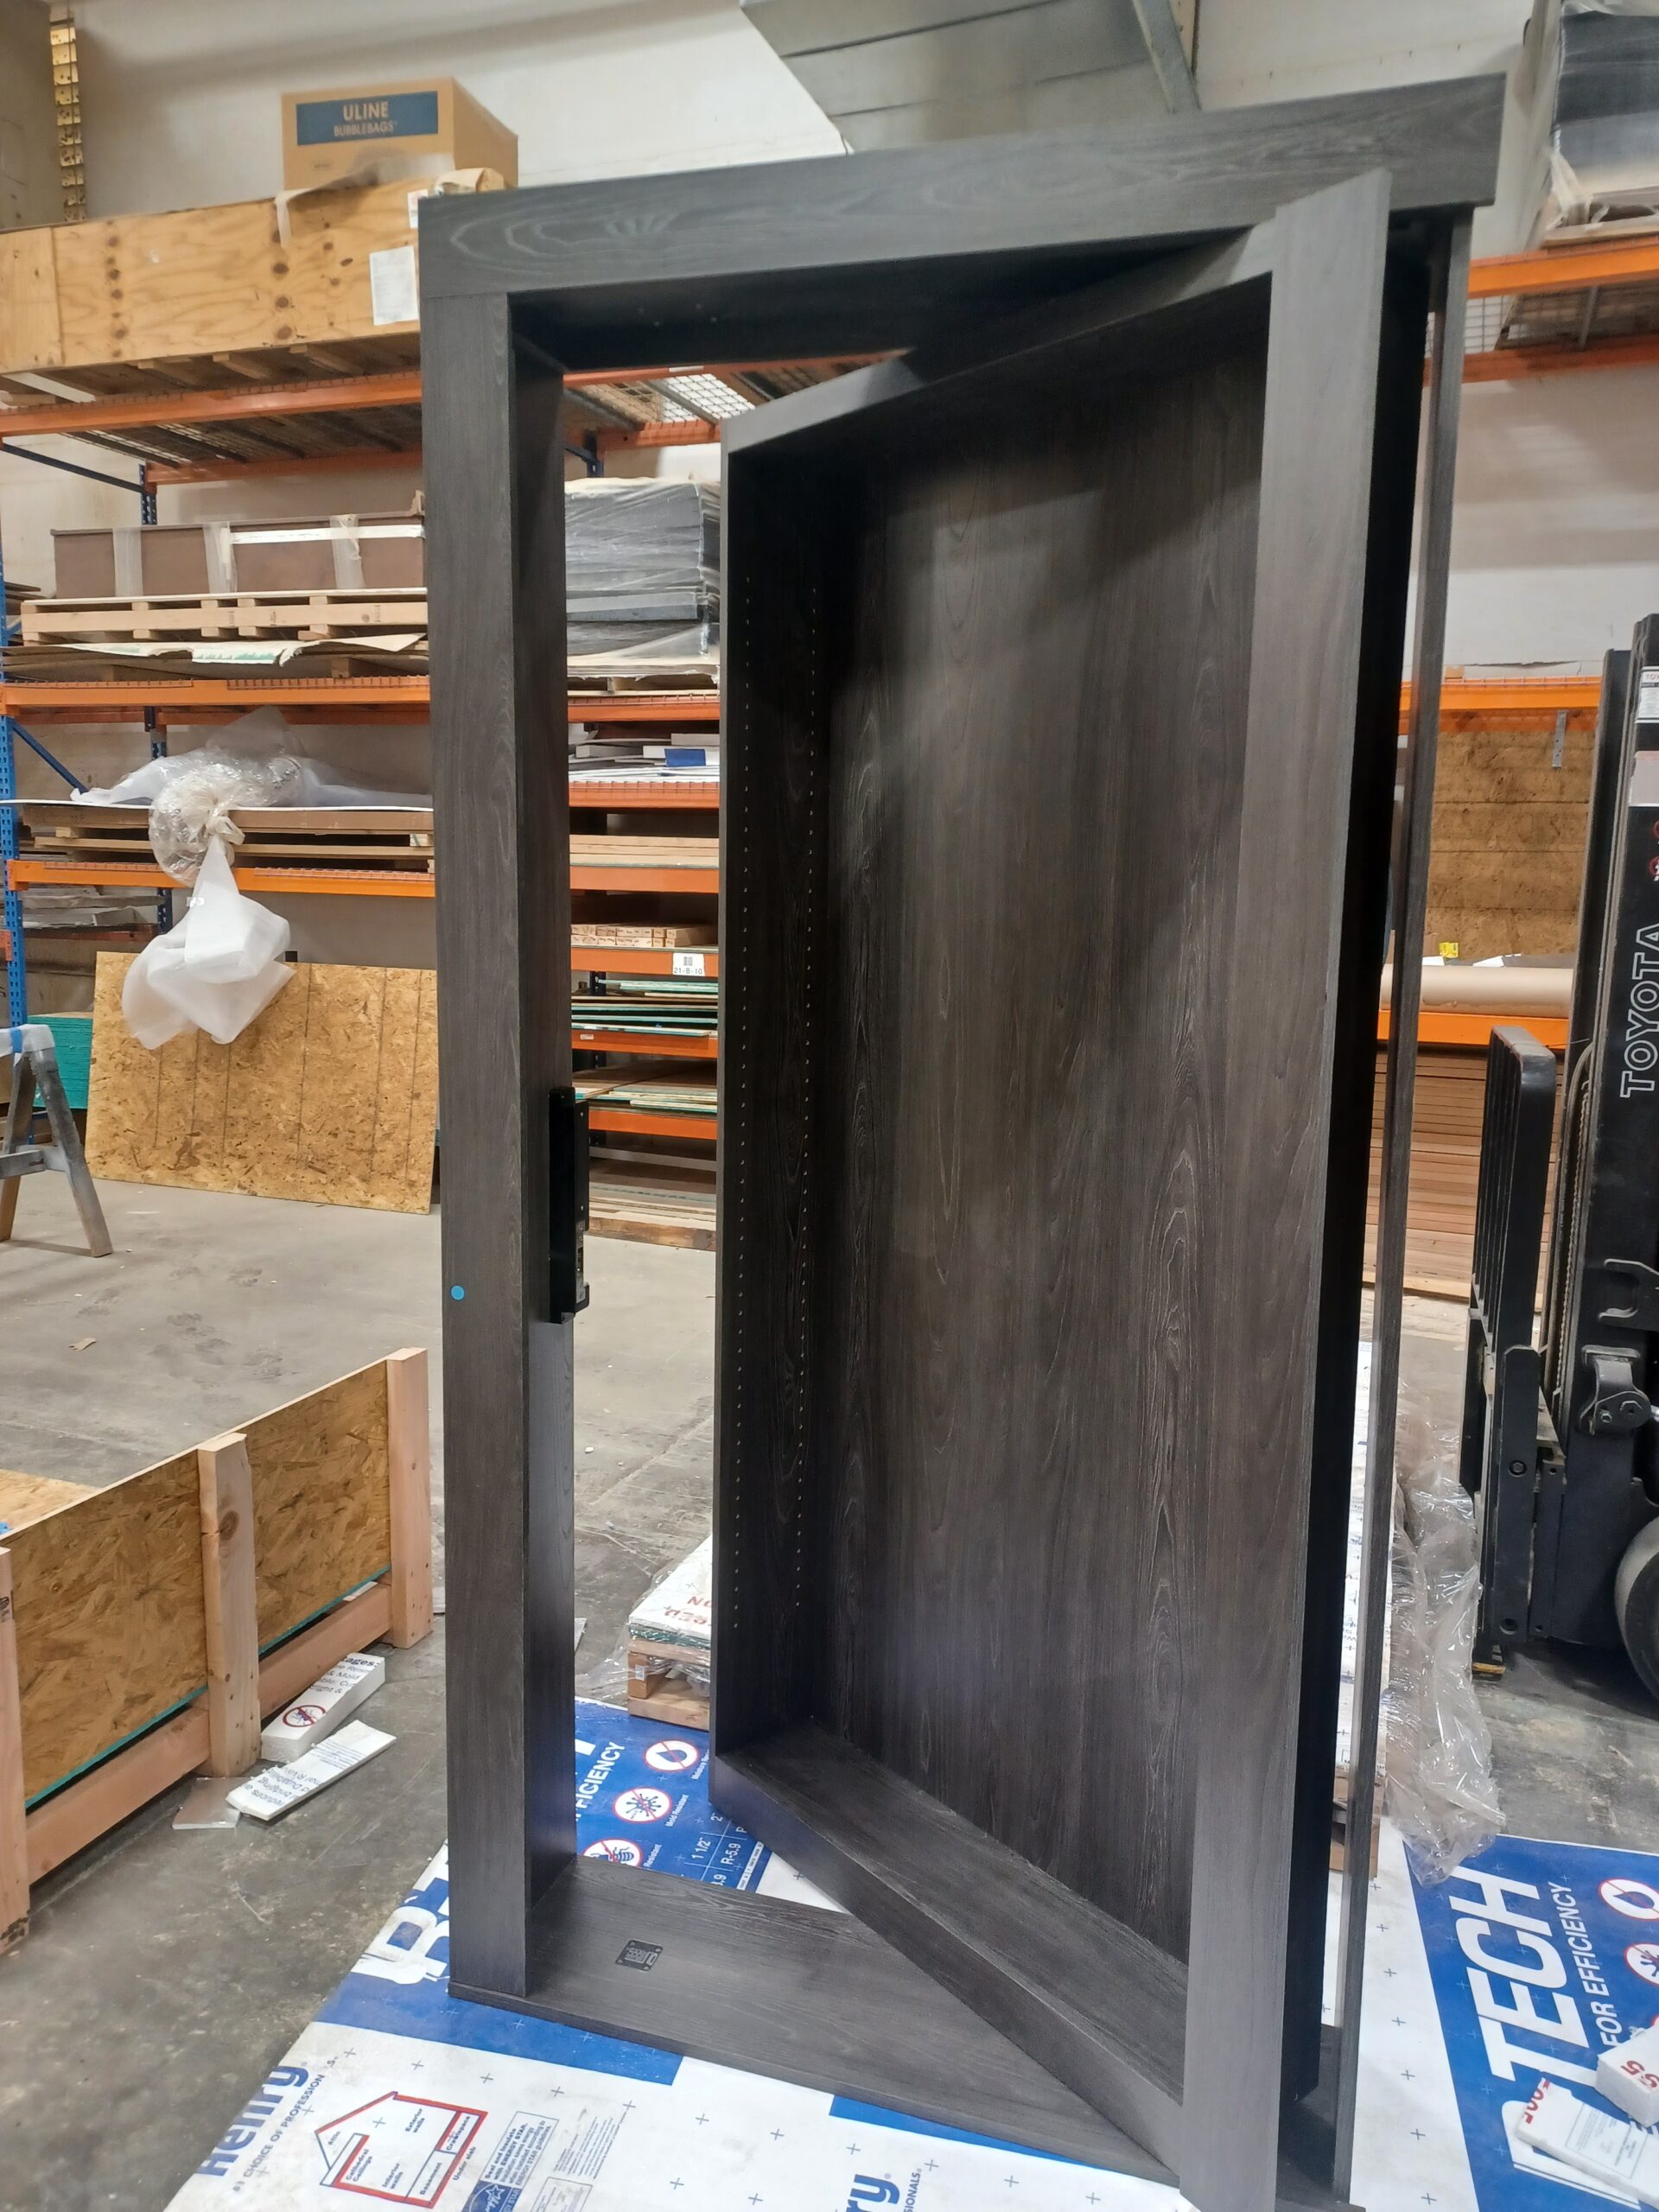
Unlike other hidden doors, the Vault Mirror Door ships in three separate pieces:
- Steel door frame
- Steel door panel
- Decorative mirror face frame
To safely move them:
- Plan your route beforehand.
- Use at least four people.
- Keep each component wrapped until positioned near the opening.
- Place each component on a blanket to protect the finish.
Step 7: Install the Steel Door Frame
Position the steel frame inside the rough opening.
Then:
- Slide the frame into place.
- Shim the hinge side until perfectly plumb.
- Secure using the supplied lag screws.
- Shim and secure the latch side.
- Verify the frame remains square before tightening all hardware.
A properly aligned frame is critical for both concealment and security.
Step 8: Install the Steel Door Panel
With the frame secured:
- Assemble the temporary support platform.
- Lift the steel door panel onto the platform.
- Align the hinges with the frame.
- Secure each hinge using the supplied machine screws.
- Remove the support platform.
- Recheck that the frame is still level and plumb after the door’s weight has been added.
Because of the door’s weight, this step requires multiple people.
Step 9: Attach the Mirror Face Frame
With the steel door installed:
- Position the decorative mirror frame.
- Slide it onto the pre-installed mounting pins.
- Confirm it is fully seated.
- Connect the fingerprint scanner, if your model includes one.
The mirror frame completes the concealed appearance of the vault door.
Step 10: Connect Power
Connect the electronic locking system by:
- Installing the power transfer cable.
- Mounting the transfer housing.
- Connecting the control box to the nearby 110V outlet.
Keep the door open throughout this process.
Step 11: Test the Locking System
Before closing the door:
- Test the manual emergency release.
- Test the interior egress button.
- Verify the electronic latch functions correctly.
- Test the RFID reader.
- Test the keypad (if equipped).
- Test the fingerprint scanner (if equipped).
If any component does not operate correctly, stop installation before proceeding.
Step 12: Perform a Full Function Test
After the initial tests:
- Close the door.
- Verify it unlocks using the interior release.
- Test RFID cards.
- Test the keypad.
- Test the fingerprint scanner.
- Confirm all locking rails engage and release properly.
Once every system functions correctly, installation is complete.











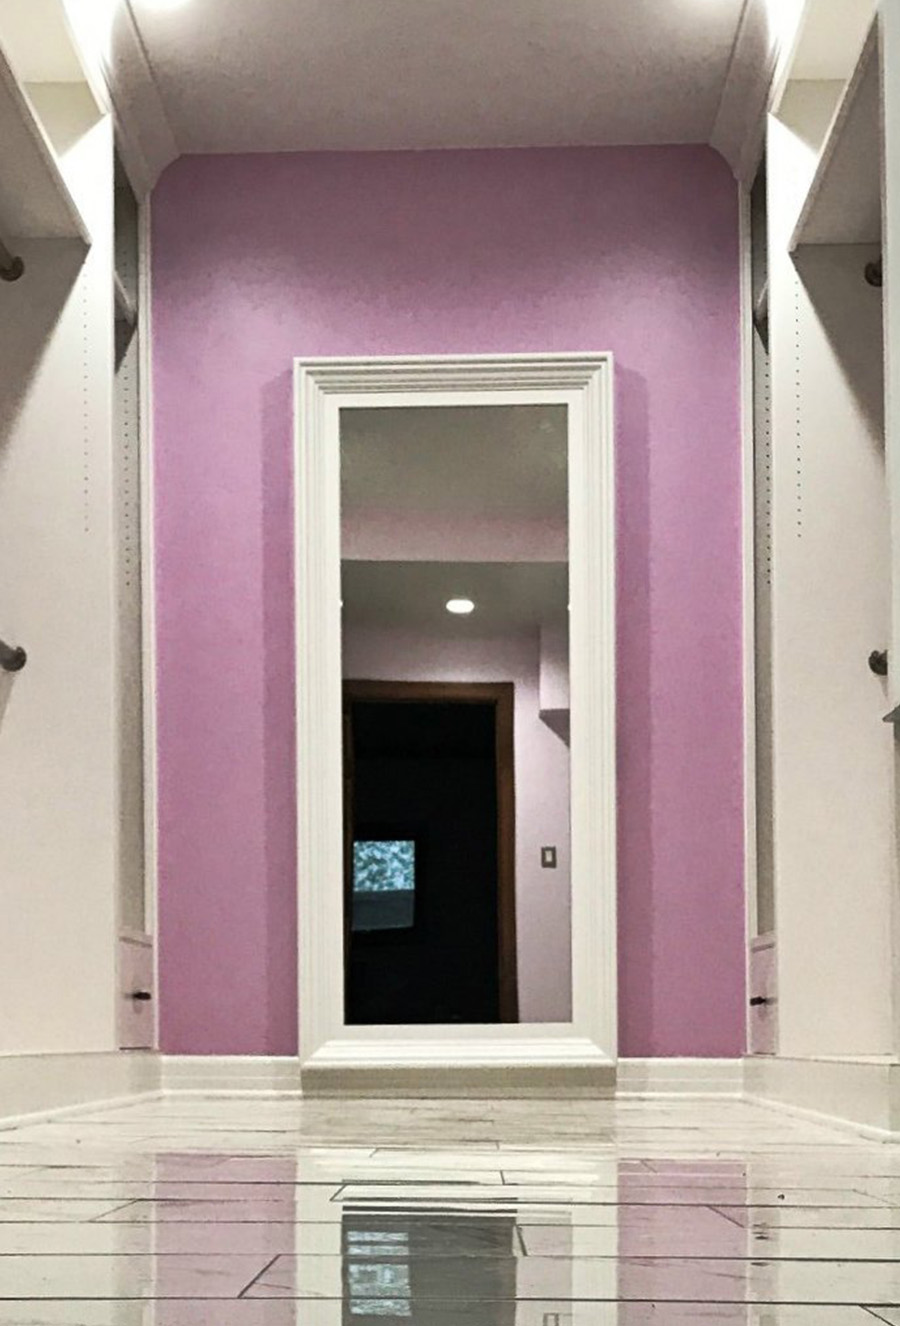
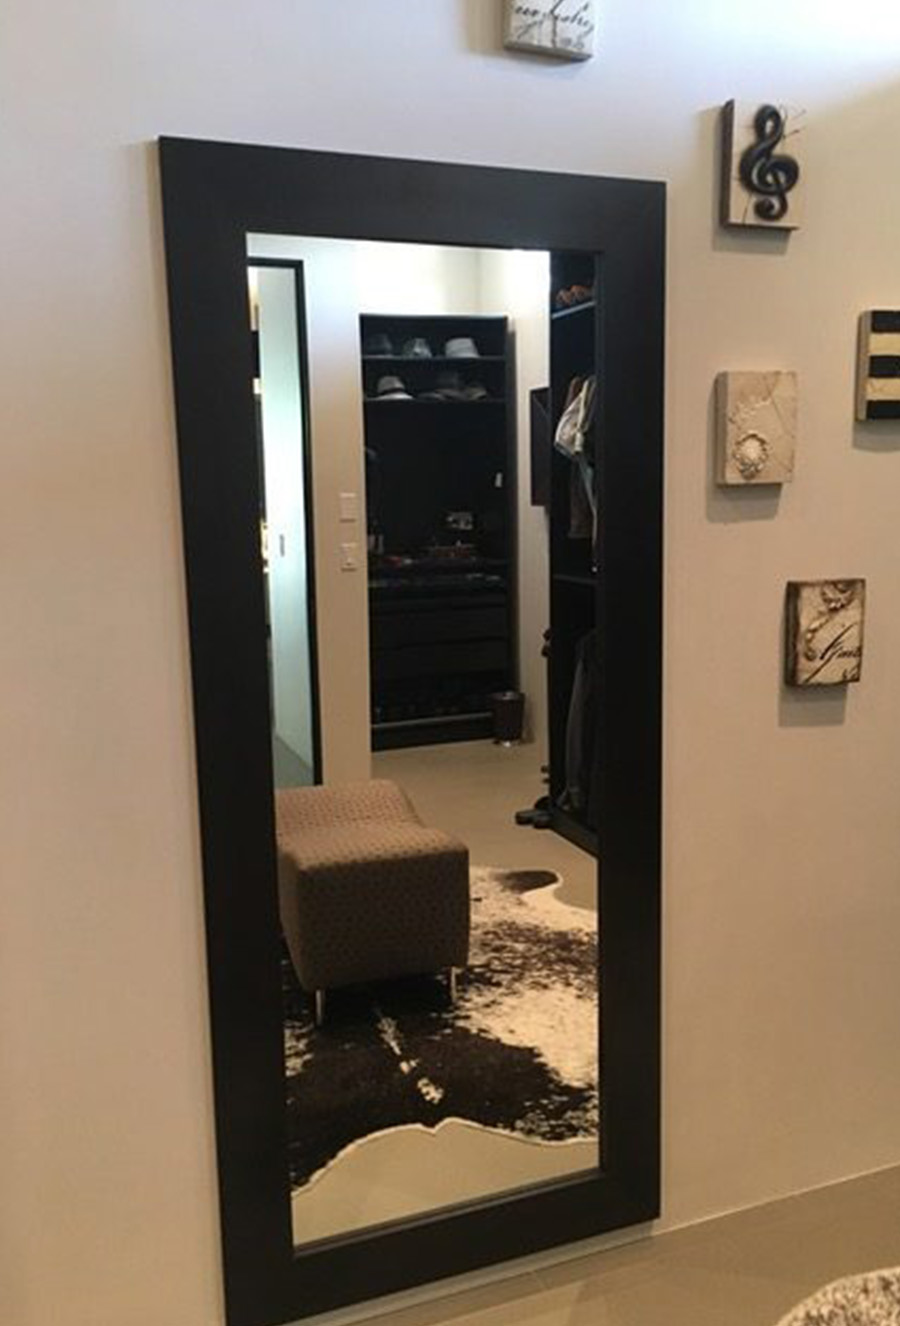
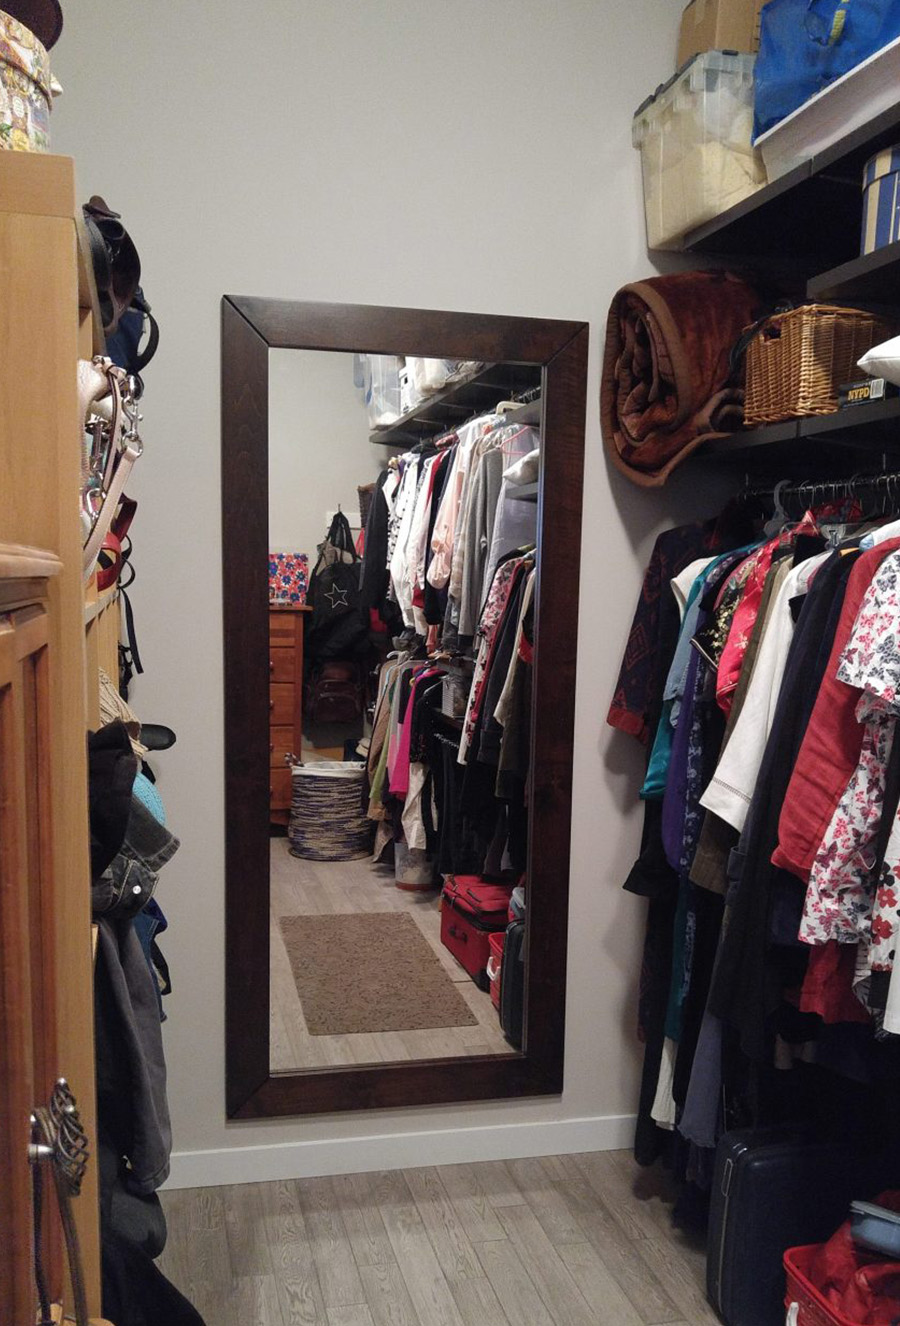

We’re very happy with our purchase, it was just what we were looking for: bulletproof protection, solid hinges, easy install, strong authentication mechanisms, and beautiful exterior that fits our aesthetic. Very smooth delivery, installation and we’ve been happy with the operation since. Recommended!