Mirror Secret Door
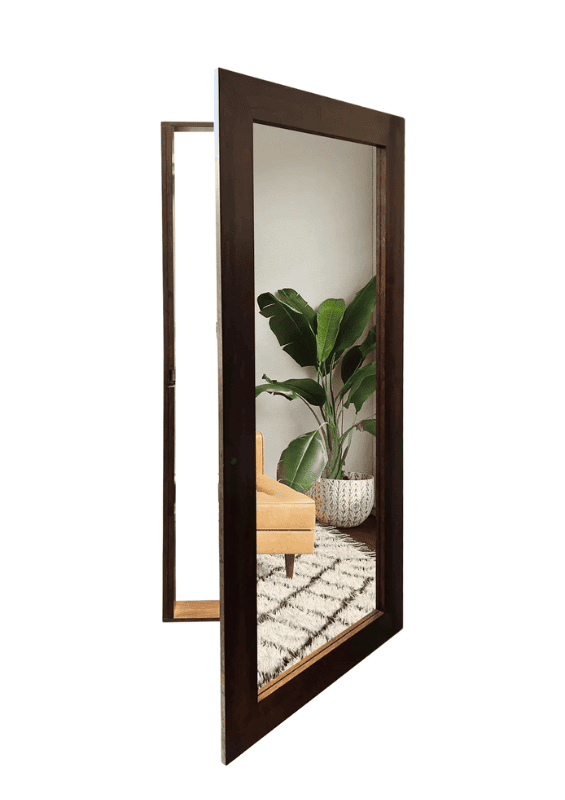
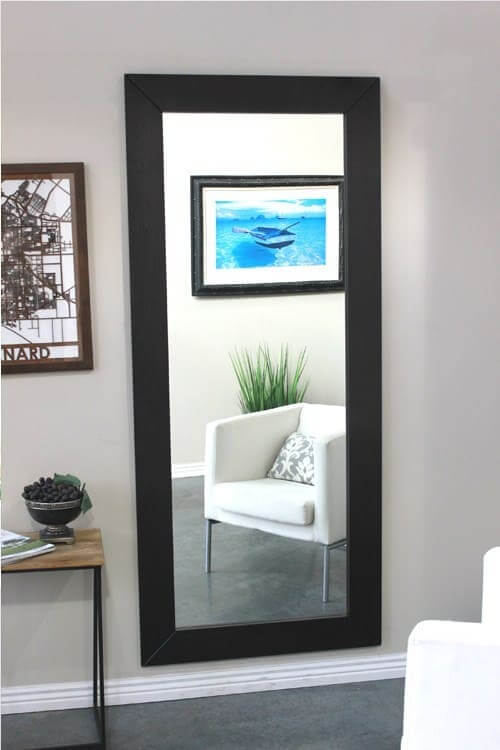
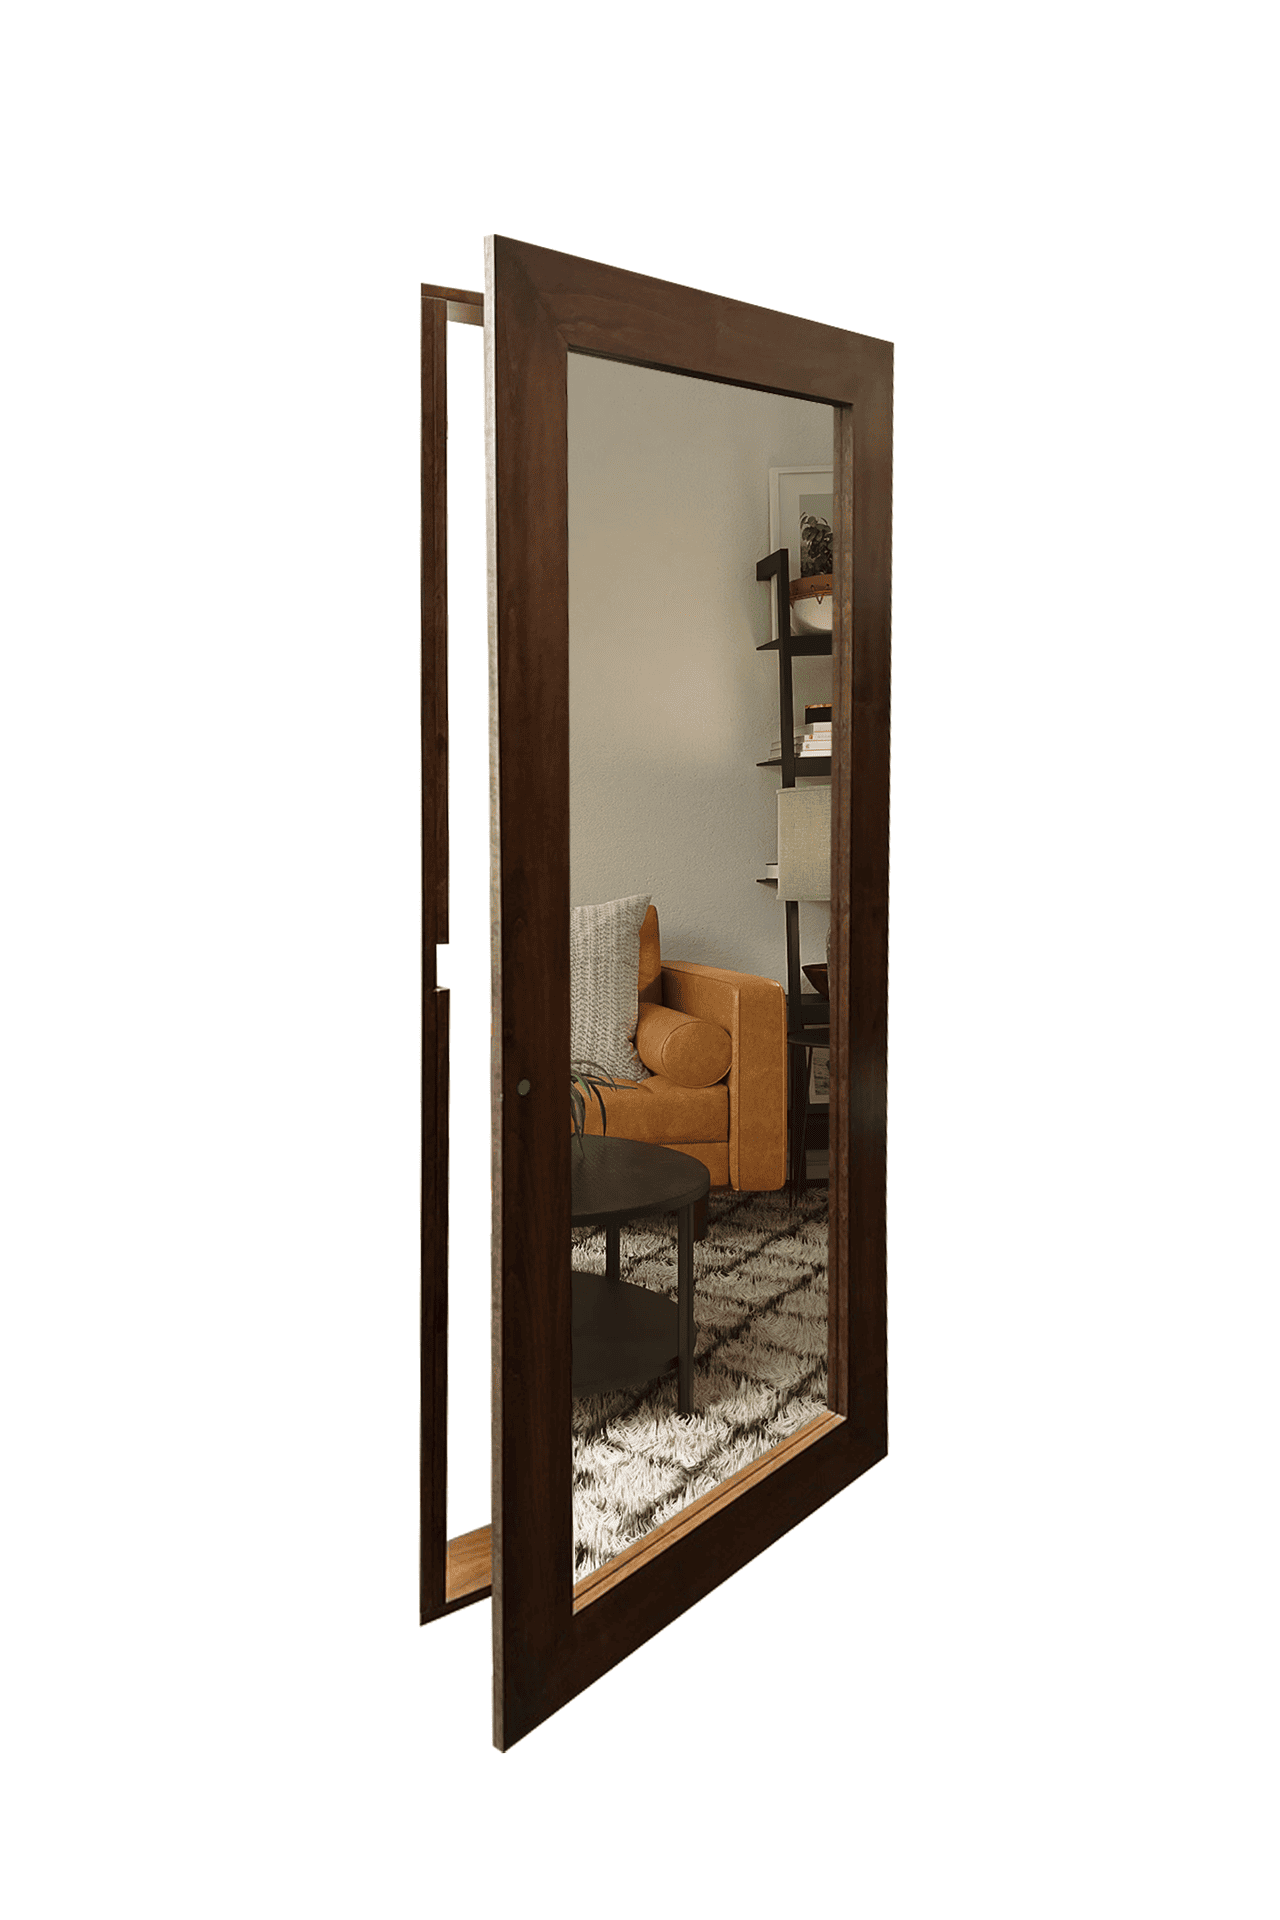
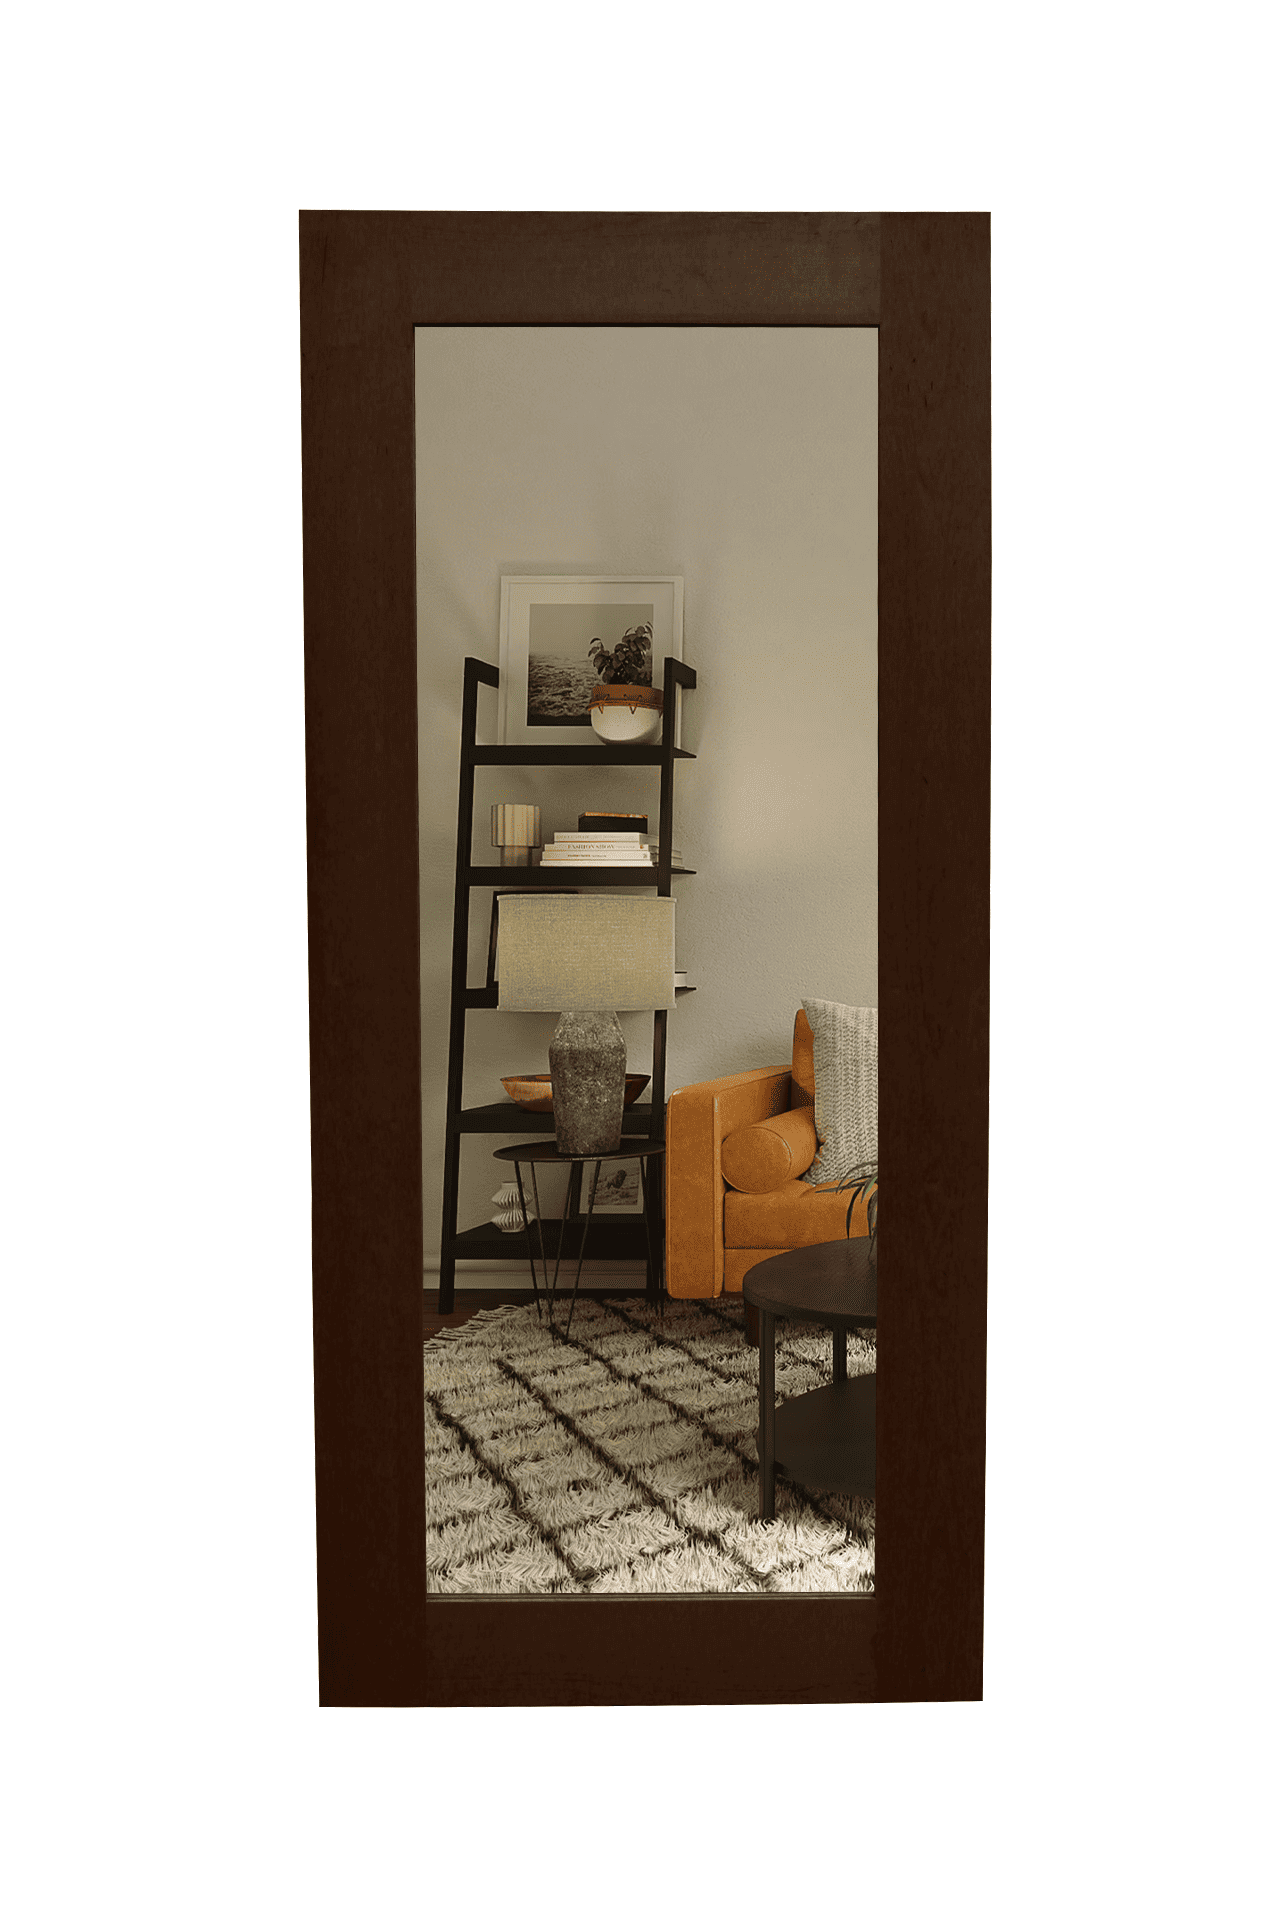
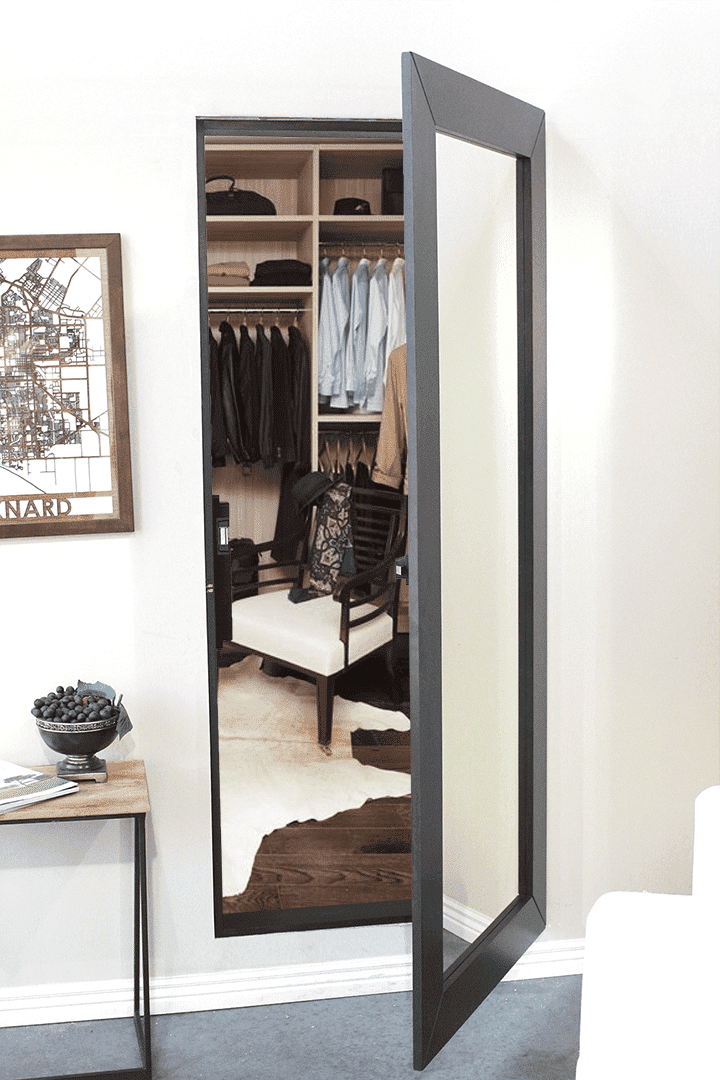
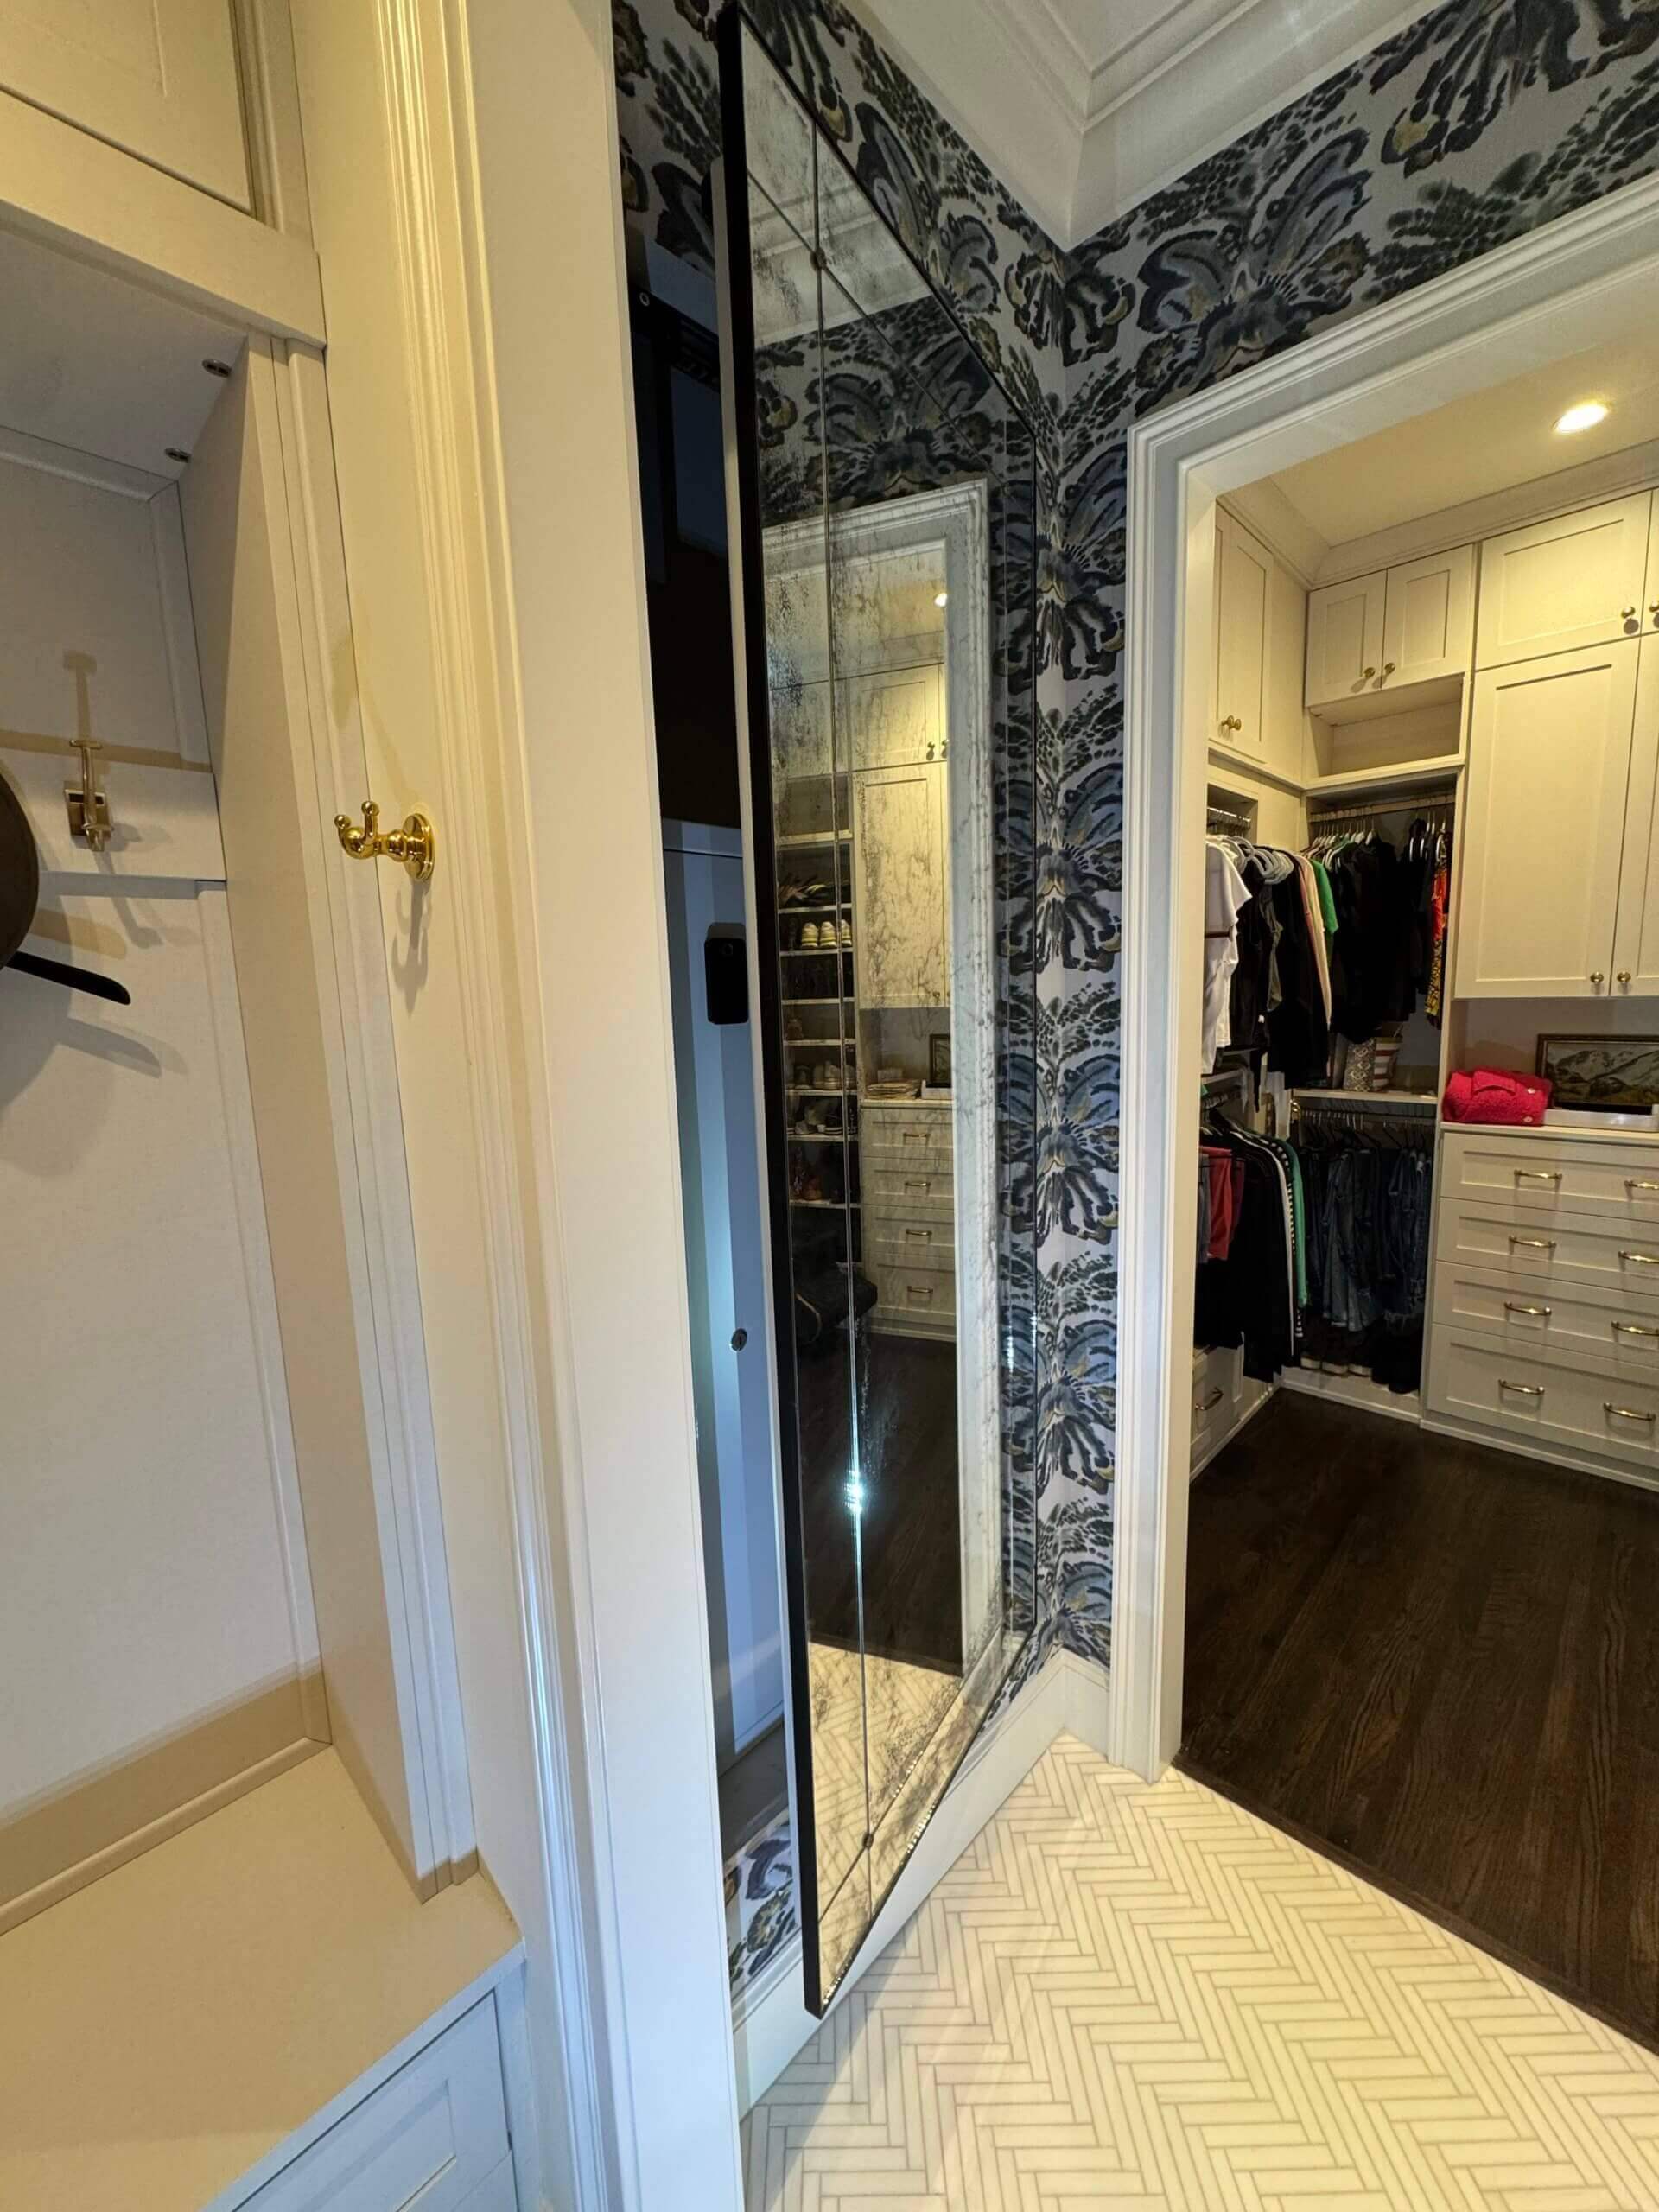
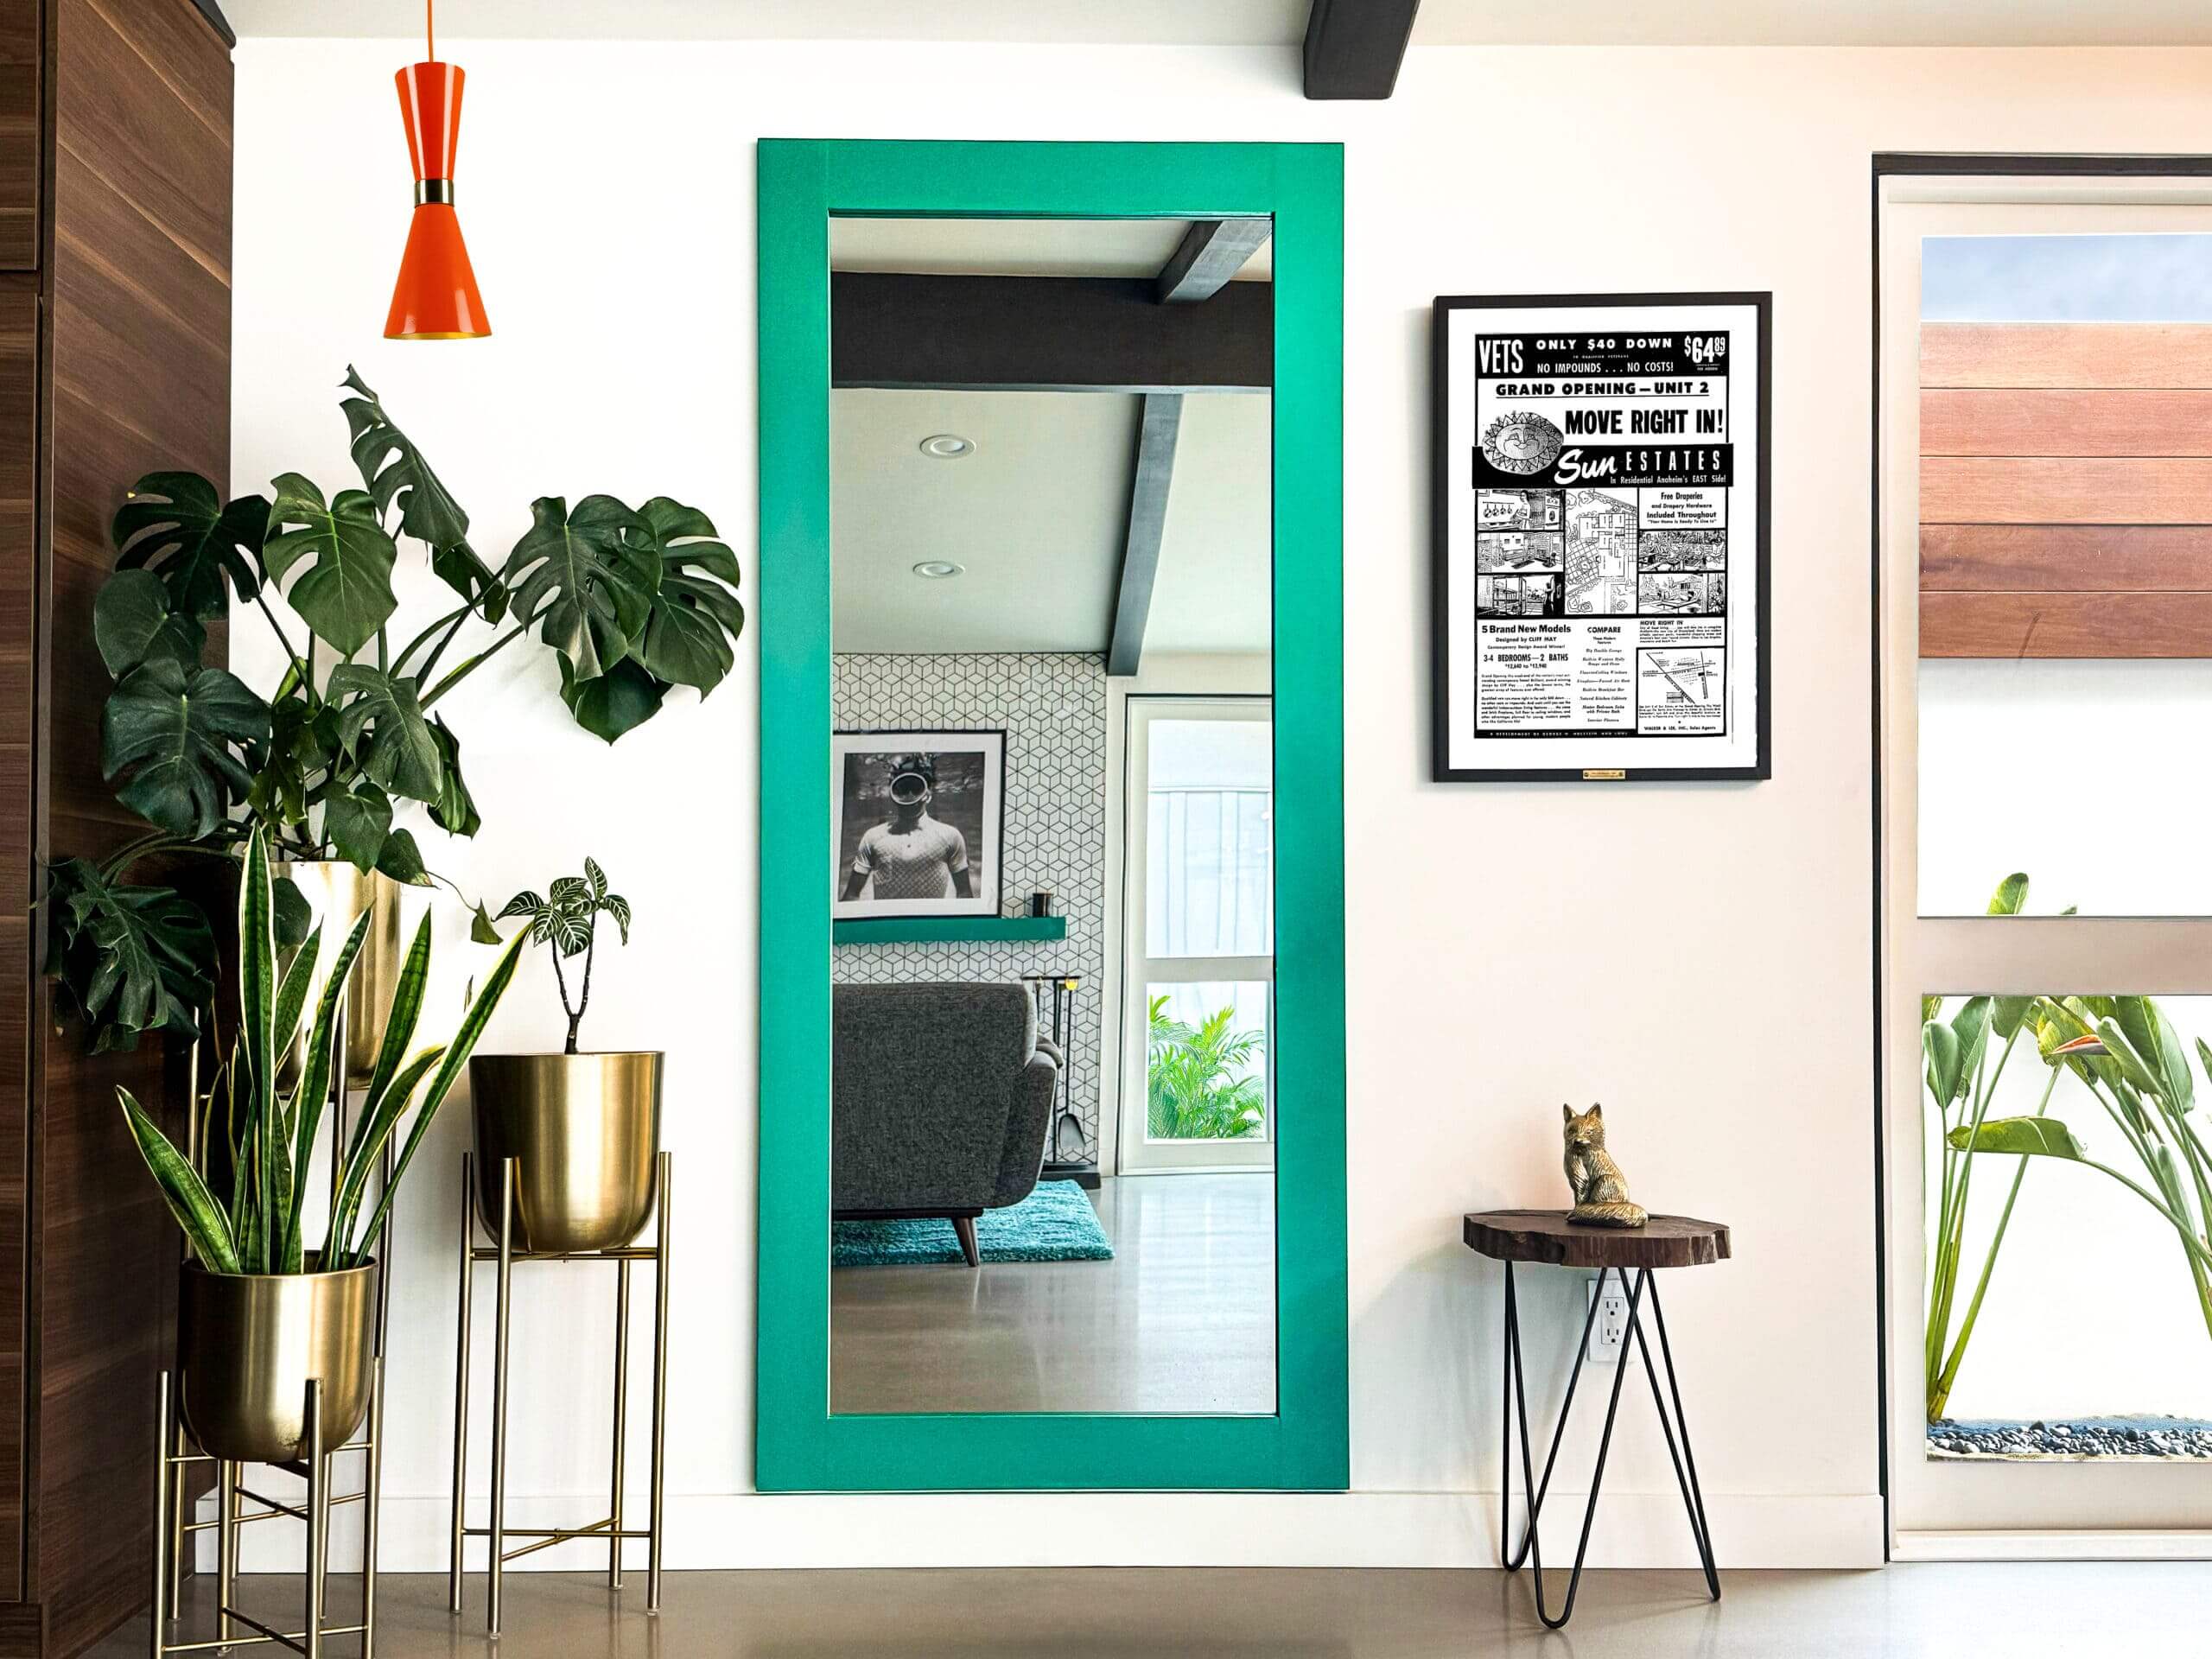
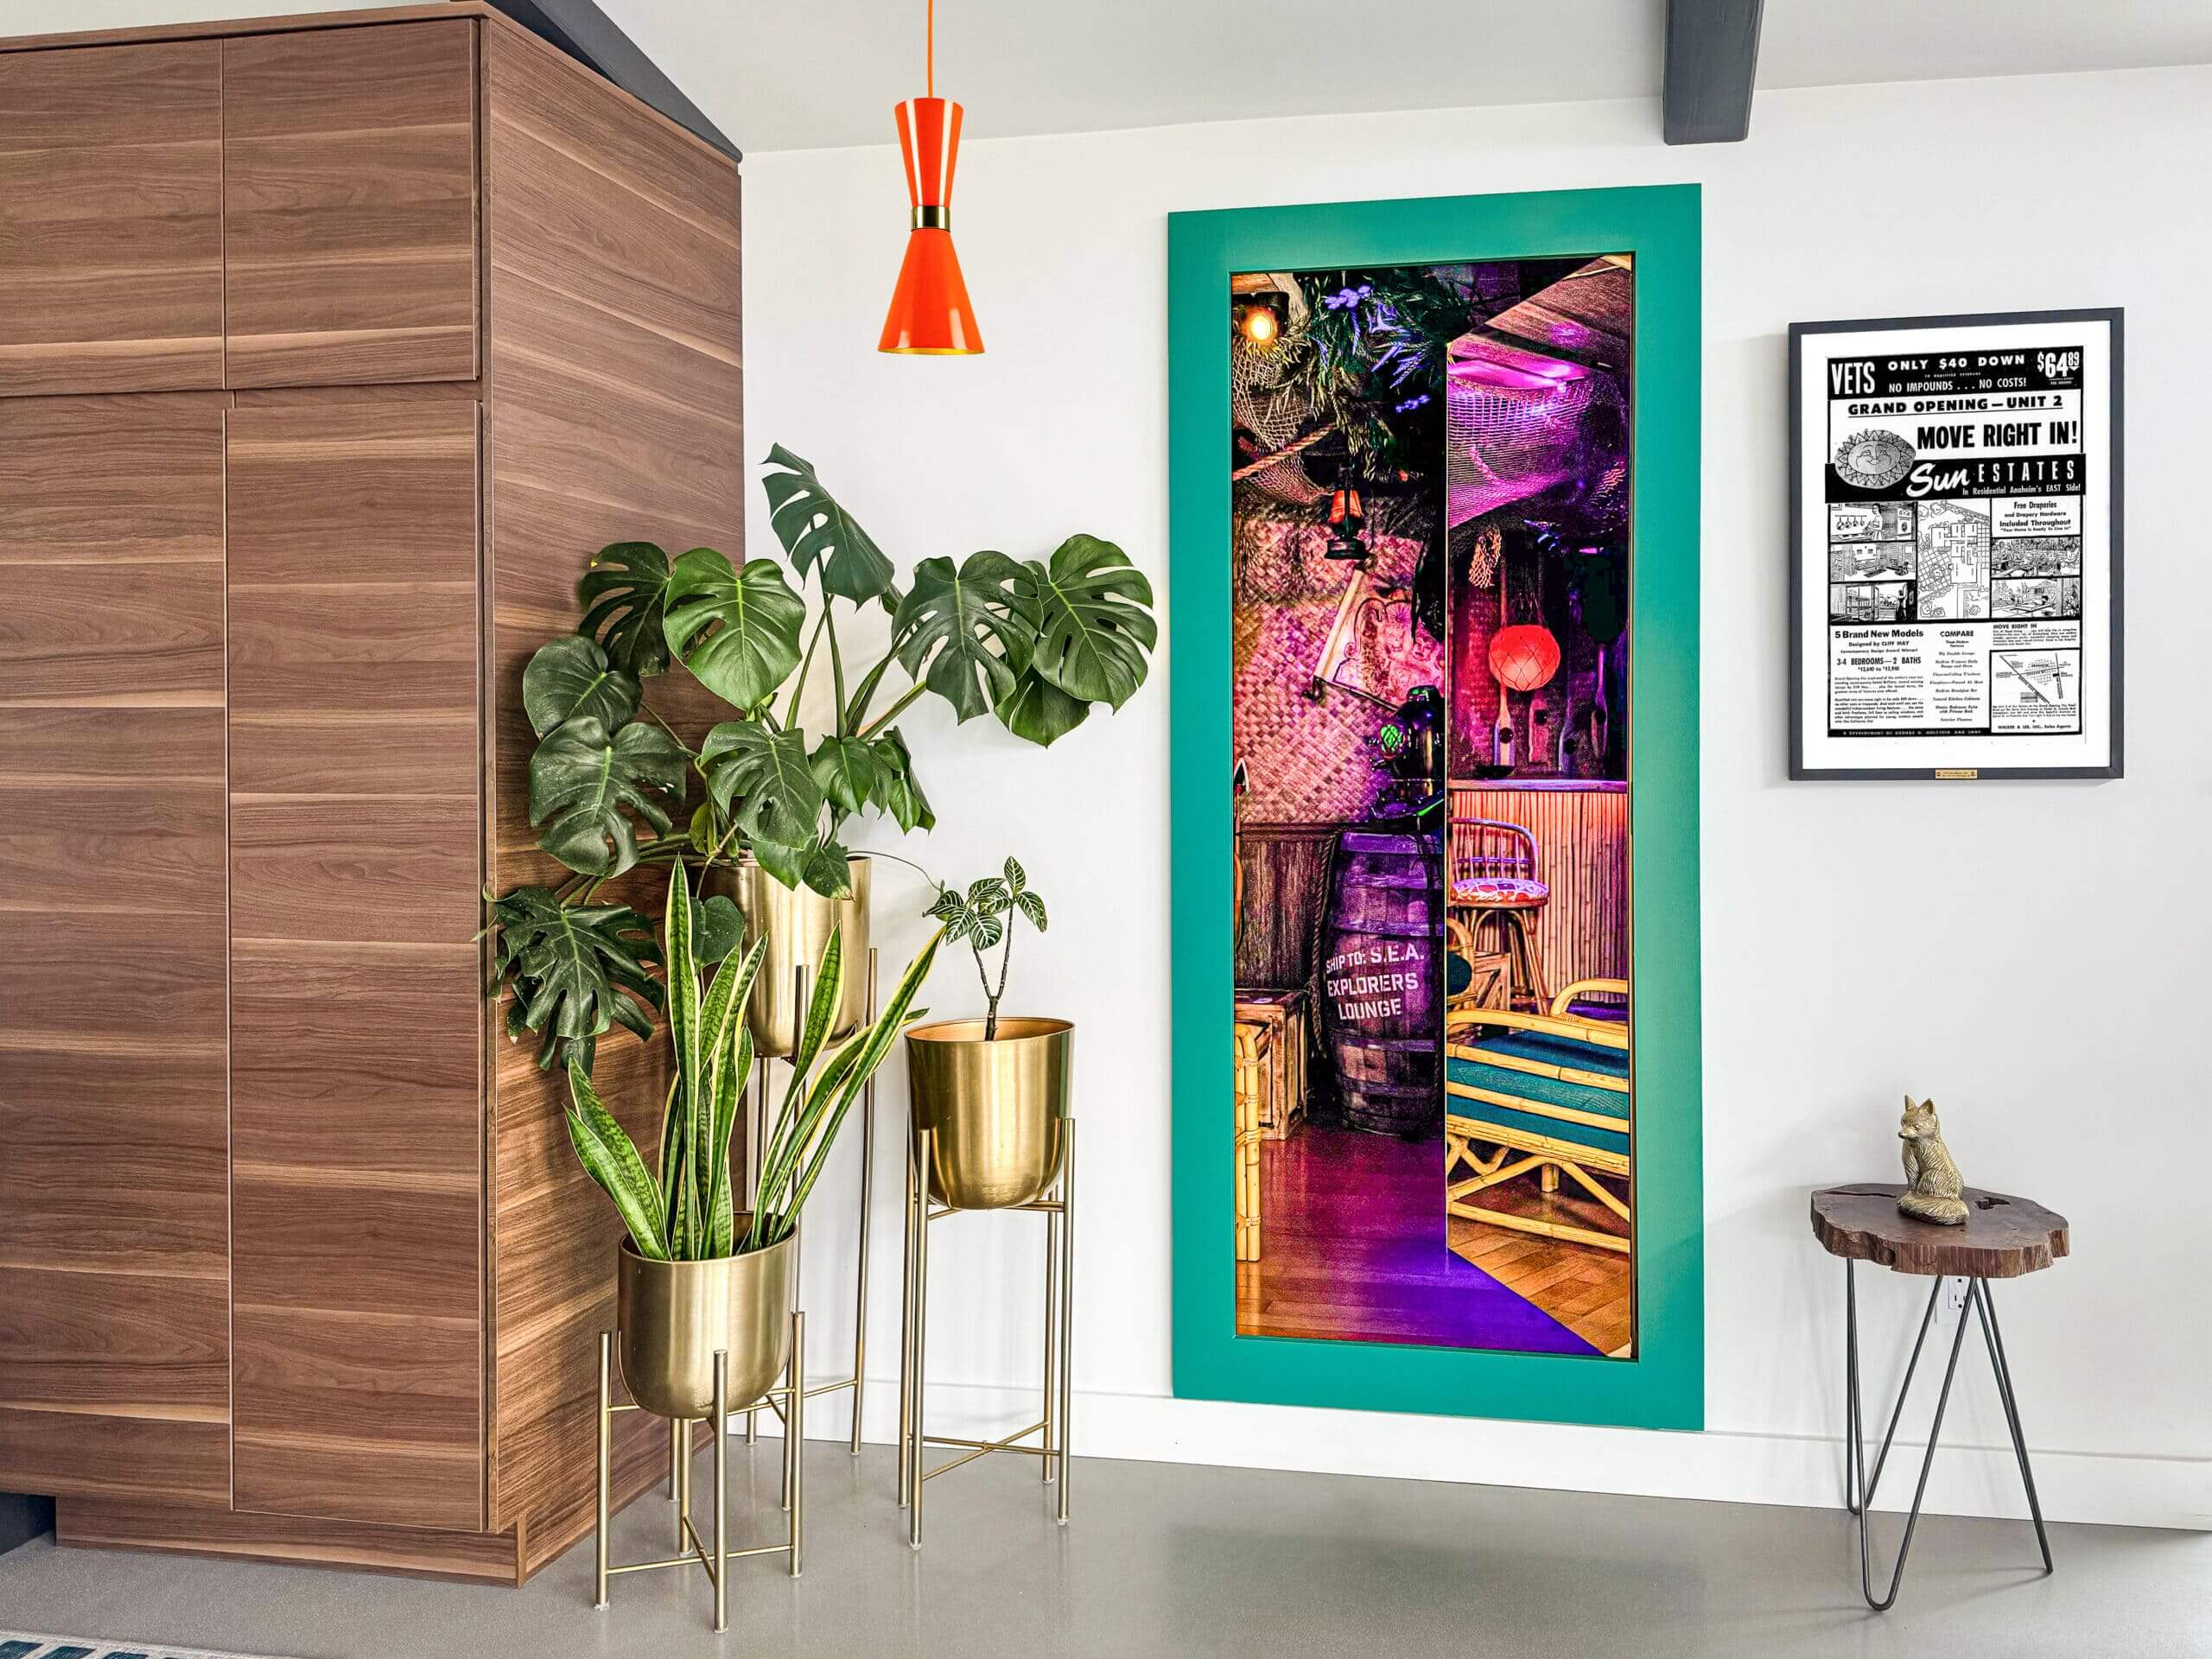
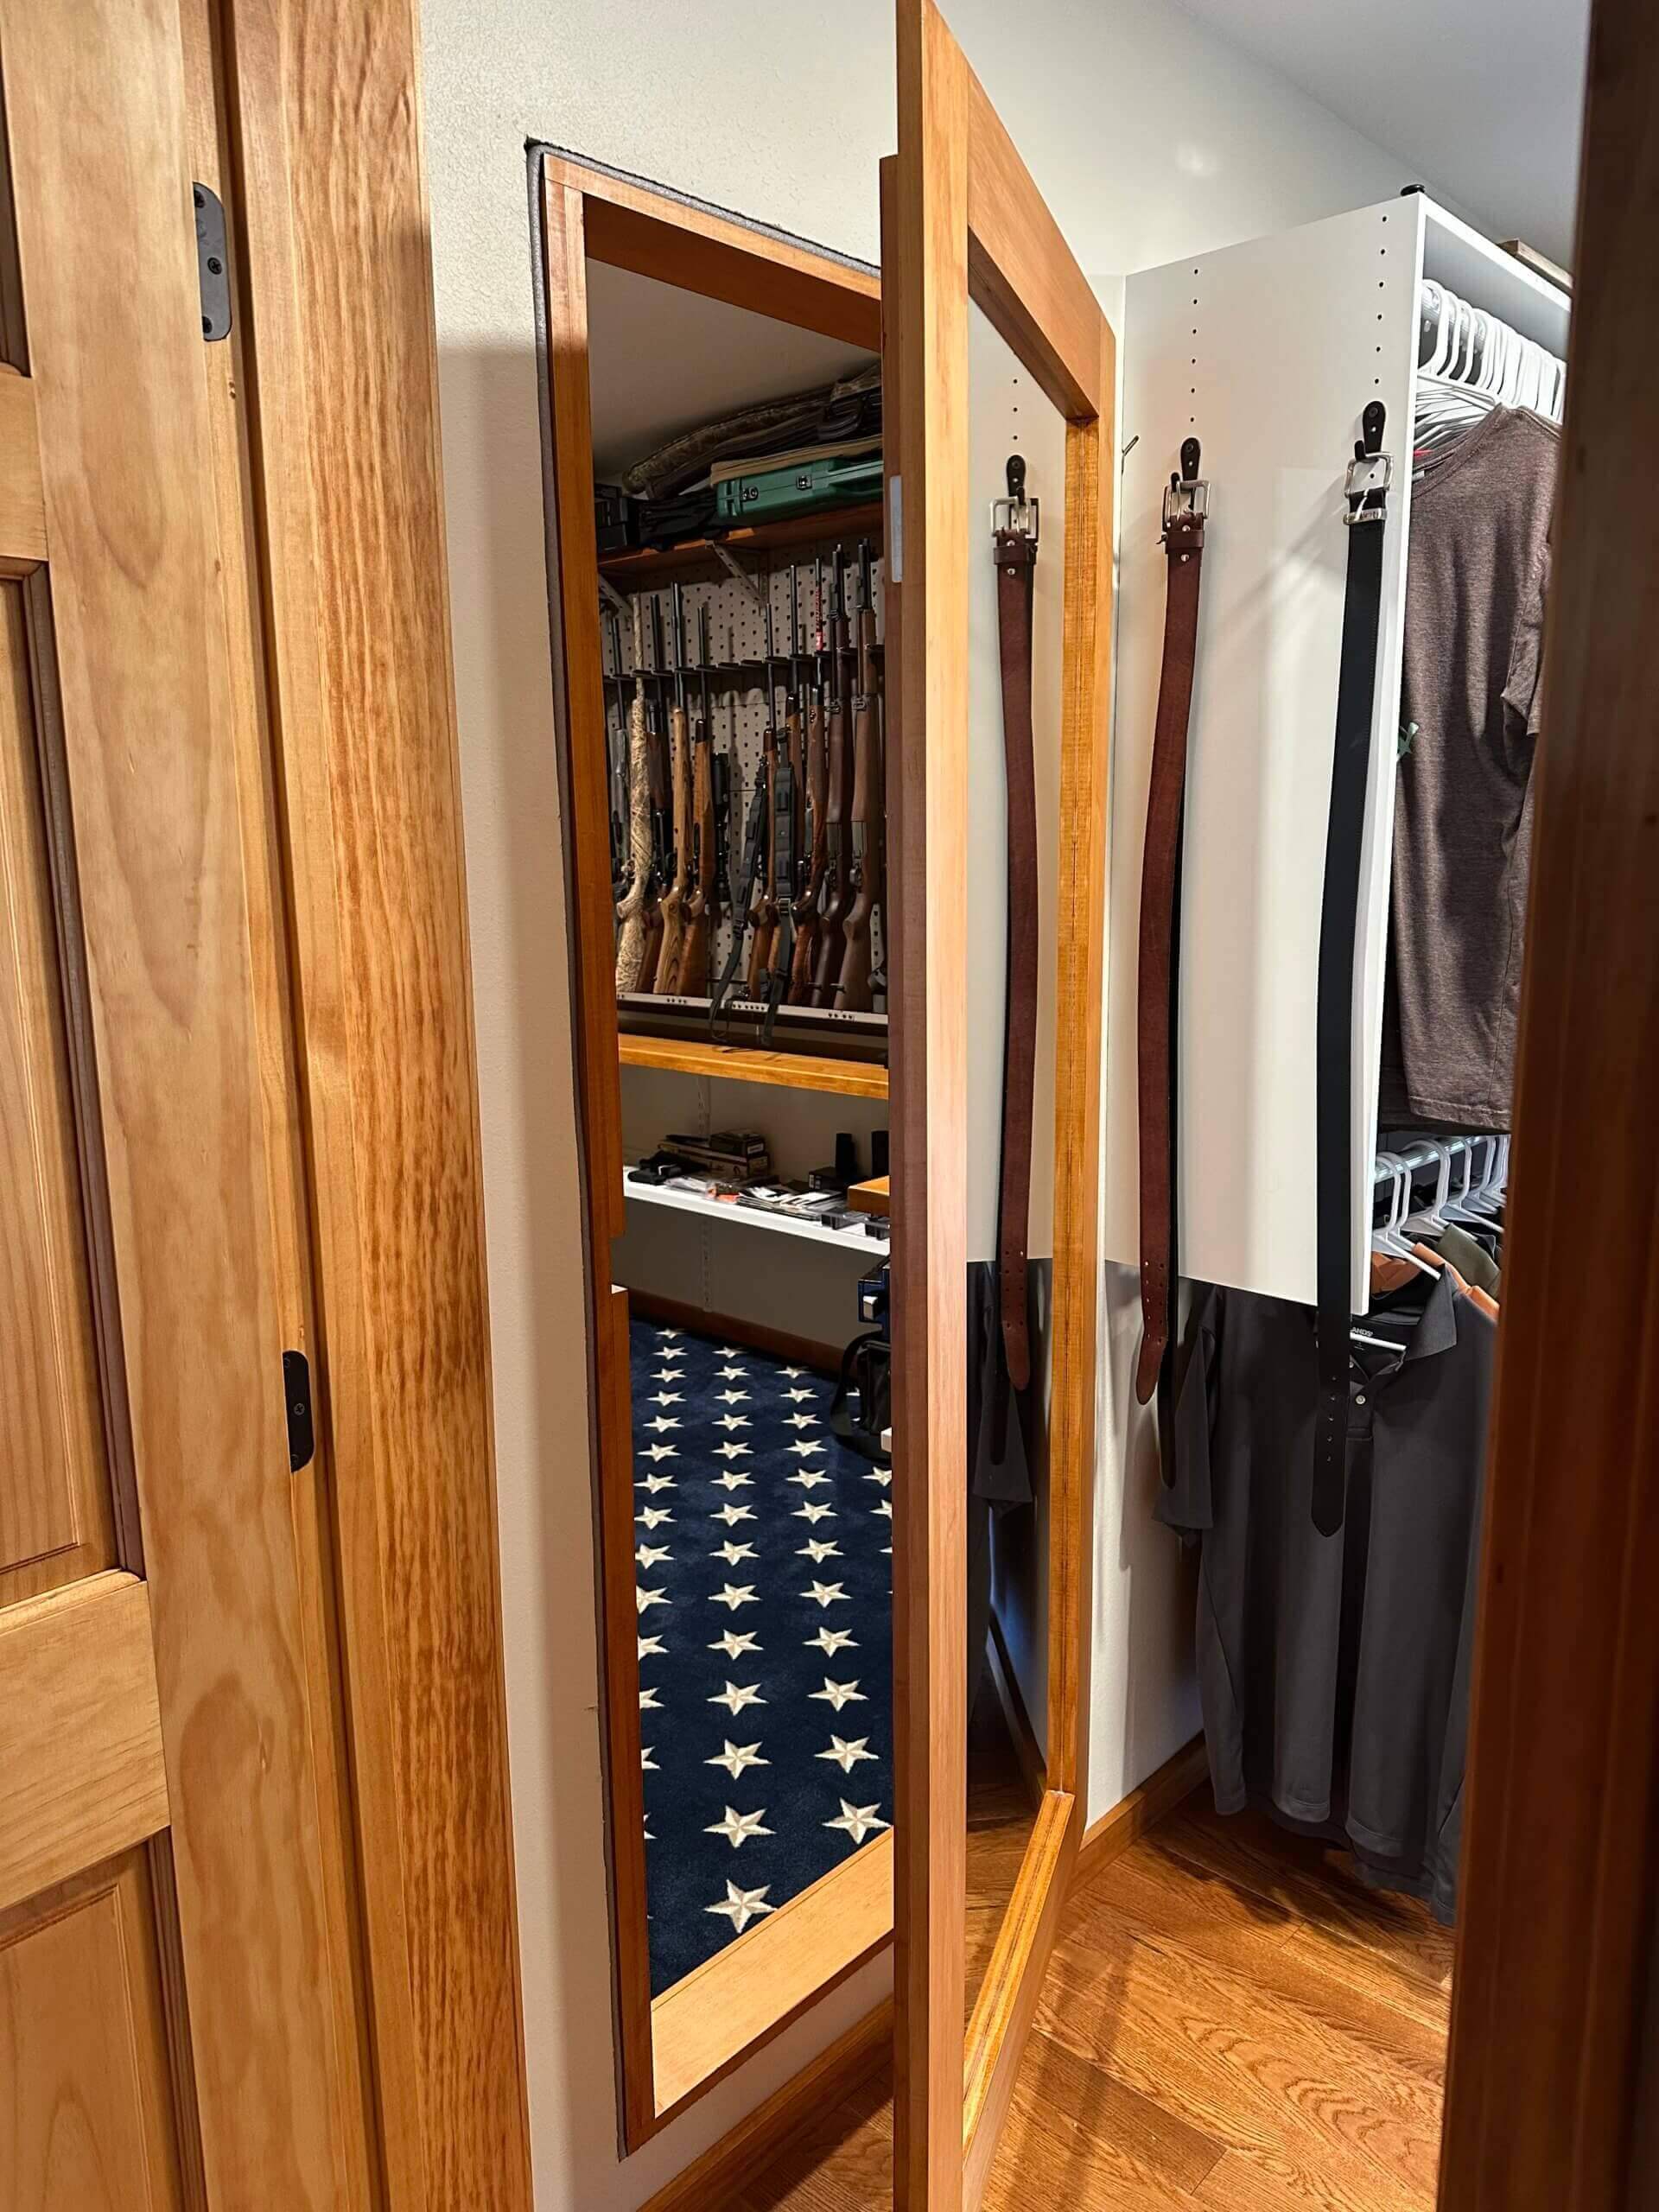
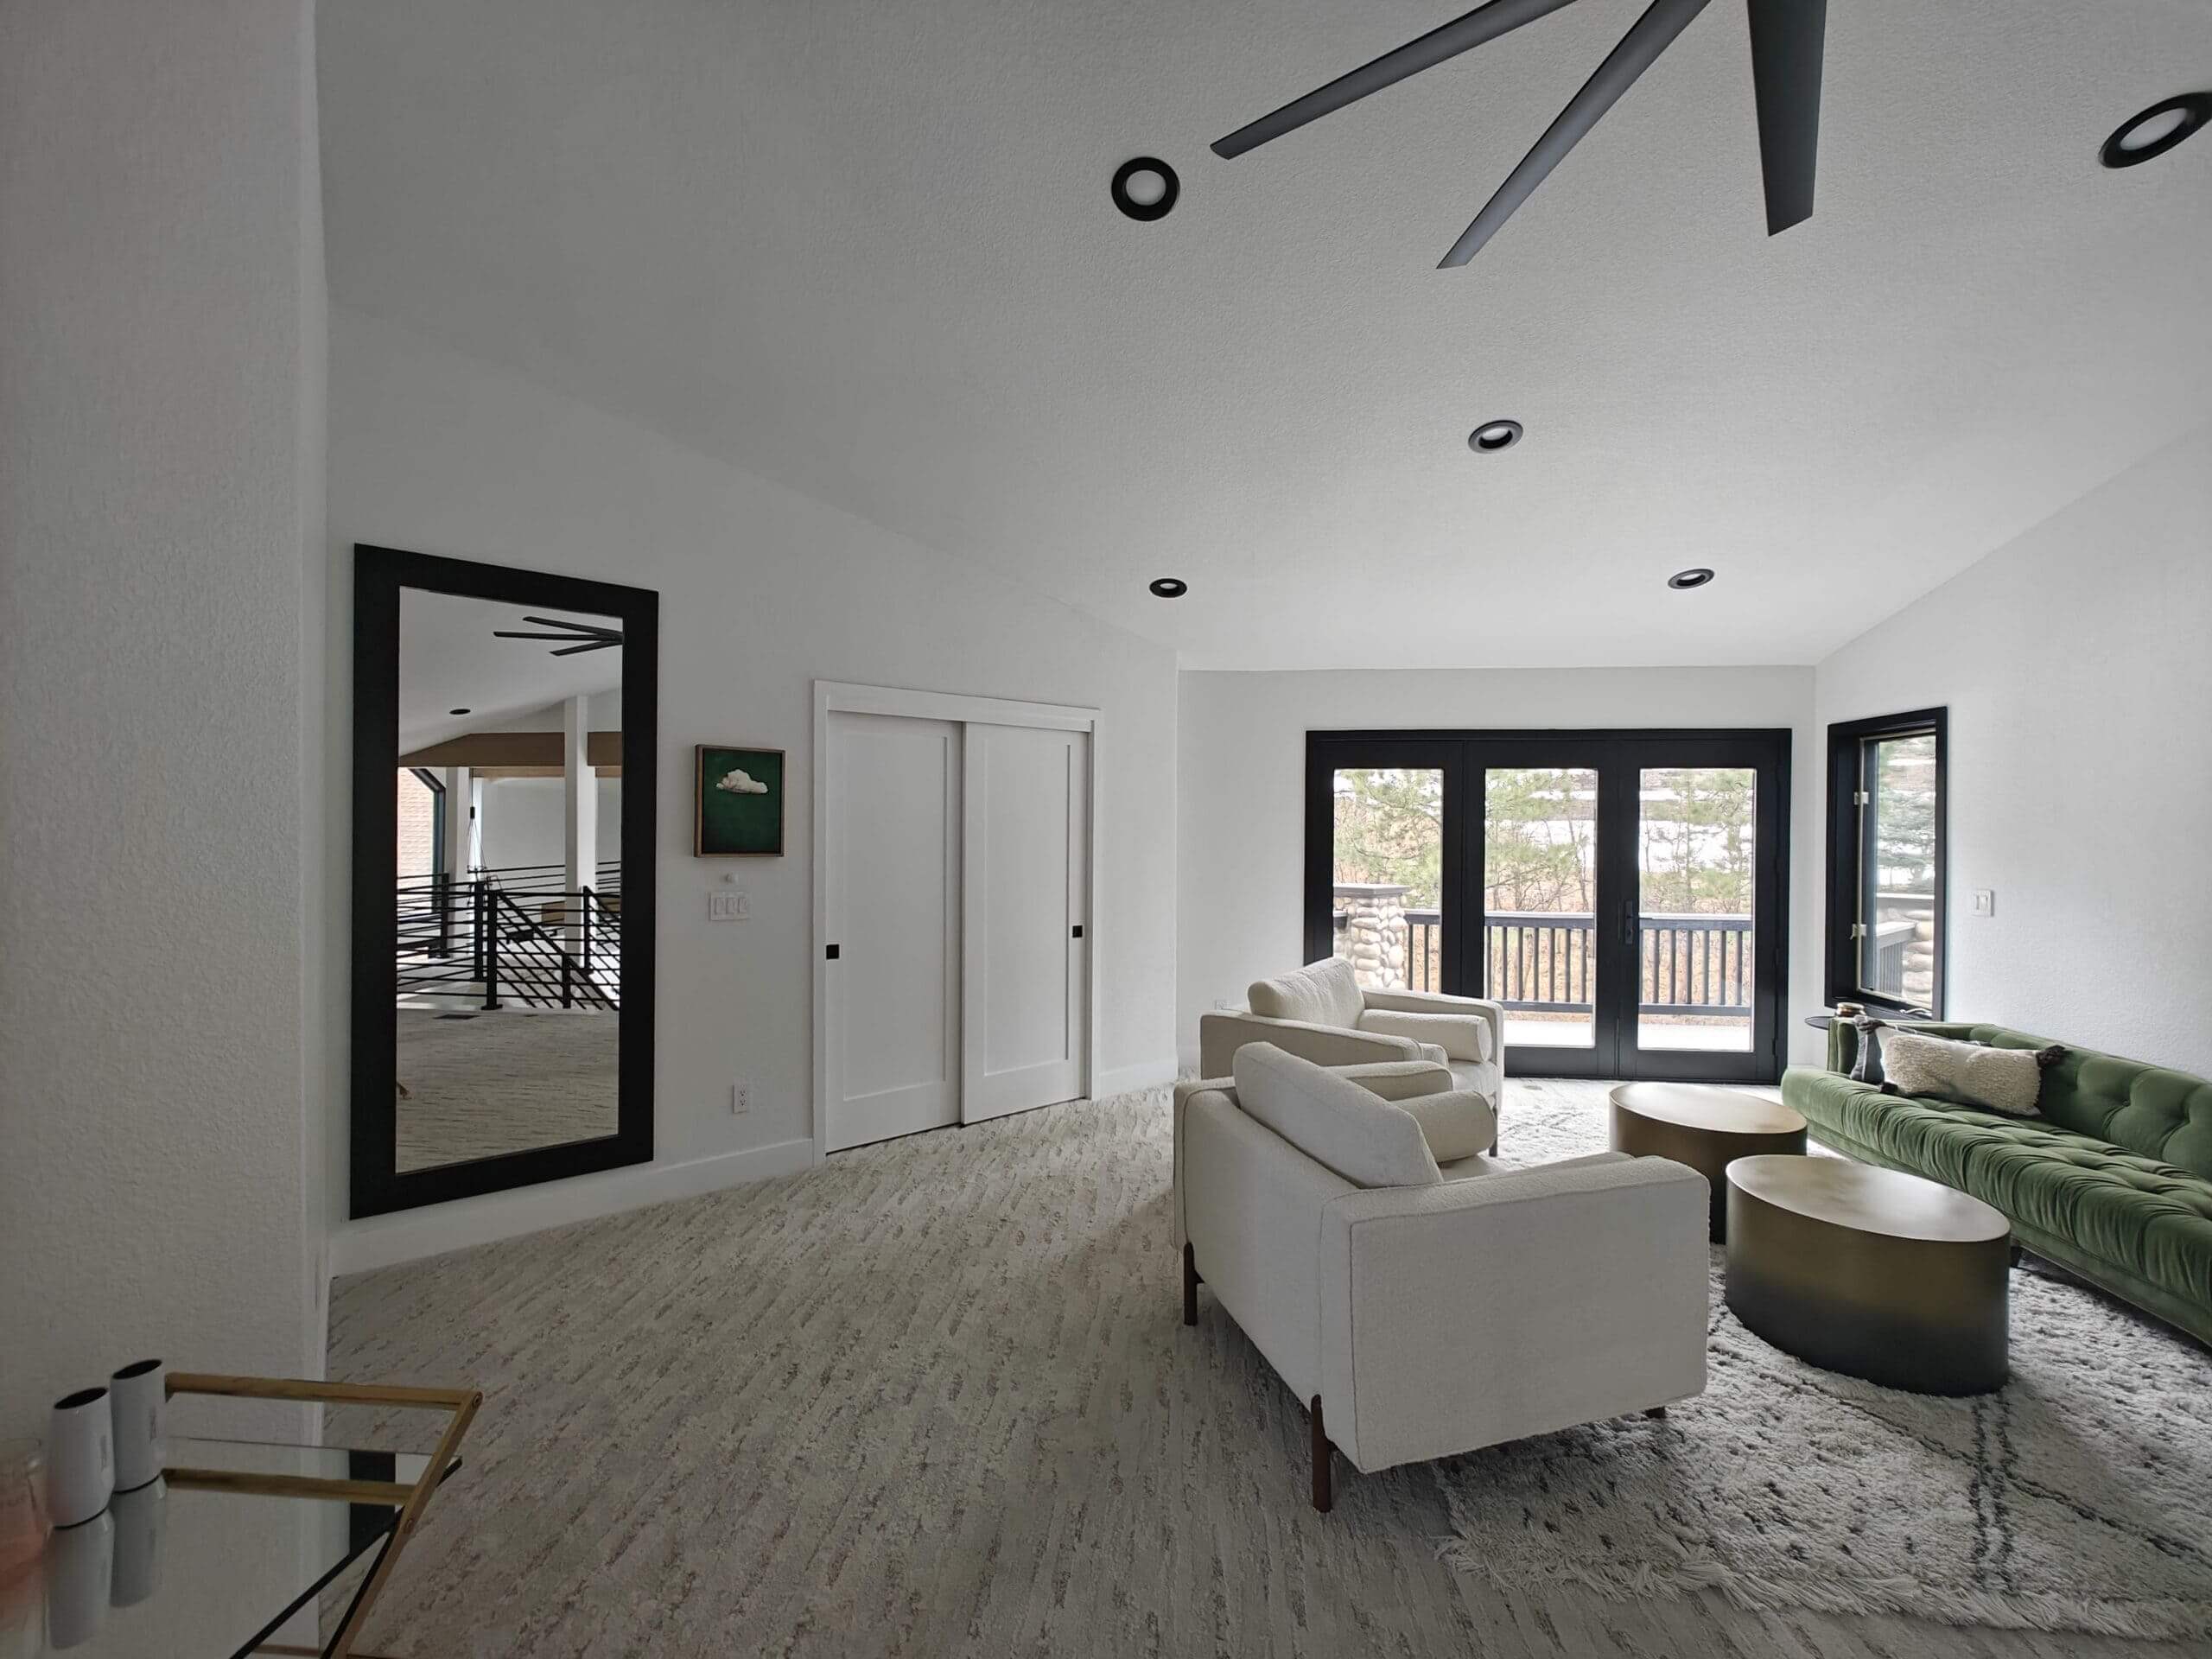
Secret mirror doors are a natural fit in any home. Available in a variety of finishes, colors, security levels, and access methods, you’re sure to find a mirror door that fits your space and decor. Mirrors work well throughout your home, especially in living spaces and closets.
- Superior concealment, materials, and mechanical design.
- Pre-hung and ready to install. No wiring or assembly required.
- Available in multiple finishes, wood choices, sizes, and swing options.
Customize your mirror secret door exactly to your liking and explore our hidden bookshelf ideas.
Discover what sets us apart and why we’re the best fit for your needs.
Mirror Secret Door
We offer our products in Maple and Alder hardwood veneer over a stable, engineered wood substrate. This results in a premium appearance, easy repair, and the ability to accept a wide variety of stains and paints.
Stain options
- Light
- Medium
- Dark
- Unfinished: Apply your own finish. Door is sanded and ready.
Mirror Secret Door
Sizing: Customizable up to 44”W, 92”T.
- Swing Direction: In or Out.
- Hinge Side: Left or Right.
- Face Frame Corners: Shaker or Mitered.
- Locking system is optional. Choose from a variety of fun and exciting secret switches.
- Wireless Switches: Book, Keypad, Fob, etc.
- Power method – Battery or AC wall power.
Mirror Secret Door
Download Spec Sheet for In-Swing
Download Spec Sheet for Out-Swing
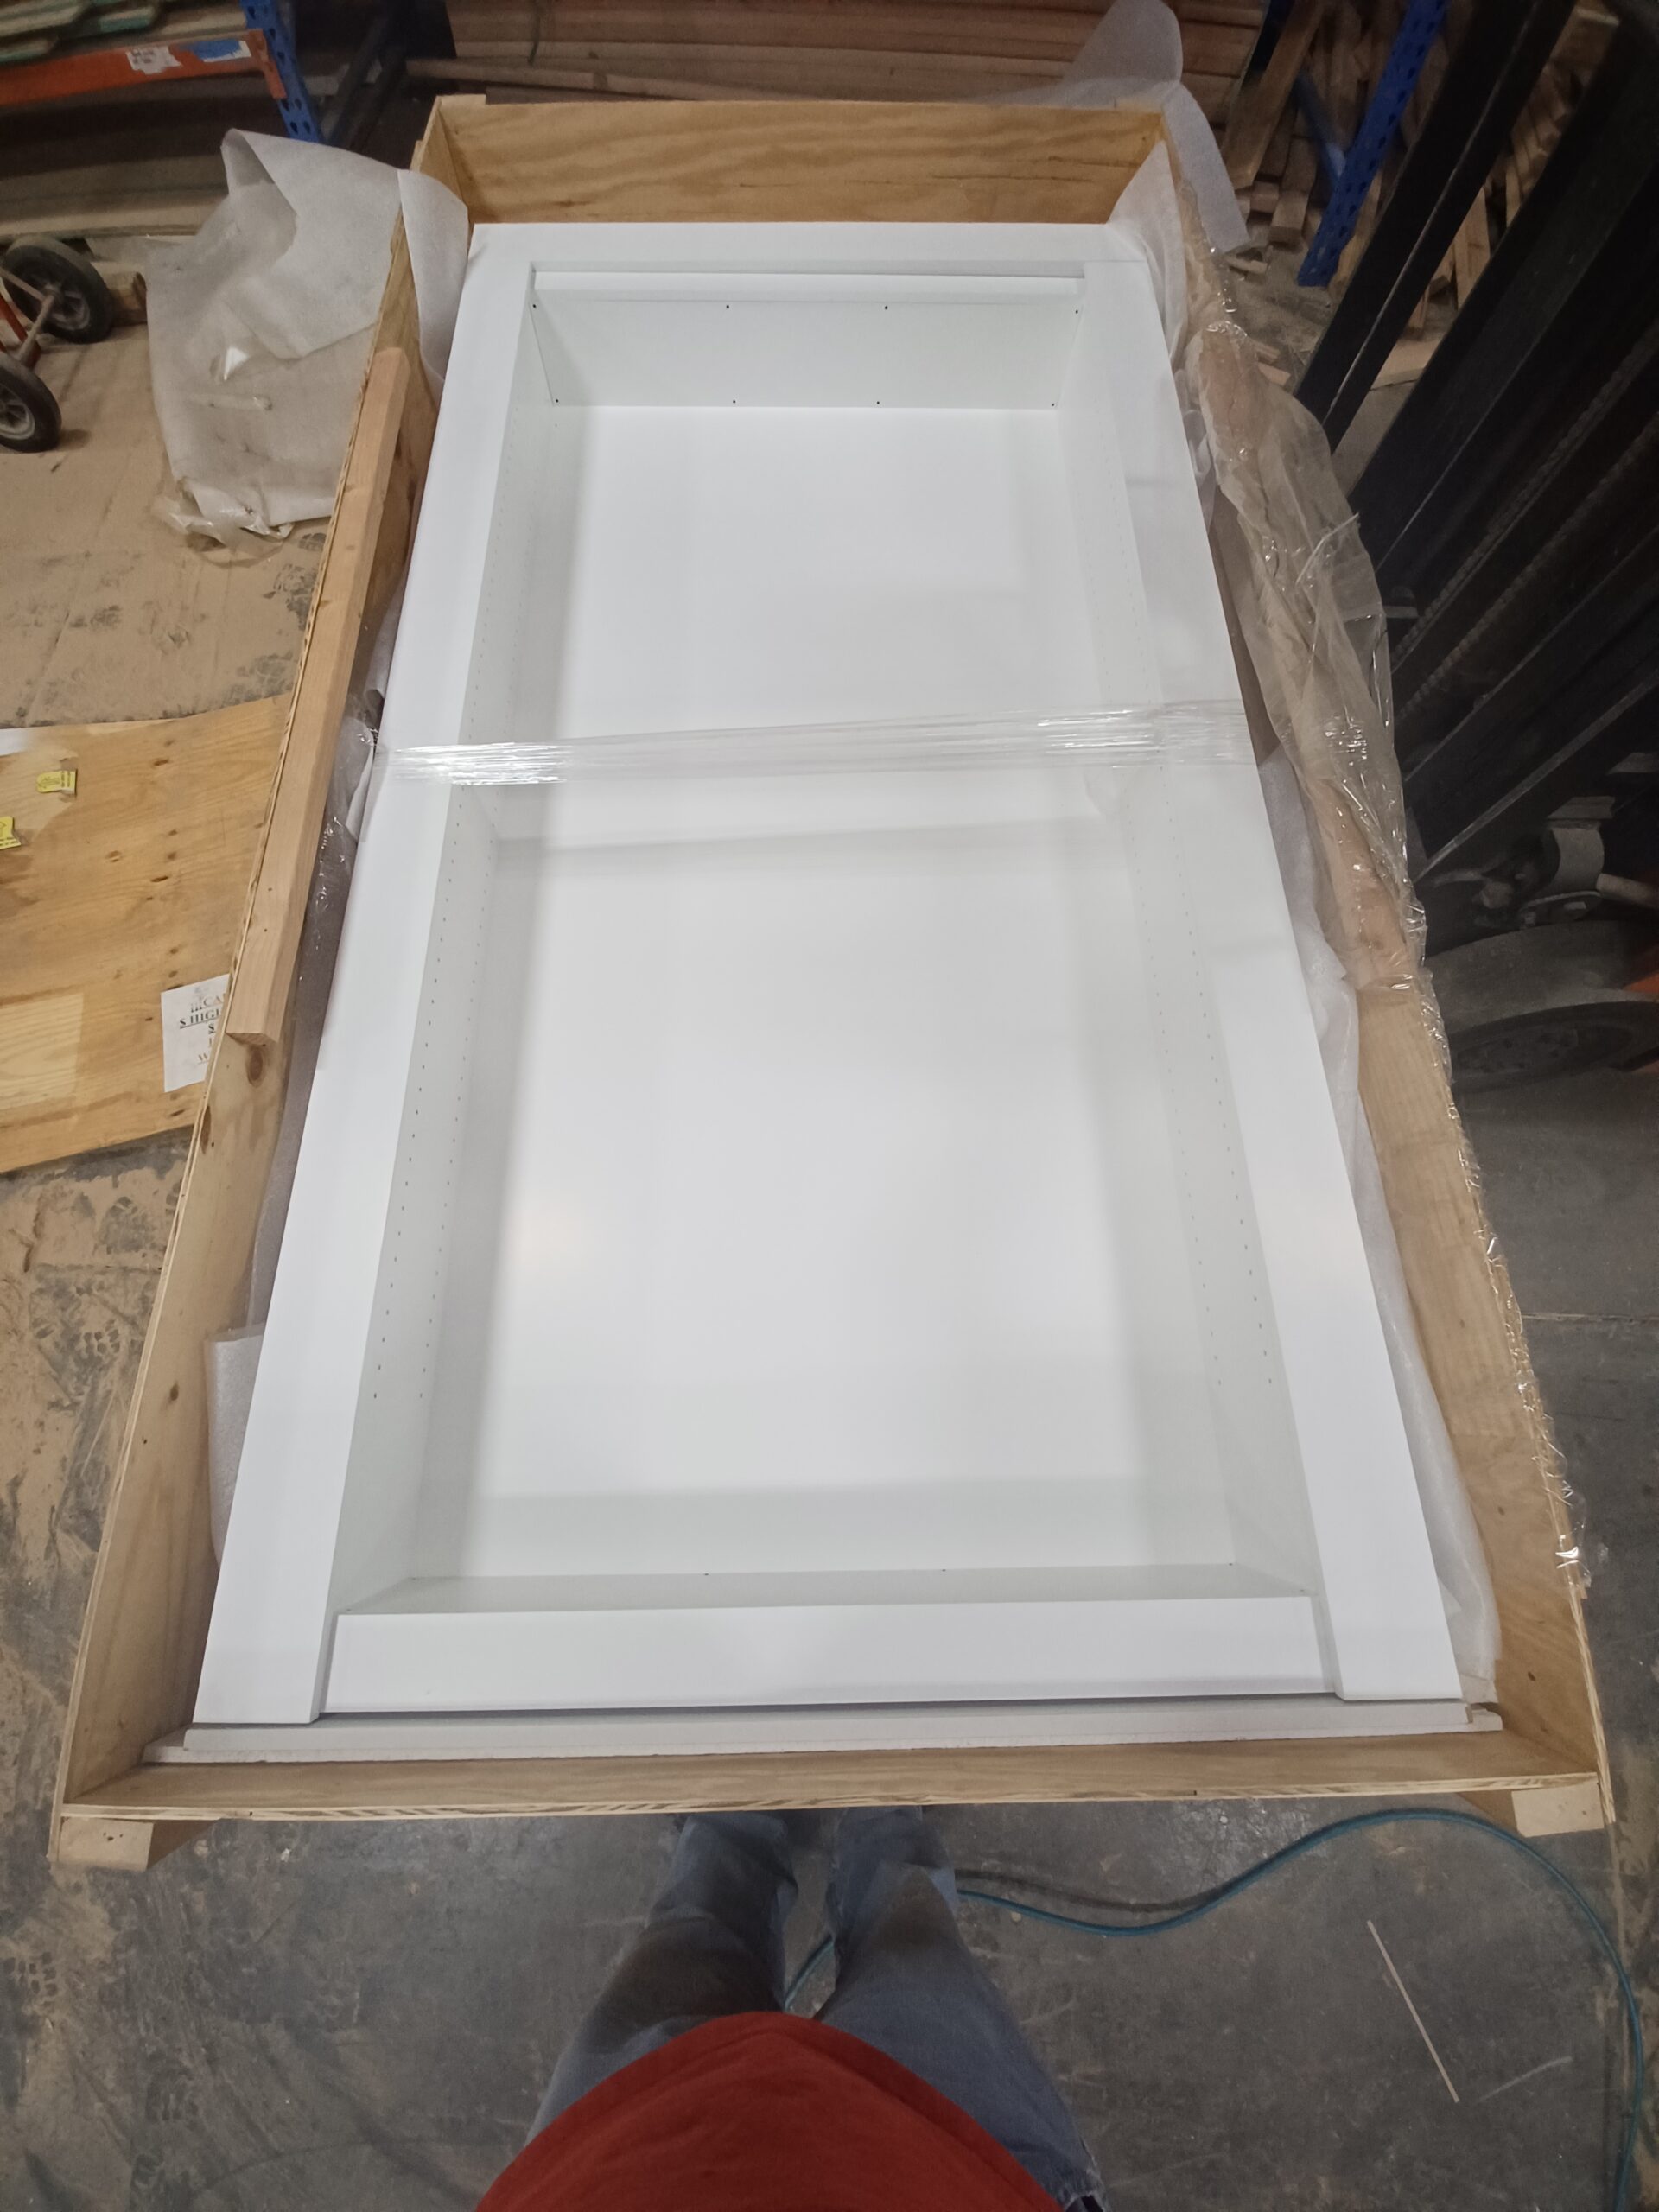
The Hidden Door Store team fully assembles and tests each door before shipment.
This includes installing the door in our testing jig that simulates the required wall conditions. The door is crated and shipped pre-hung so installation is fast and easy for a handy homeowner or contractor.
The door can fit in any wall opening up to 48″ in width and 96″ in height.
Unlimited phone support – though rarely needed – is both available and free.
How to Install a Mirror Hidden Door
Step 1: Find Your Tools
Make sure you have:
- Laser level
- Drill
- Impact driver
- Phillips bit
- T25 Torx bit
- Wood or composite shims
- Tape measure
Step 2: Inspect Your Hidden Mirror Door
Before moving the door:
- Carefully remove the shipping crate.
- Inspect the mirror door and frame for shipping damage.
- Leave the protective shrink wrap in place until you’re ready to install.
- Keep all packaging until installation is complete.
If you notice any damage, stop installation and contact Hidden Door Store support before proceeding.
Step 3: Verify the Wall Opening
Hidden mirror doors require much tighter tolerances than traditional interior doors.
Before installation, verify that:
- The rough opening matches your ordered dimensions.
- Width and height vary by no more than ¼ inch.
- The opening is square.
- The threshold sits at least 2¾ inches above the top of the baseboard to create the appearance of a naturally wall-mounted mirror.
Step 4: Check That the Opening Is Level and Plumb
Using a laser level, verify:
- The floor is level.
- Both sides of the opening are perfectly plumb.
- Corners are square.
- The wall surface is flat from front to back.
Even minor framing issues can create visible gaps that reduce the hidden appearance of the mirror door.
Step 5: Install Electrical Power (If Needed)
Some hidden mirror doors include:
- Electronic locks
- Wireless switches
- Battery backup
- AC power options
If your model includes these features, install a standard 110V outlet inside the hidden room within approximately 2 feet of the top center of the doorway before installation.
Step 6: Move the Hidden Mirror Door Into Position
Because the door arrives pre-hung:
- Plan your moving path ahead of time.
- Use four people for larger mirror doors.
- Keep the shrink wrap on until you’re at the installation location.
- Carry the unit flat with the mirror facing down.
- If using furniture dollies, support the door by the jamb—not the mirror frame—to prevent damage.
- Lay the door on a blanket before removing the protective wrap.
Step 7: Install the Door Frame
Carefully slide the frame into the wall opening.
Then:
- Open the mirror door carefully.
- Support the door with shims.
- Align and shim the hinge side until perfectly plumb.
- Secure the hinge side using the supplied screws.
- Repeat the process on the latch side.
- Confirm the frame is square before tightening all fasteners.
Proper alignment ensures smooth operation and keeps the mirror flush with the wall.
Step 8: Connect Power (If Equipped)
For powered mirror doors:
- Route the supplied control cable.
- Mount the control box.
- Connect the AC adapter.
- Verify the power indicator illuminates.
Doors without electronic features can skip this step.
Step 9: Test Door Operation
Before finishing the installation:
- Open and close the hidden mirror door several times.
- Verify the door moves freely without rubbing.
- Test the magnetic lock.
- Test any wireless key fobs, keypads, or hidden switches.
If the latch binds, make minor lock adjustments before completing installation.
Step 10: Complete Final Safety Checks
Before considering the installation complete:
- Confirm the mirror sits flush against the wall.
- Verify the hidden door conceals the opening evenly.
- Test all electronic locking features.
- Store the emergency lockout tool outside the hidden room.

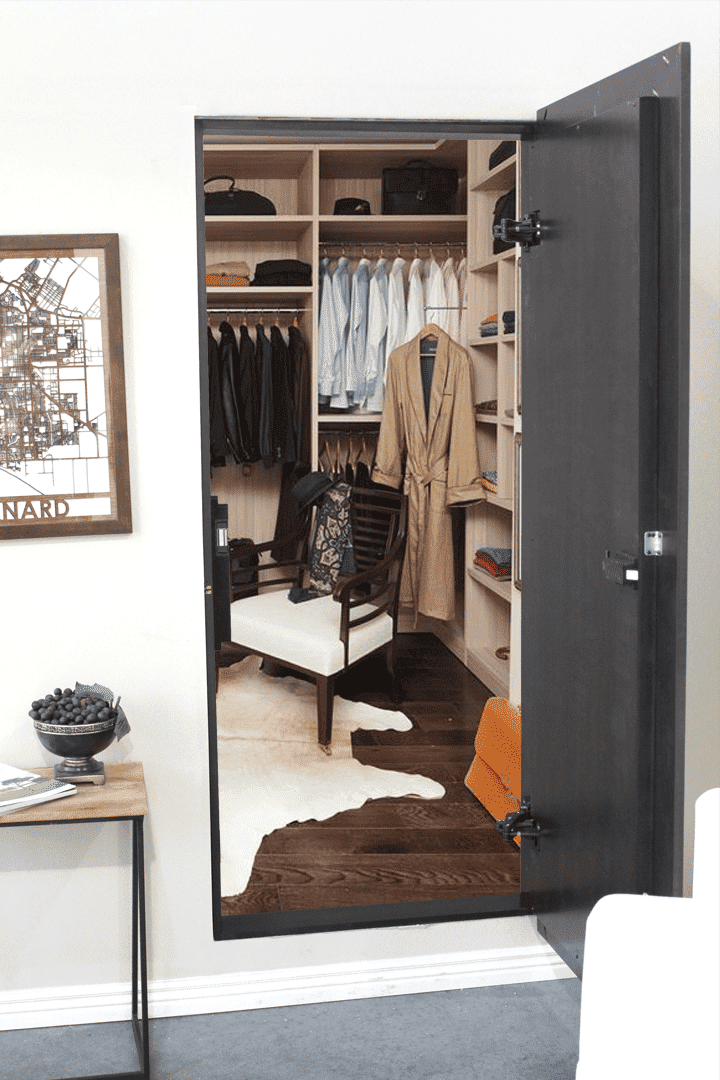
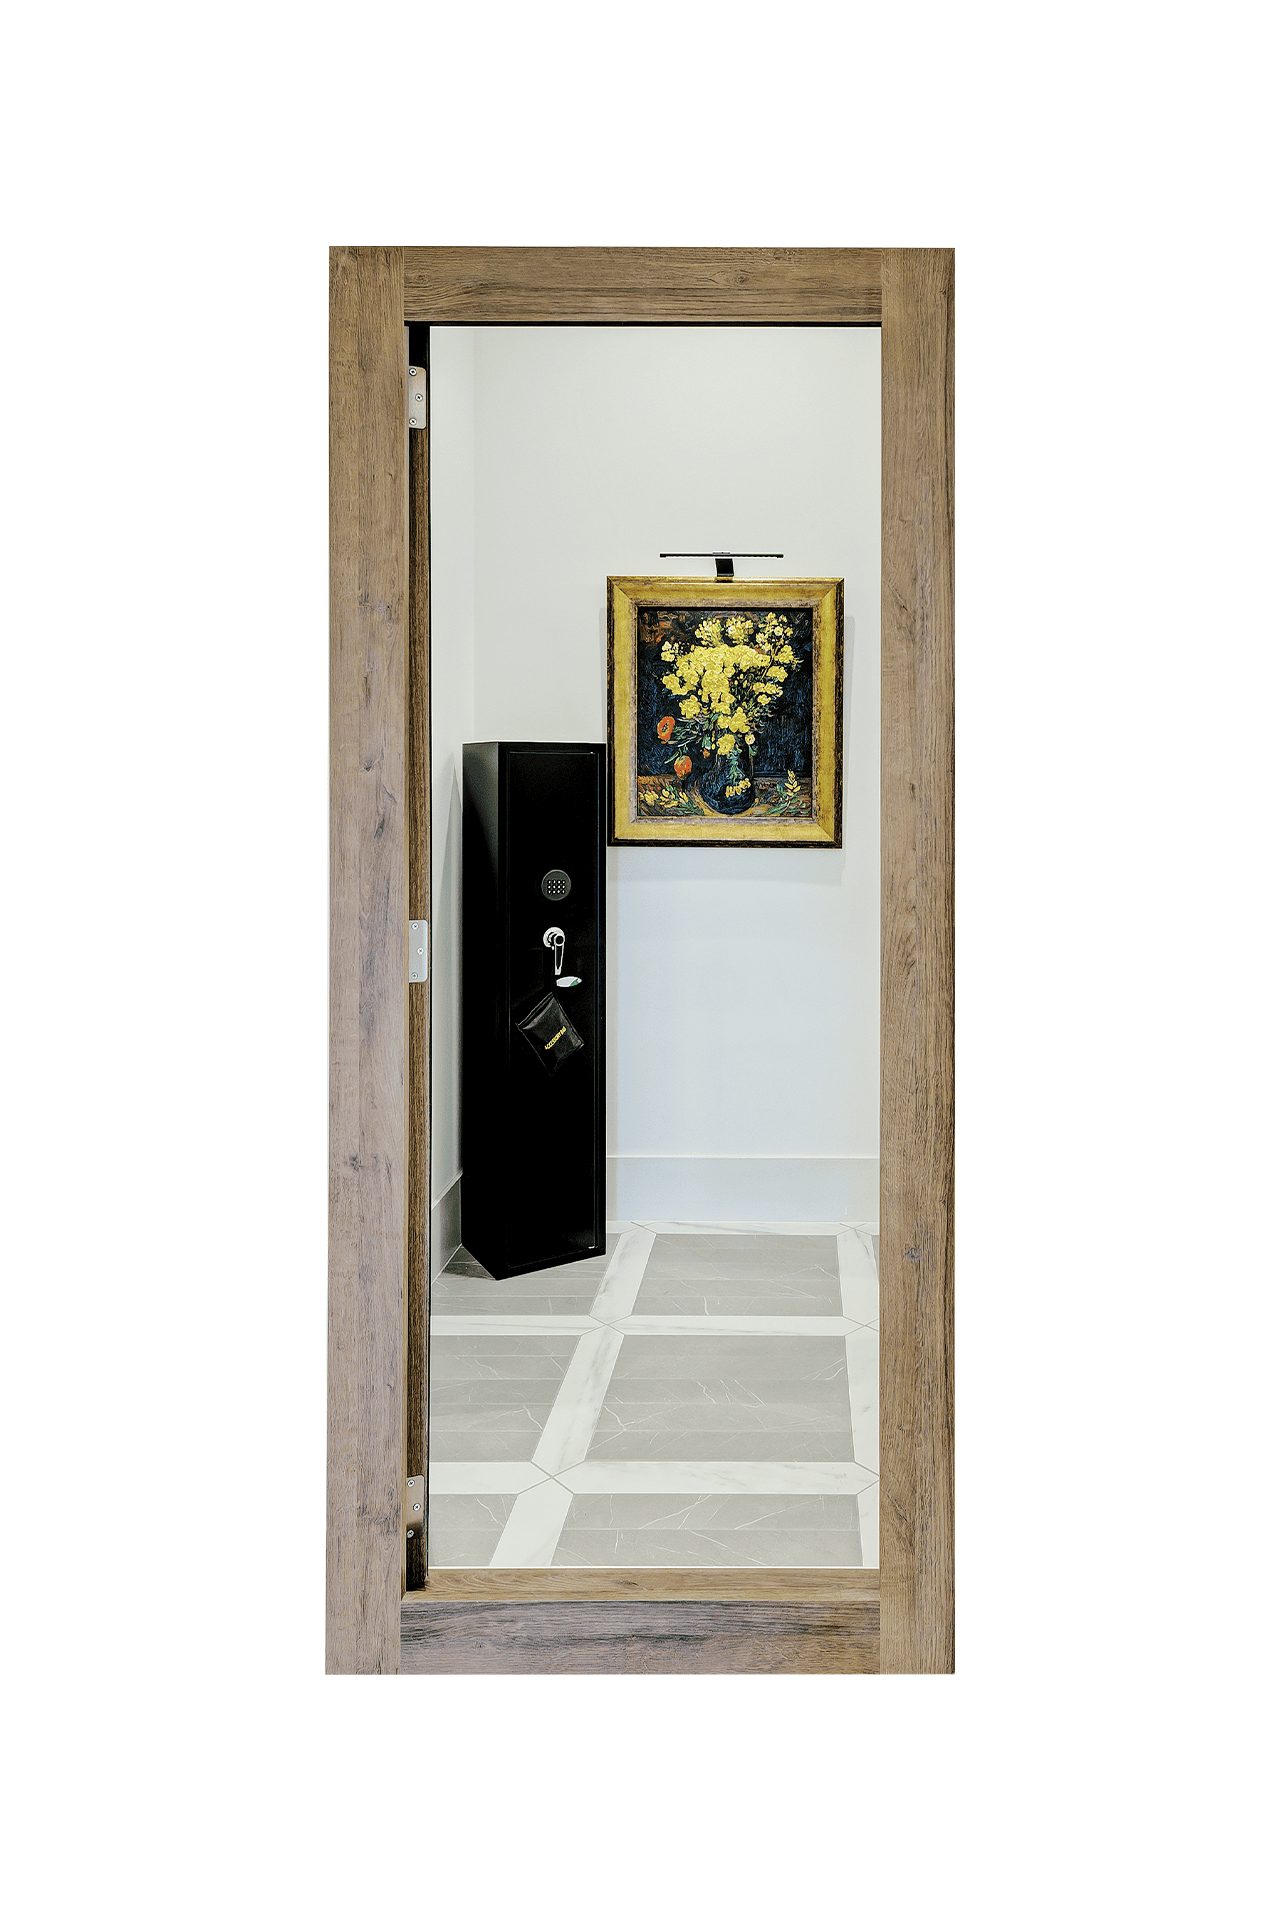
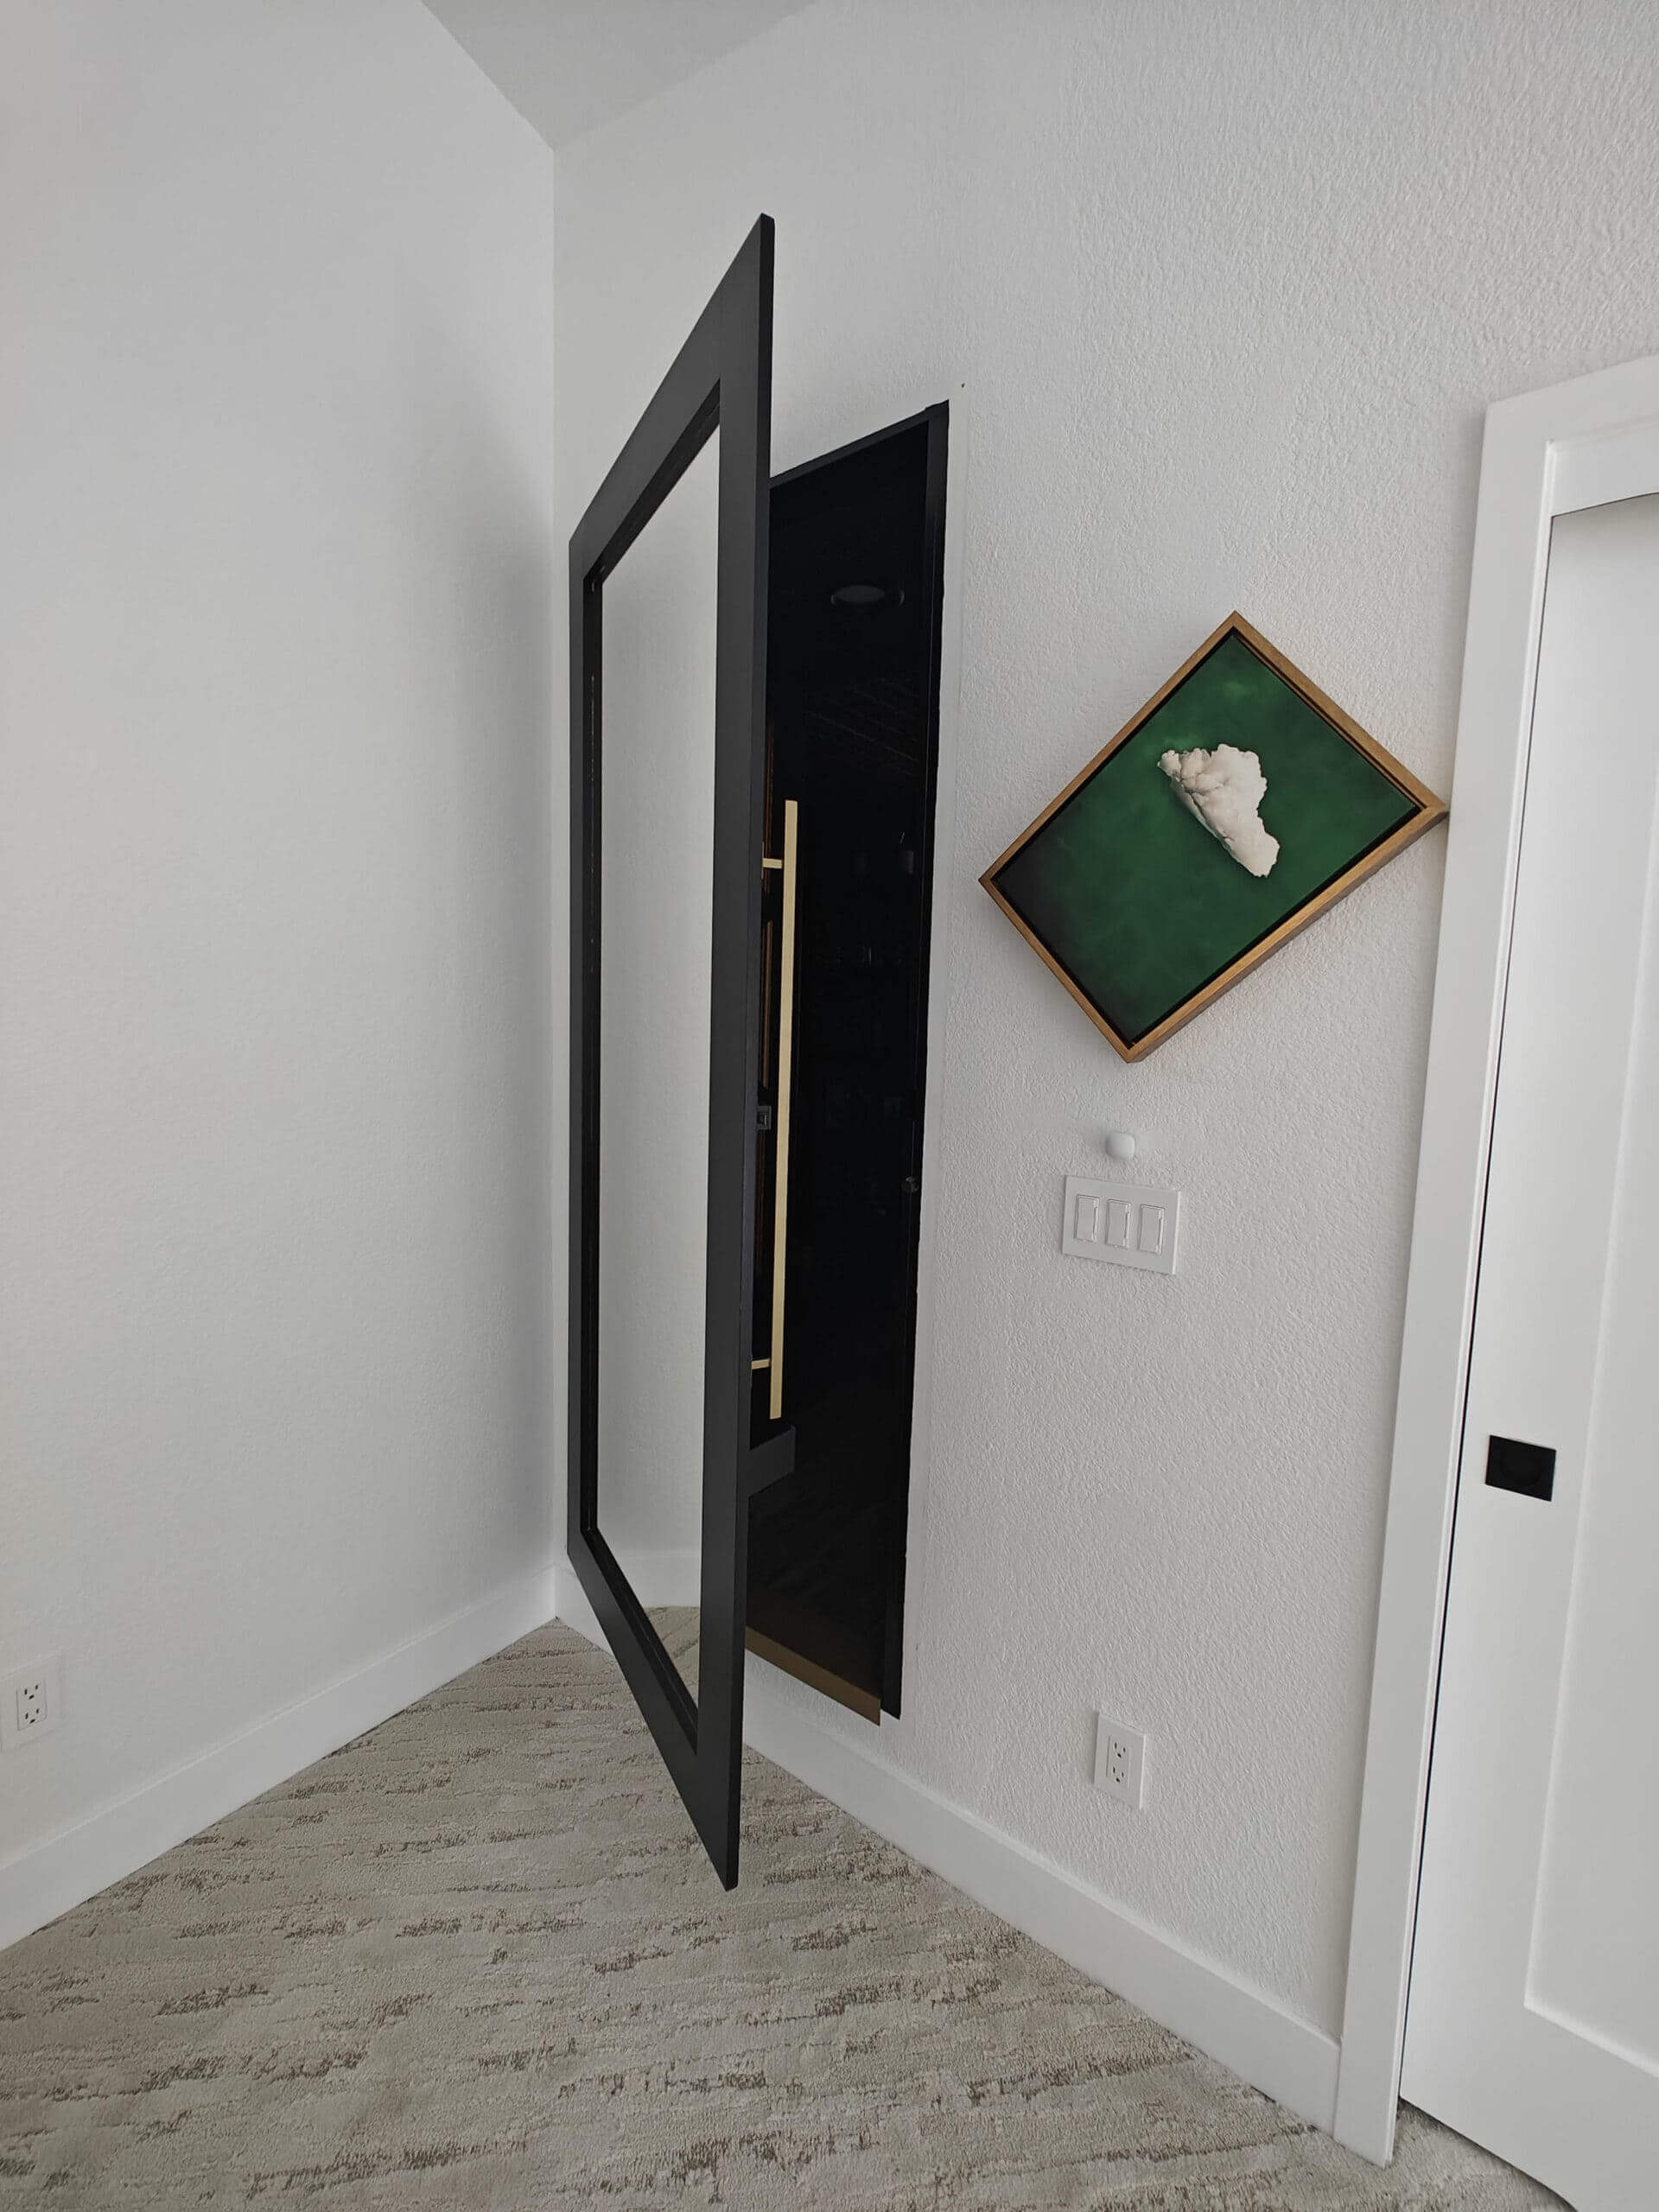
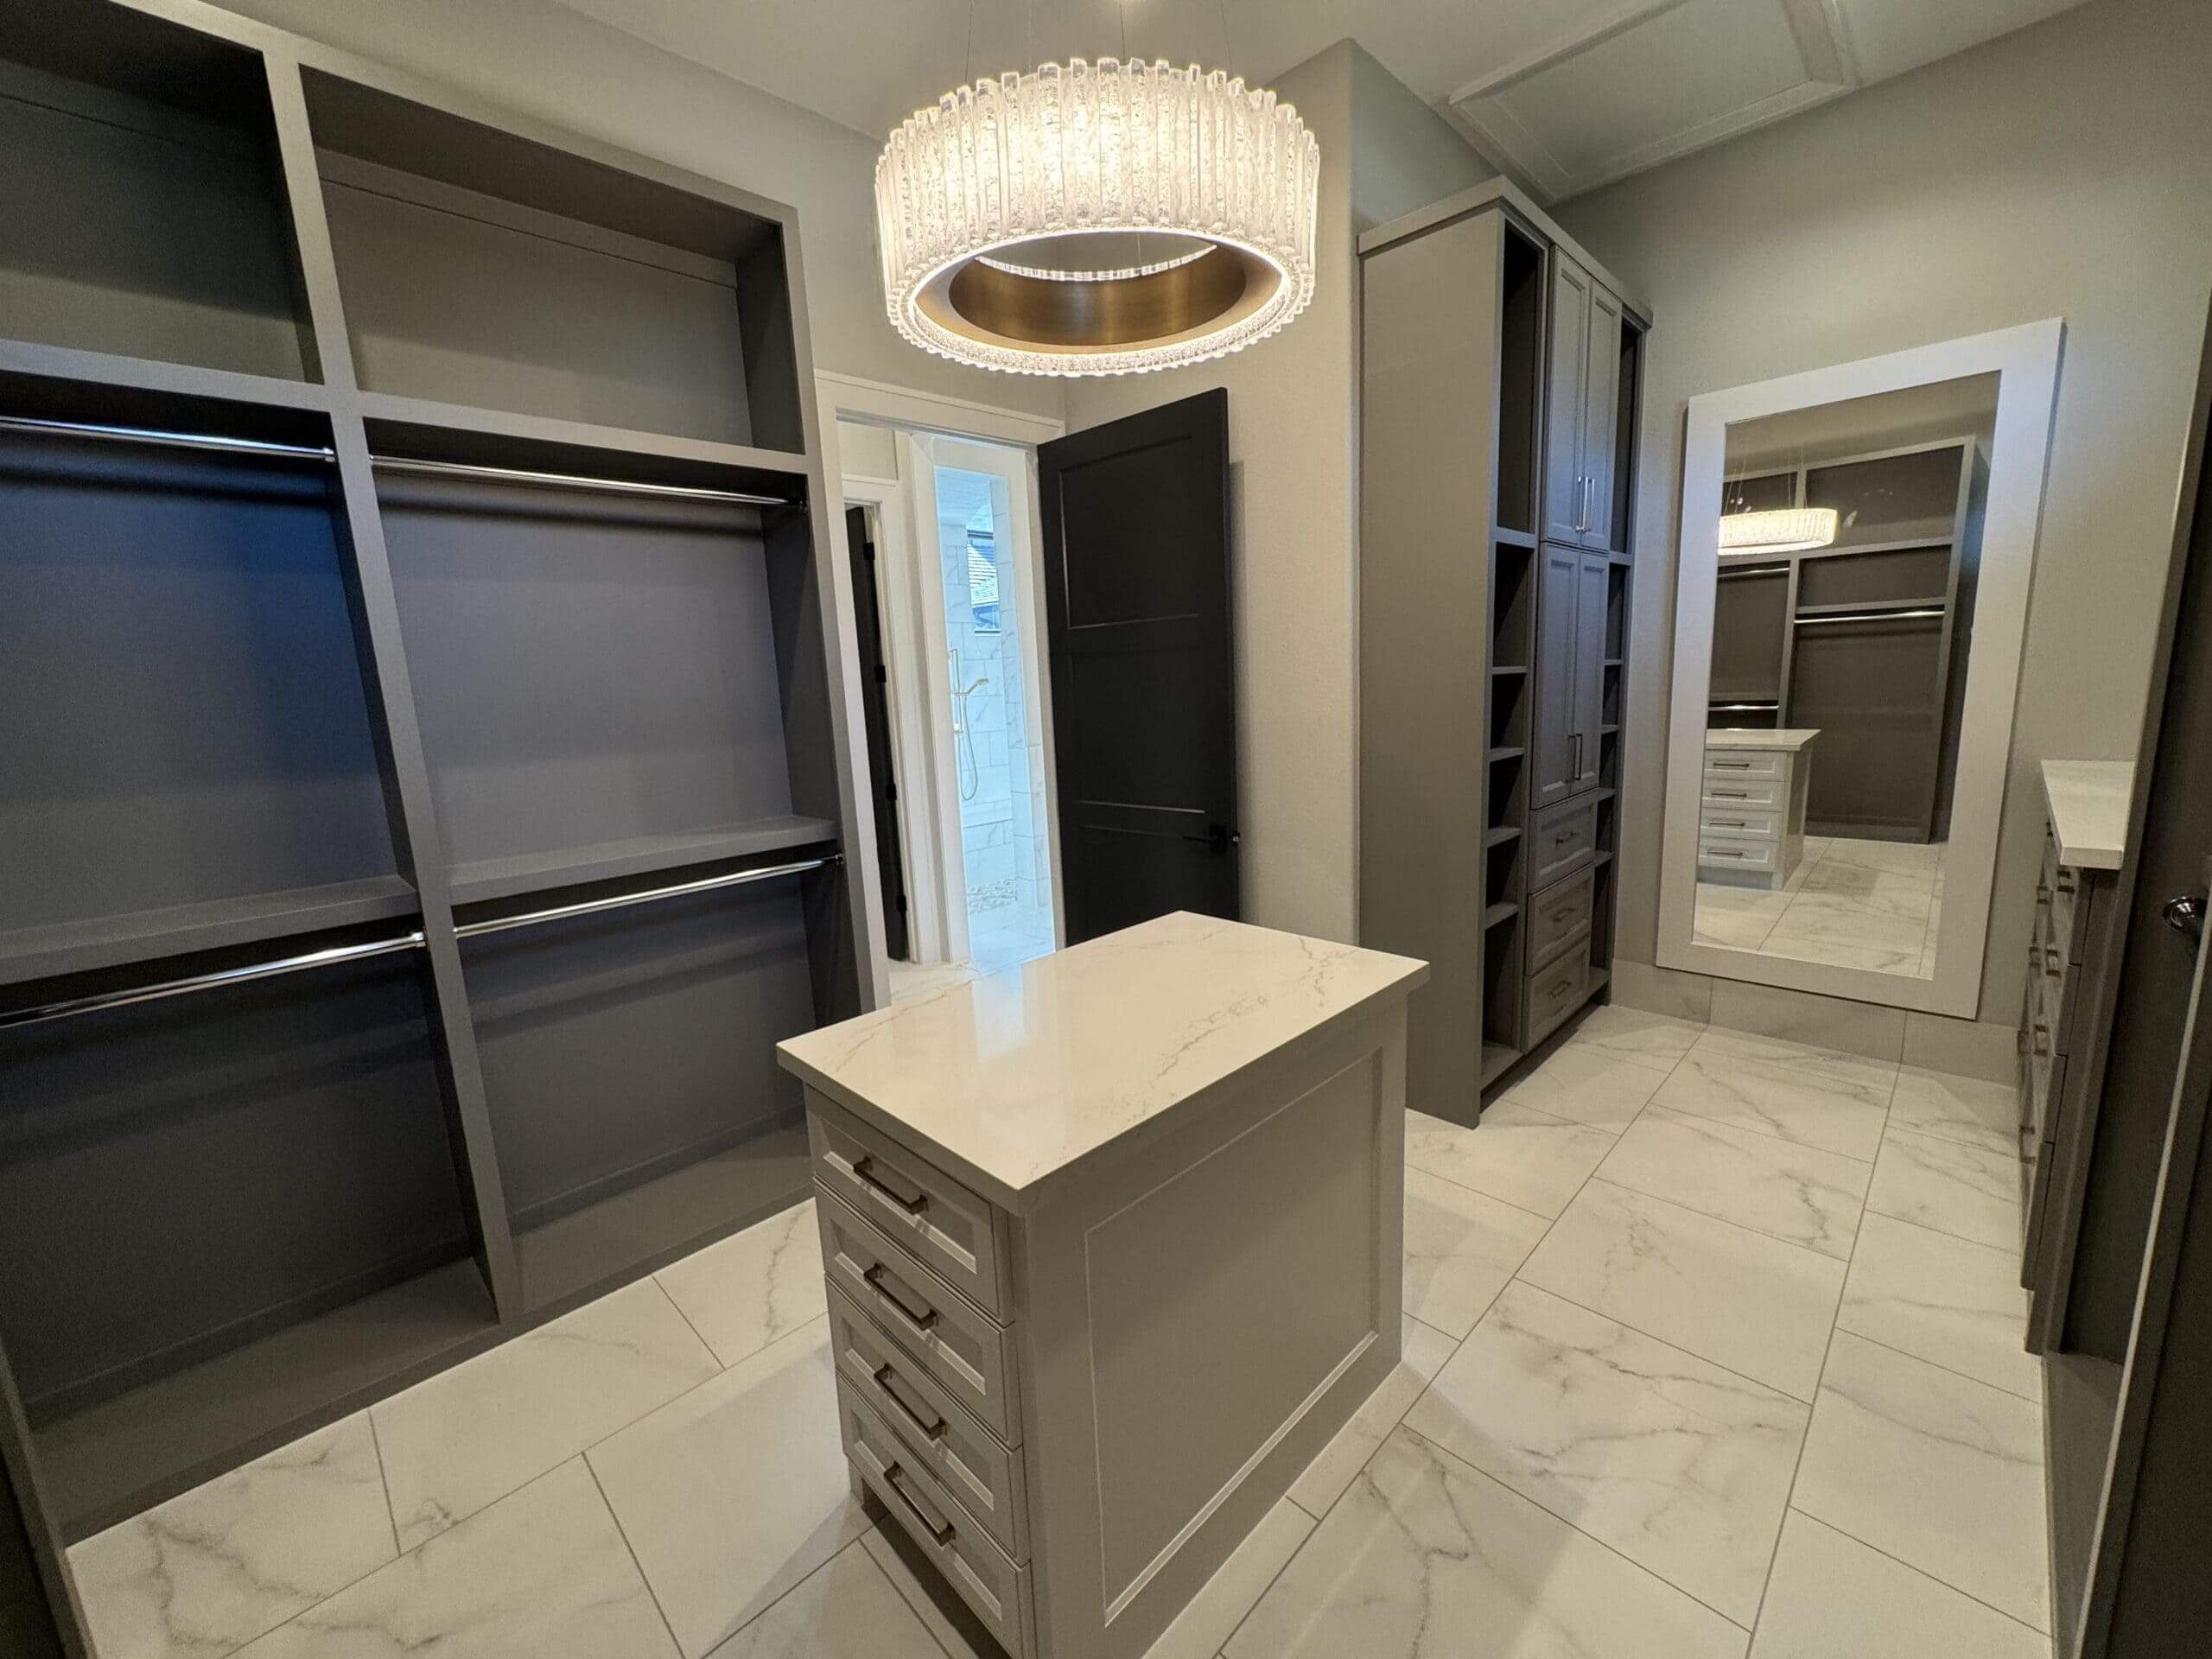
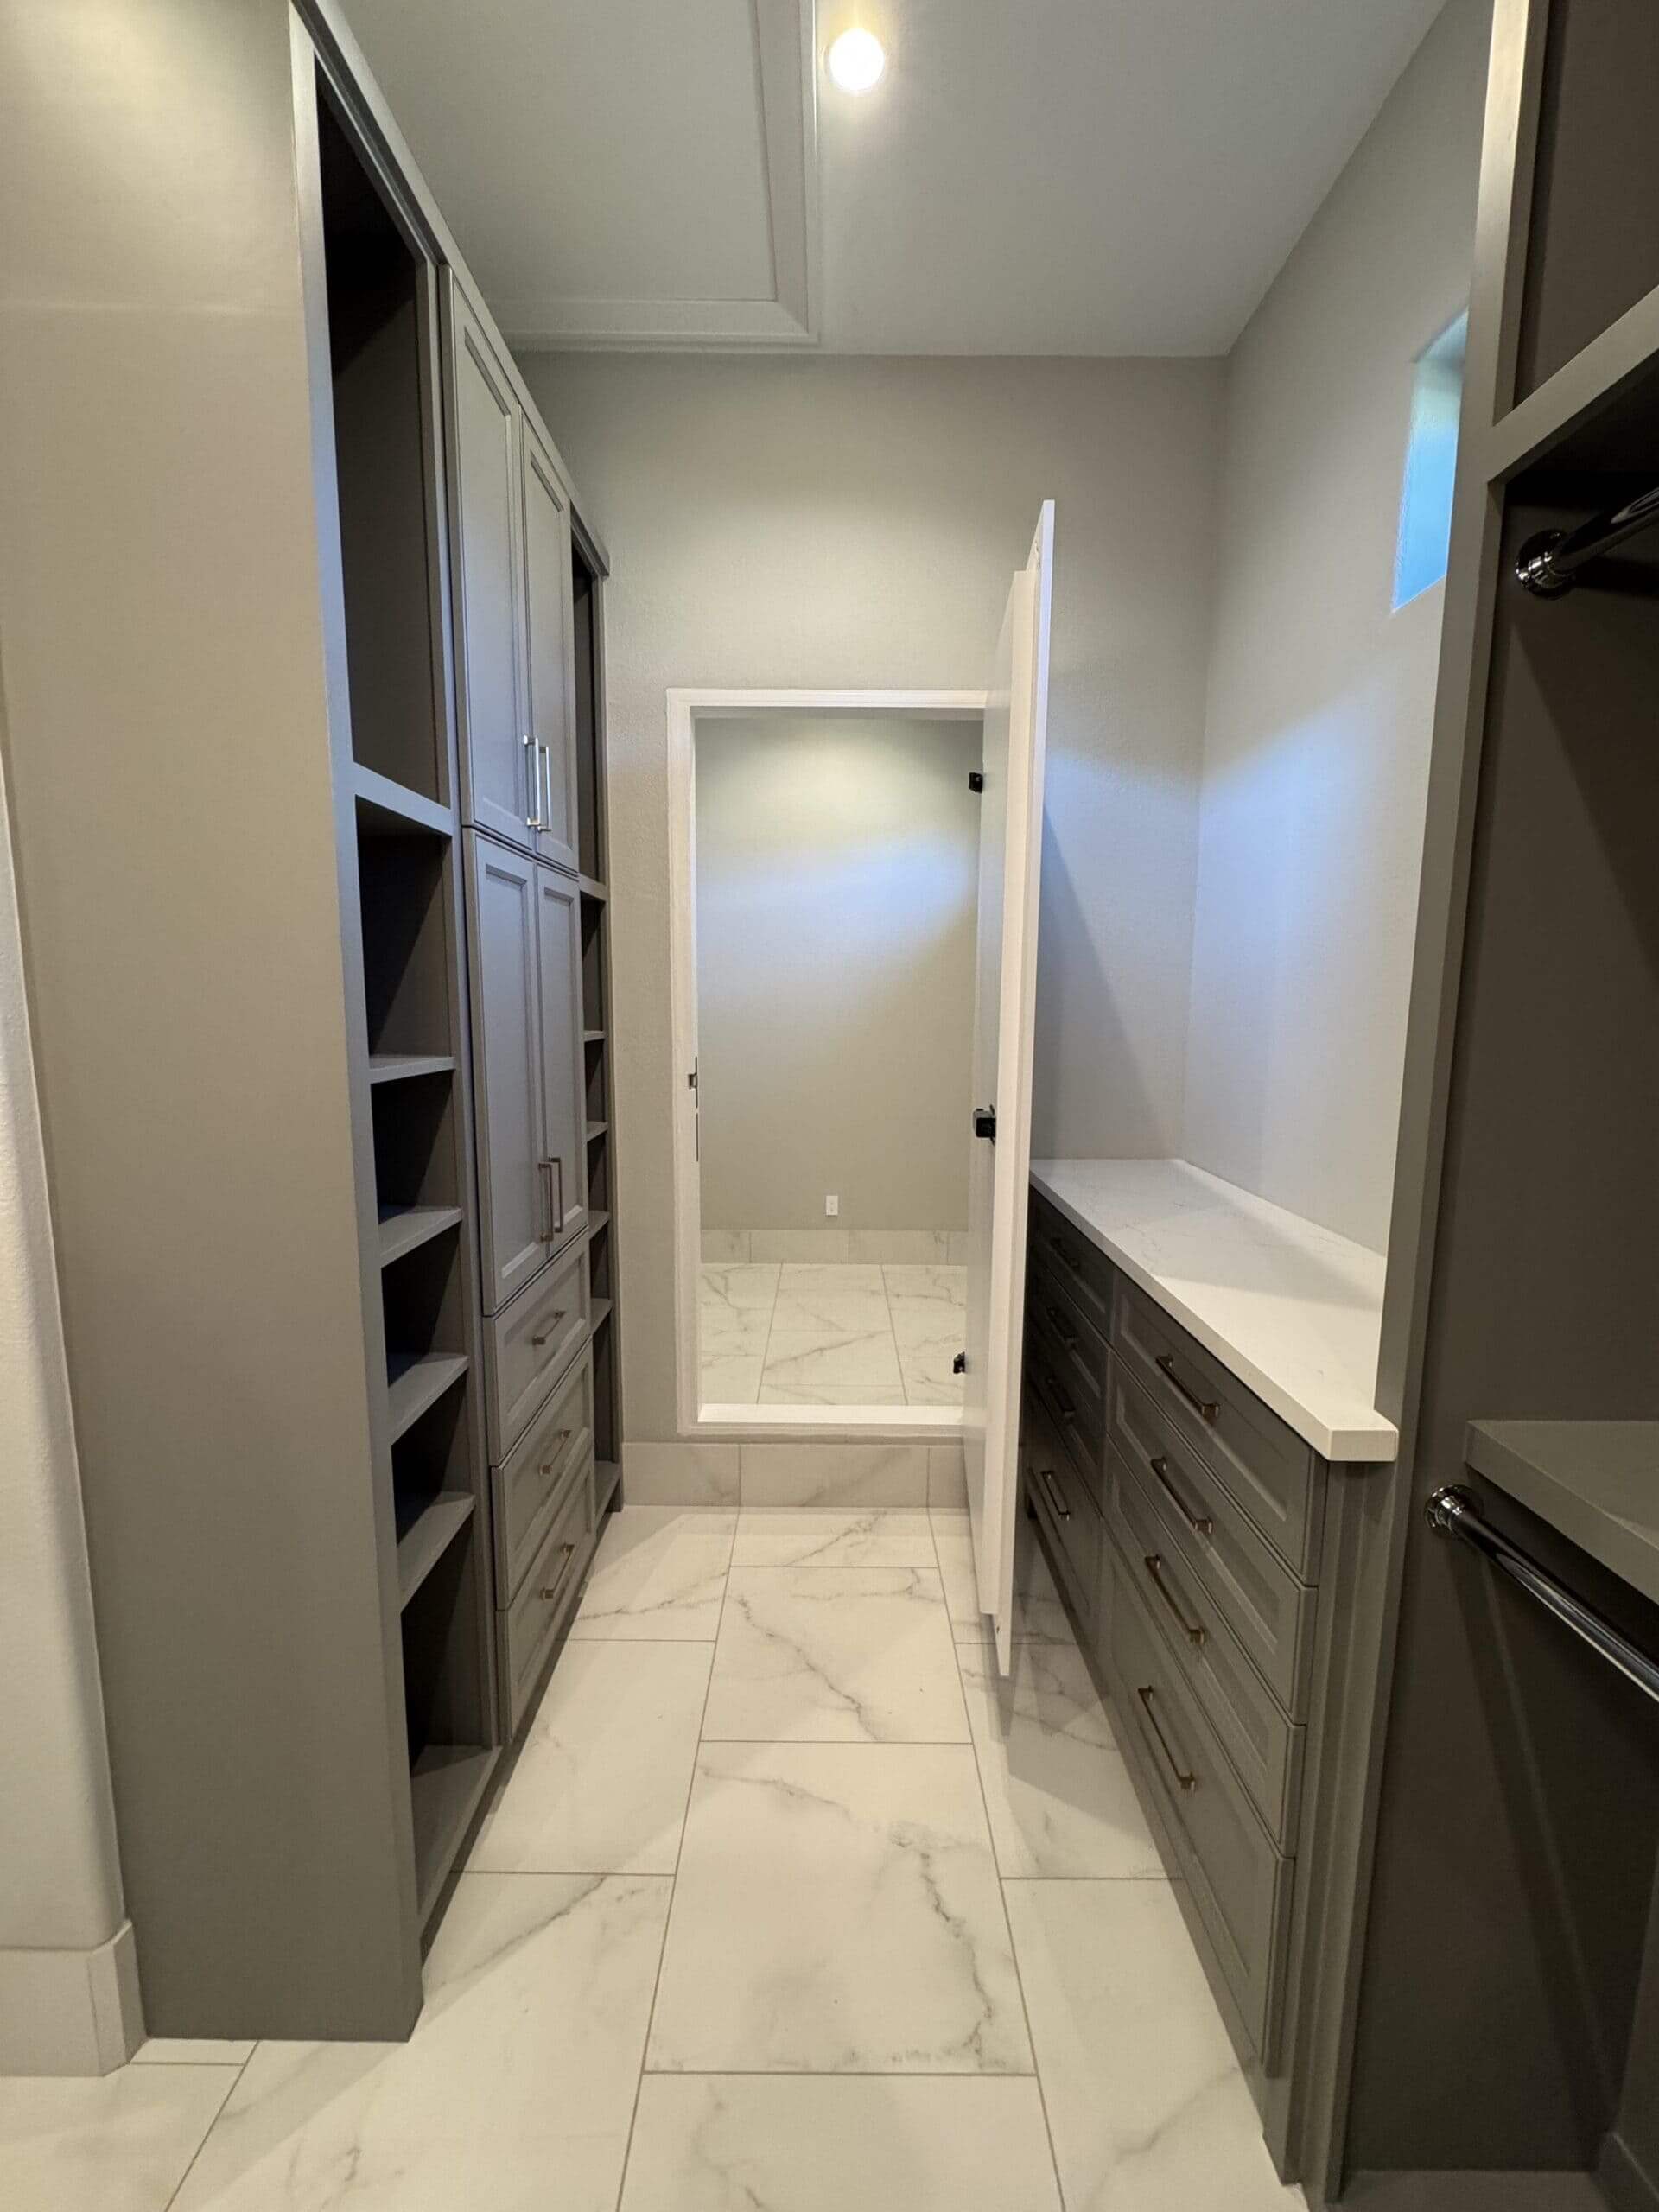
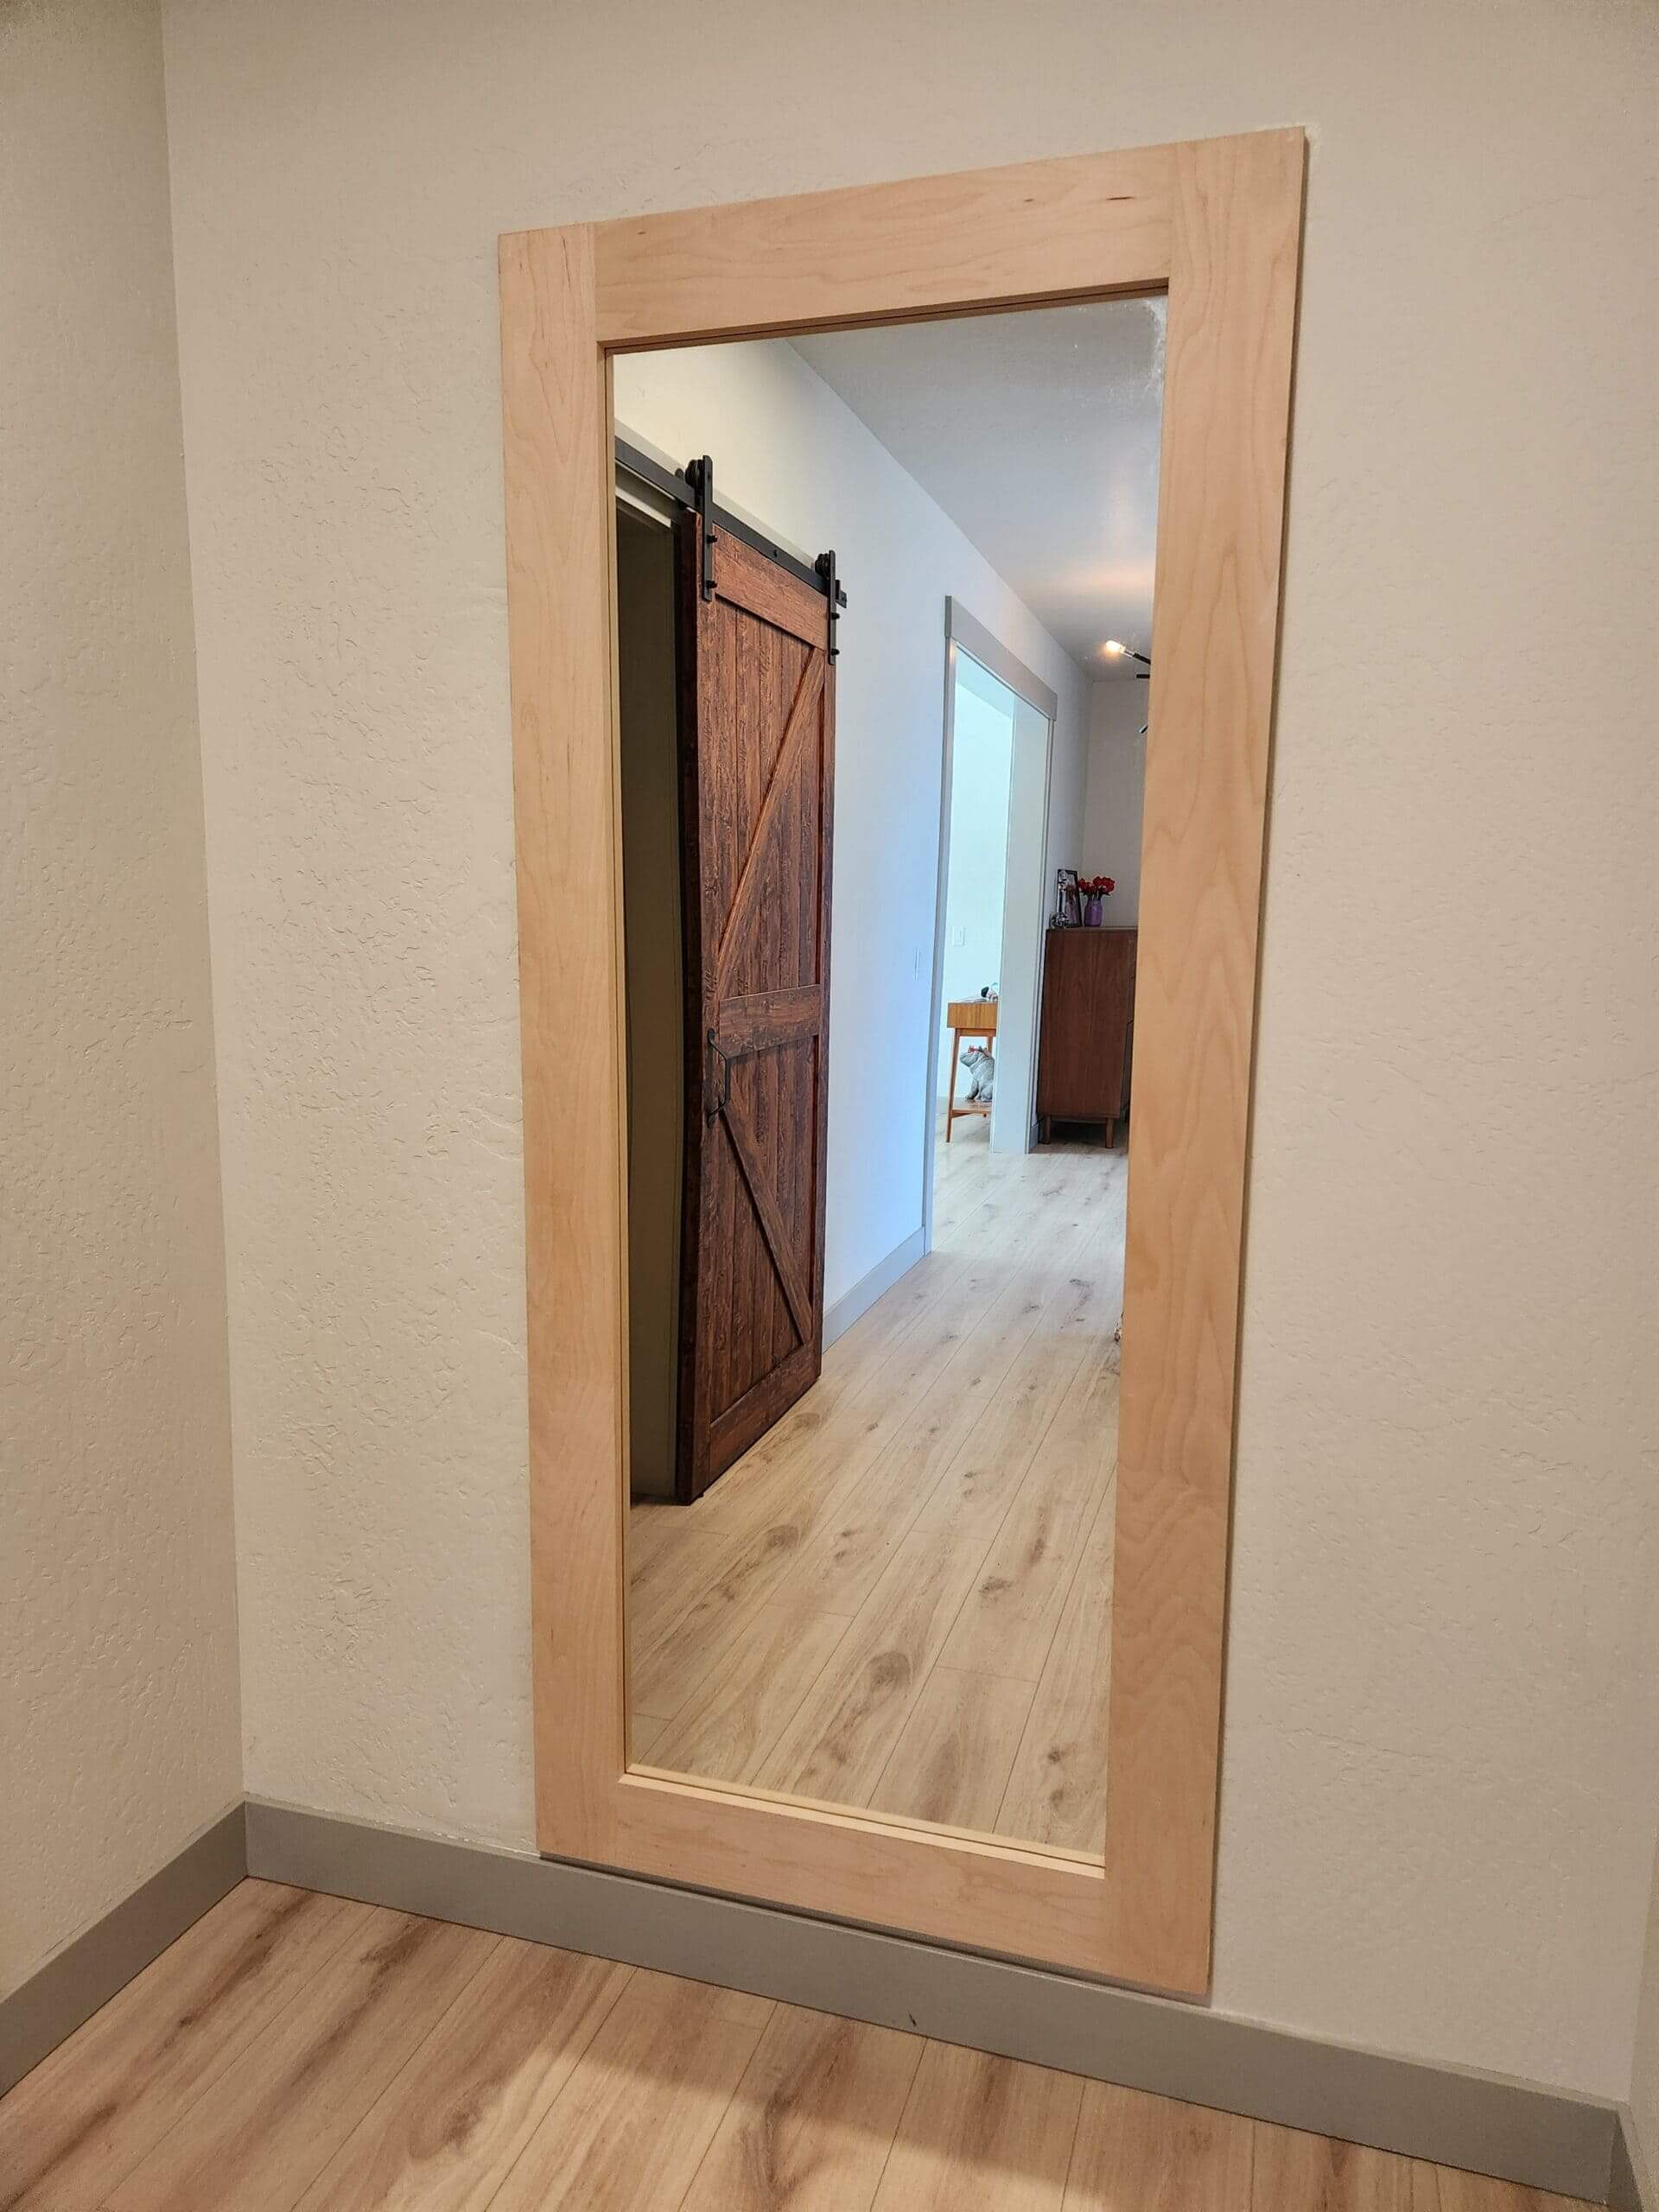
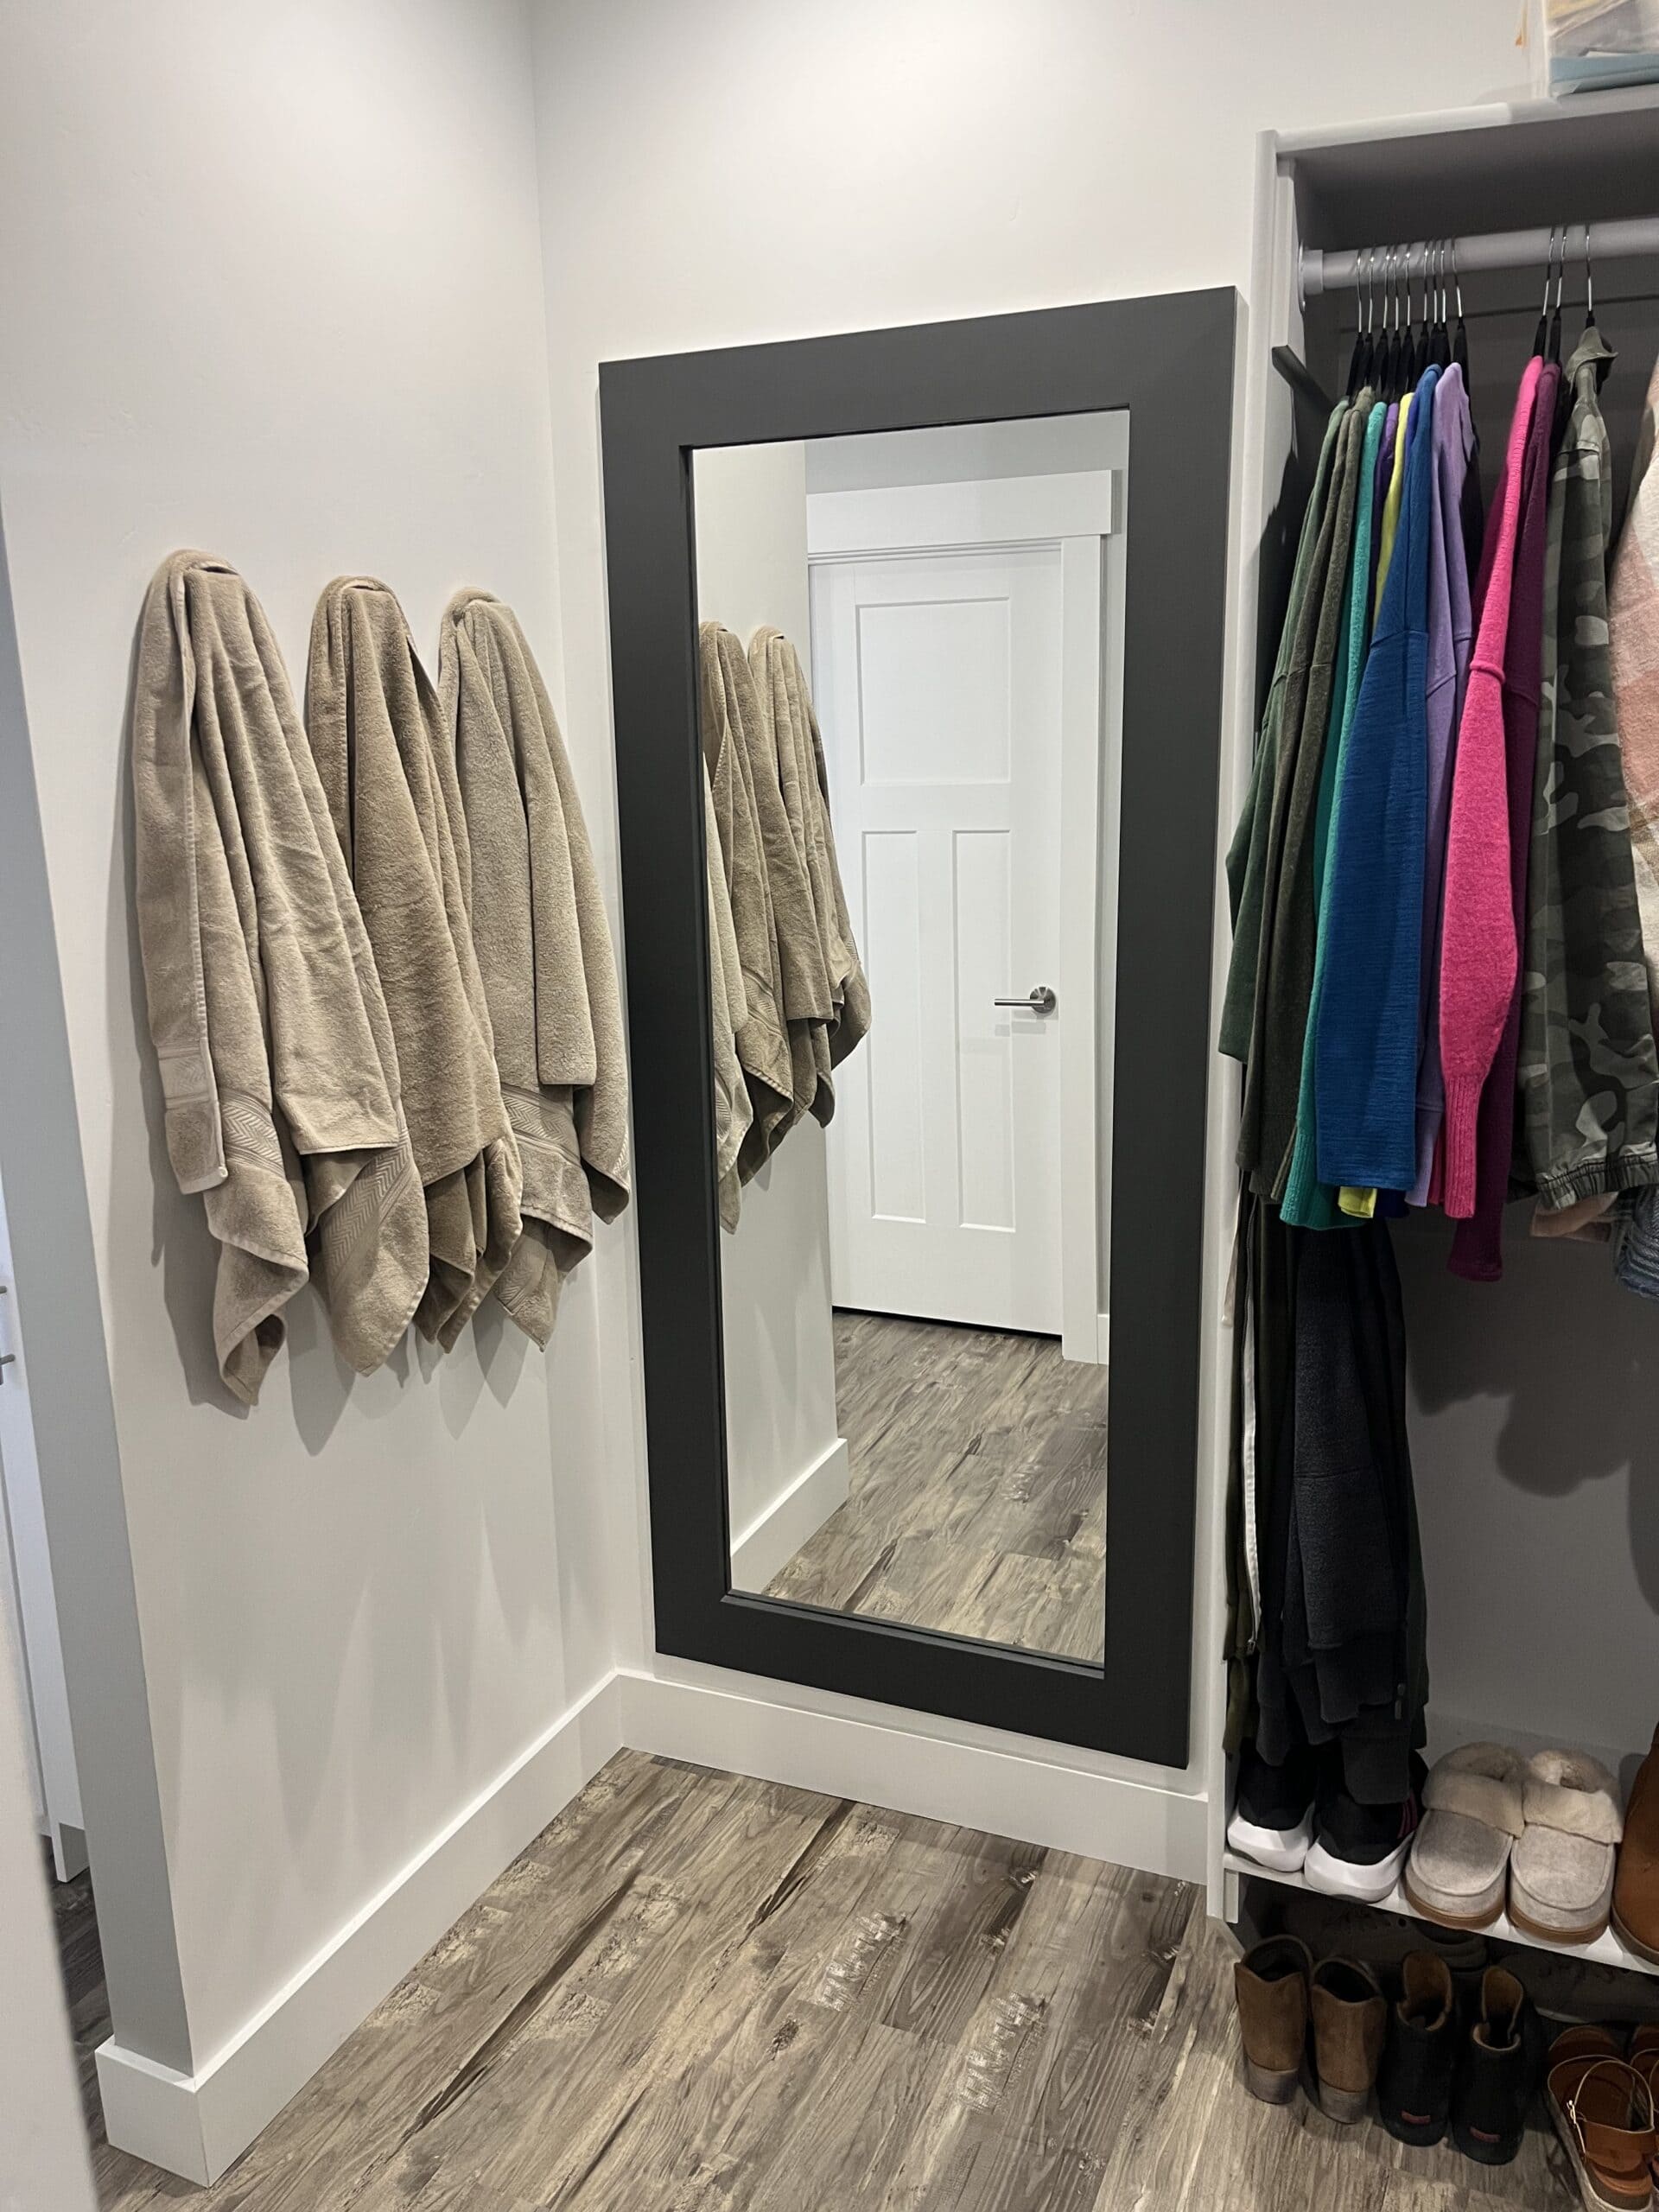
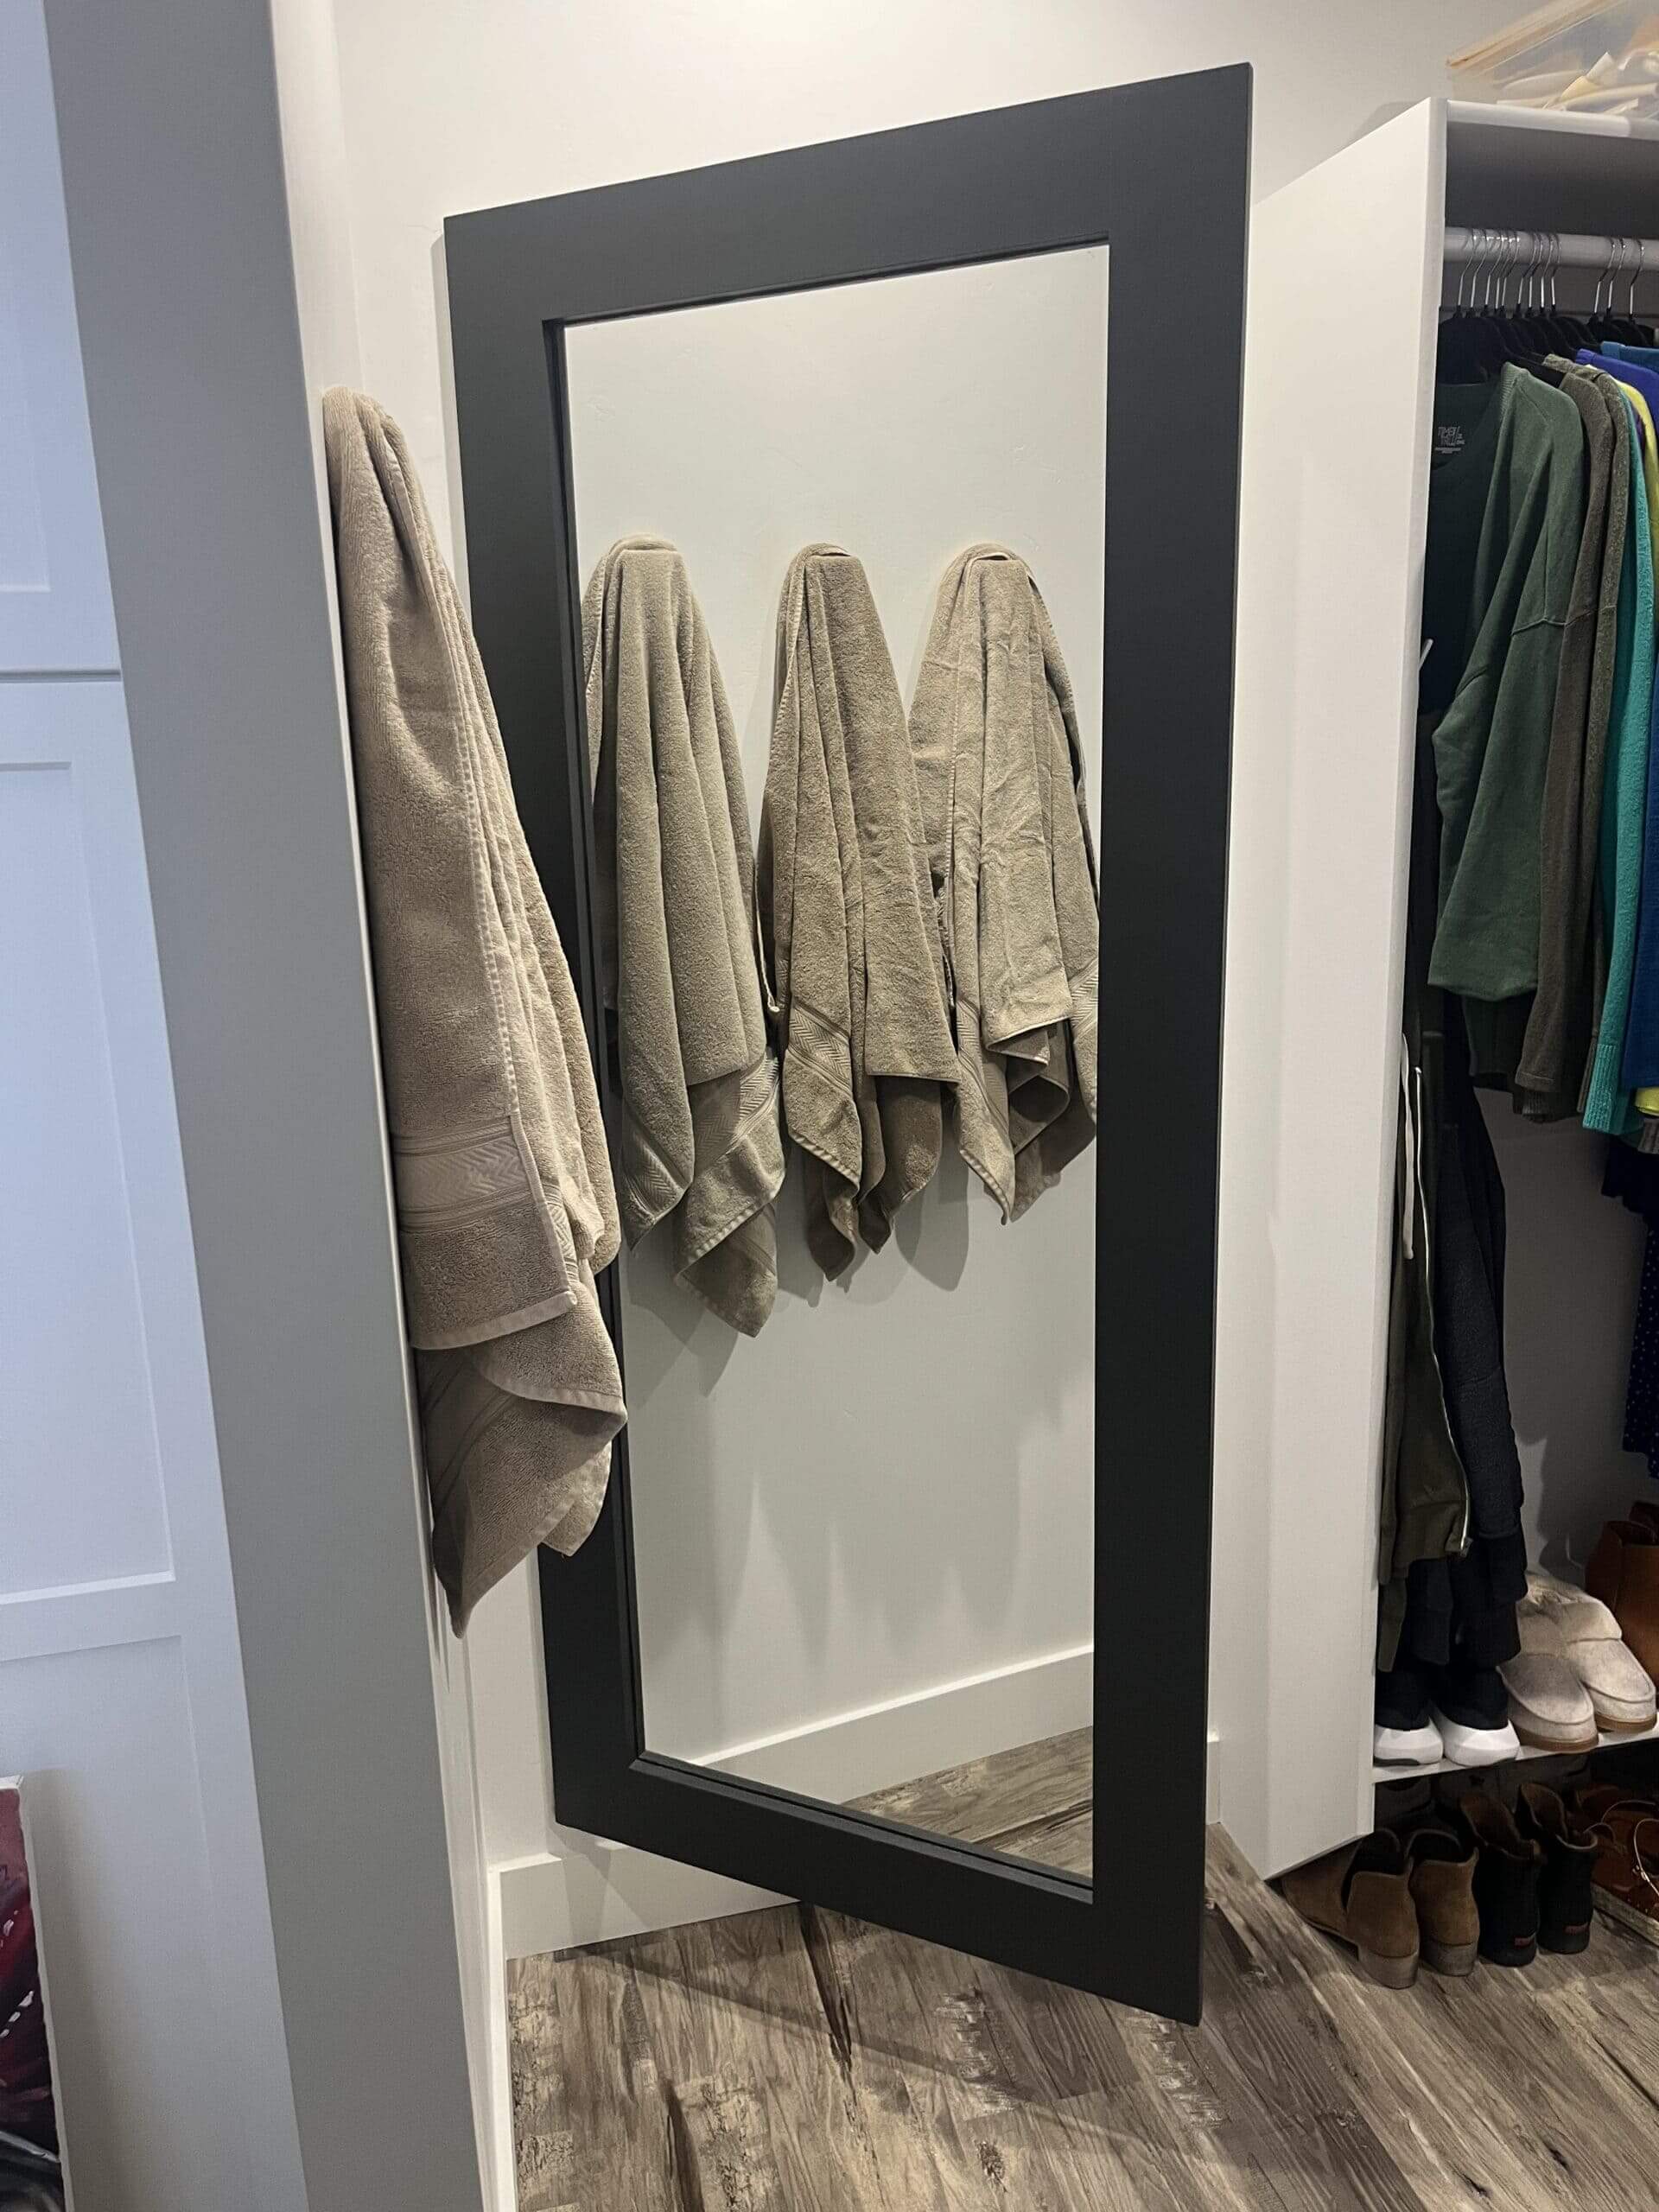
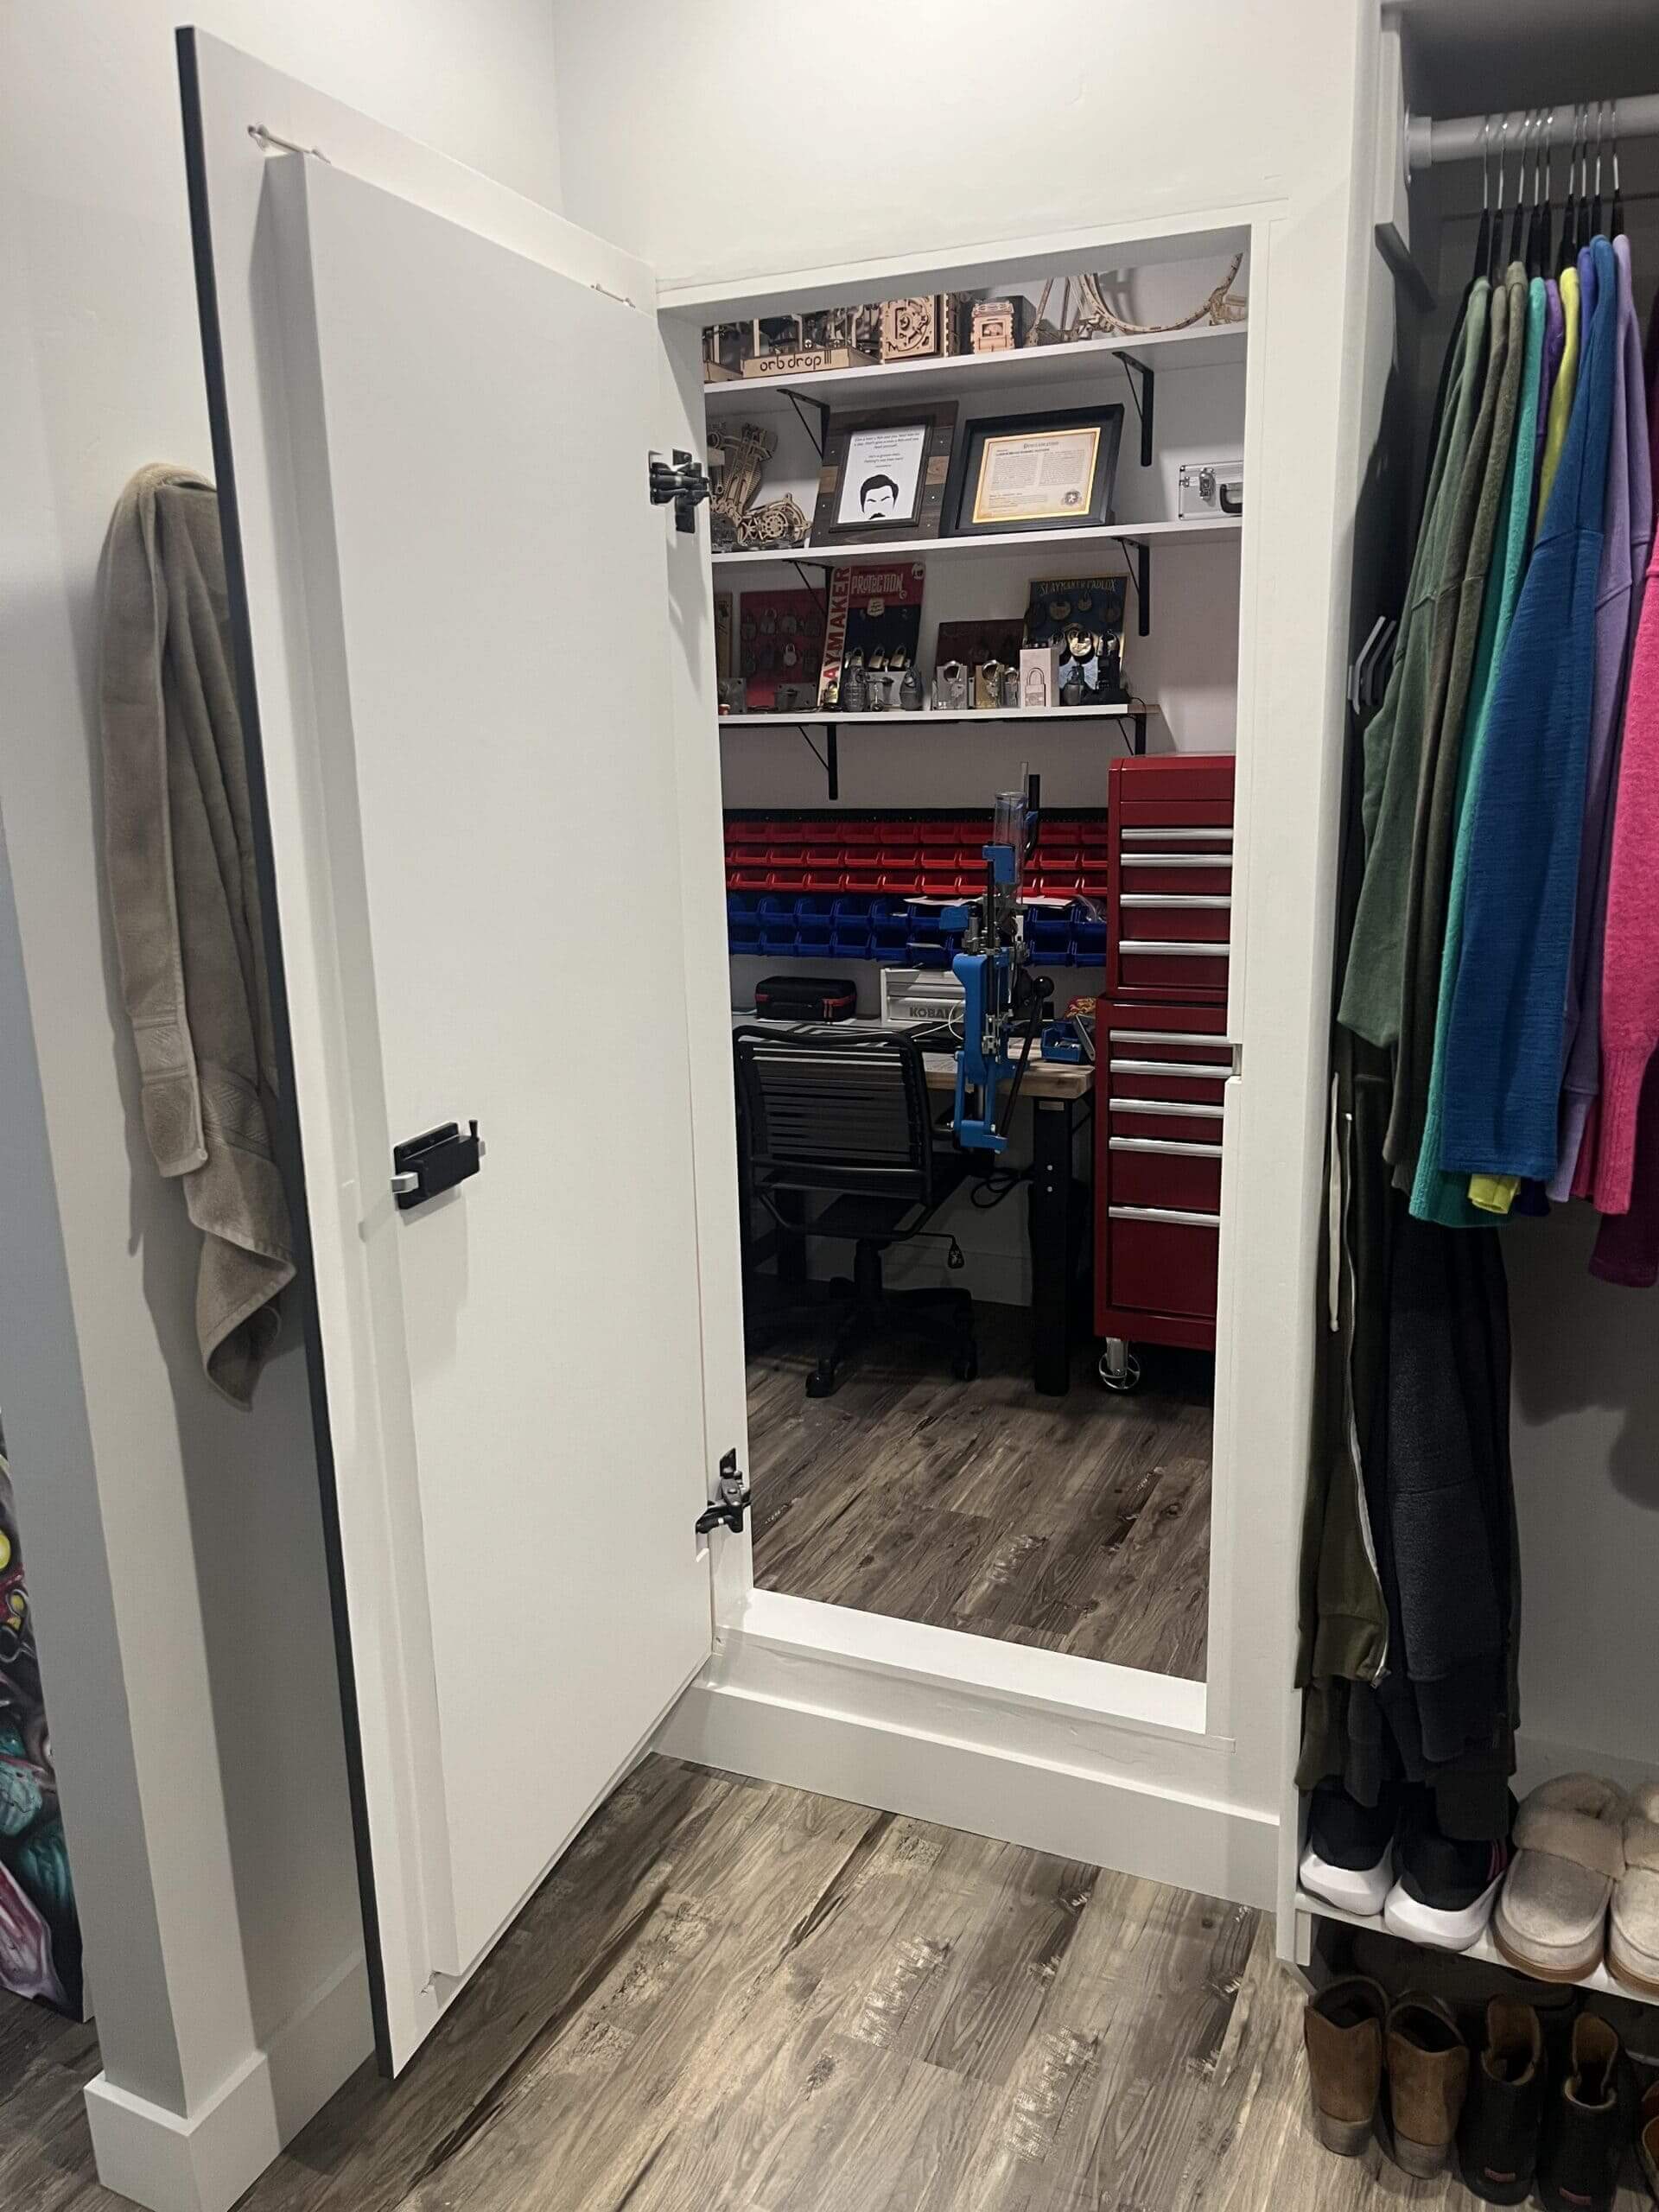
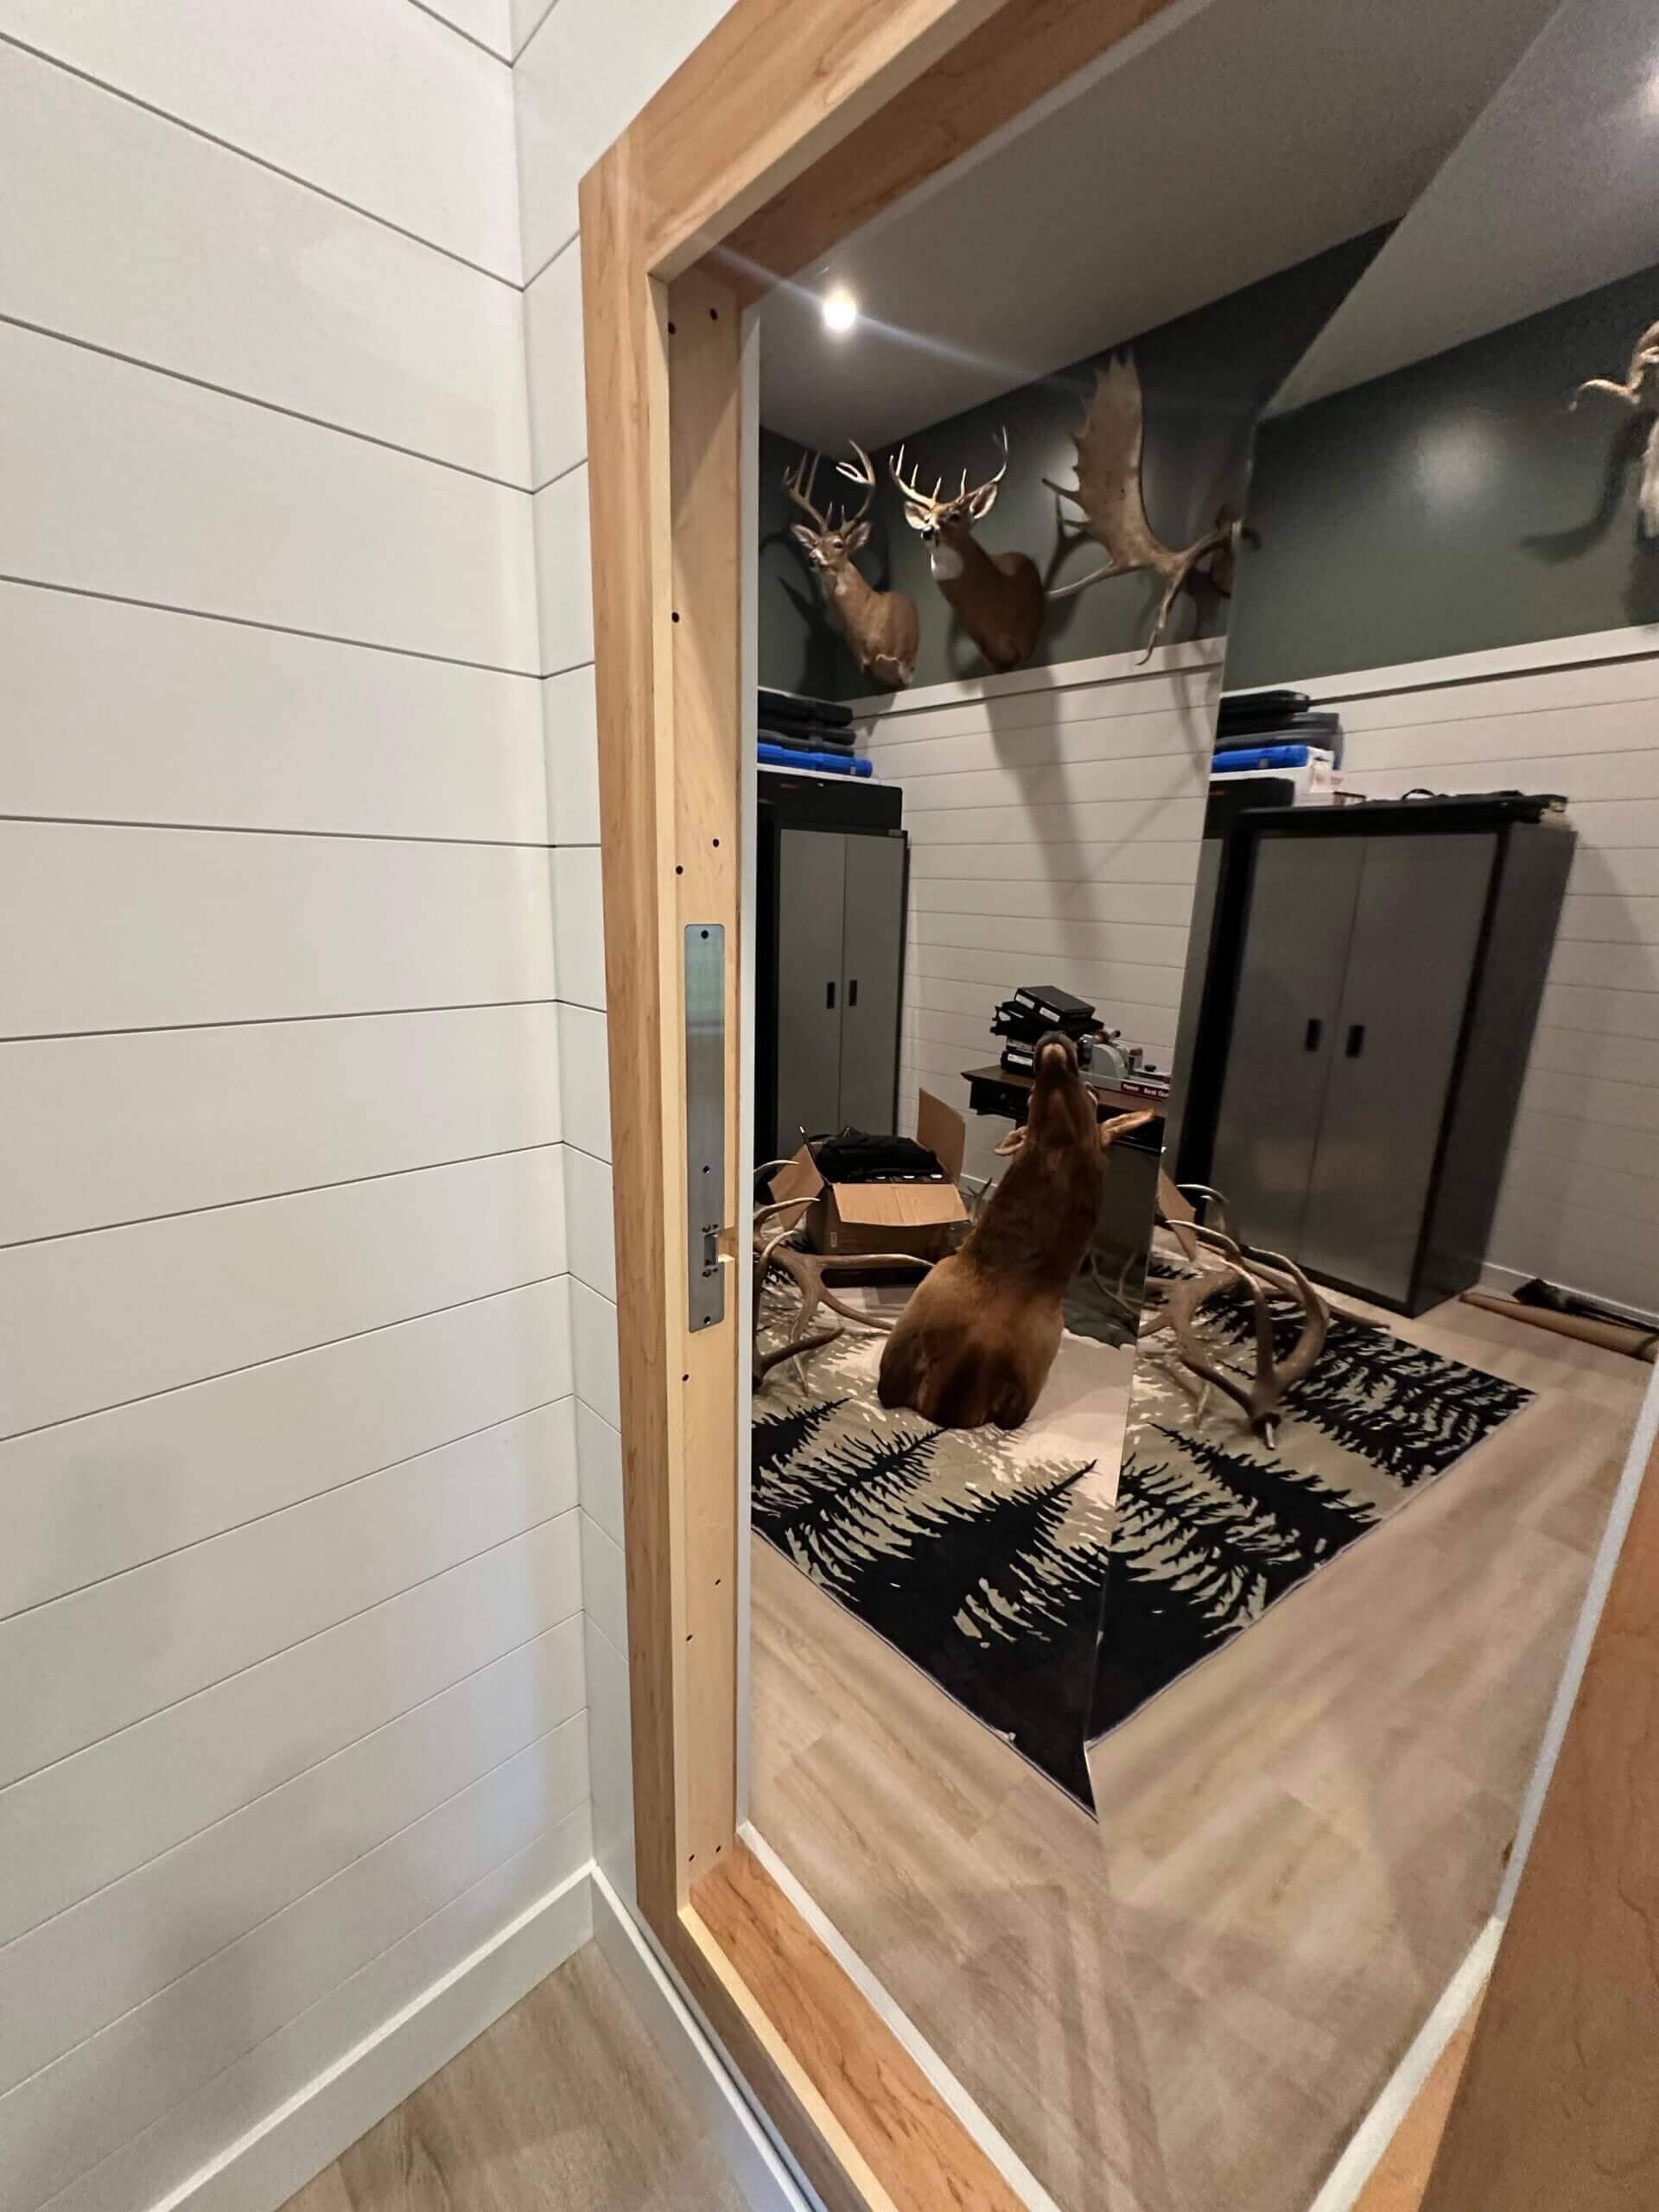
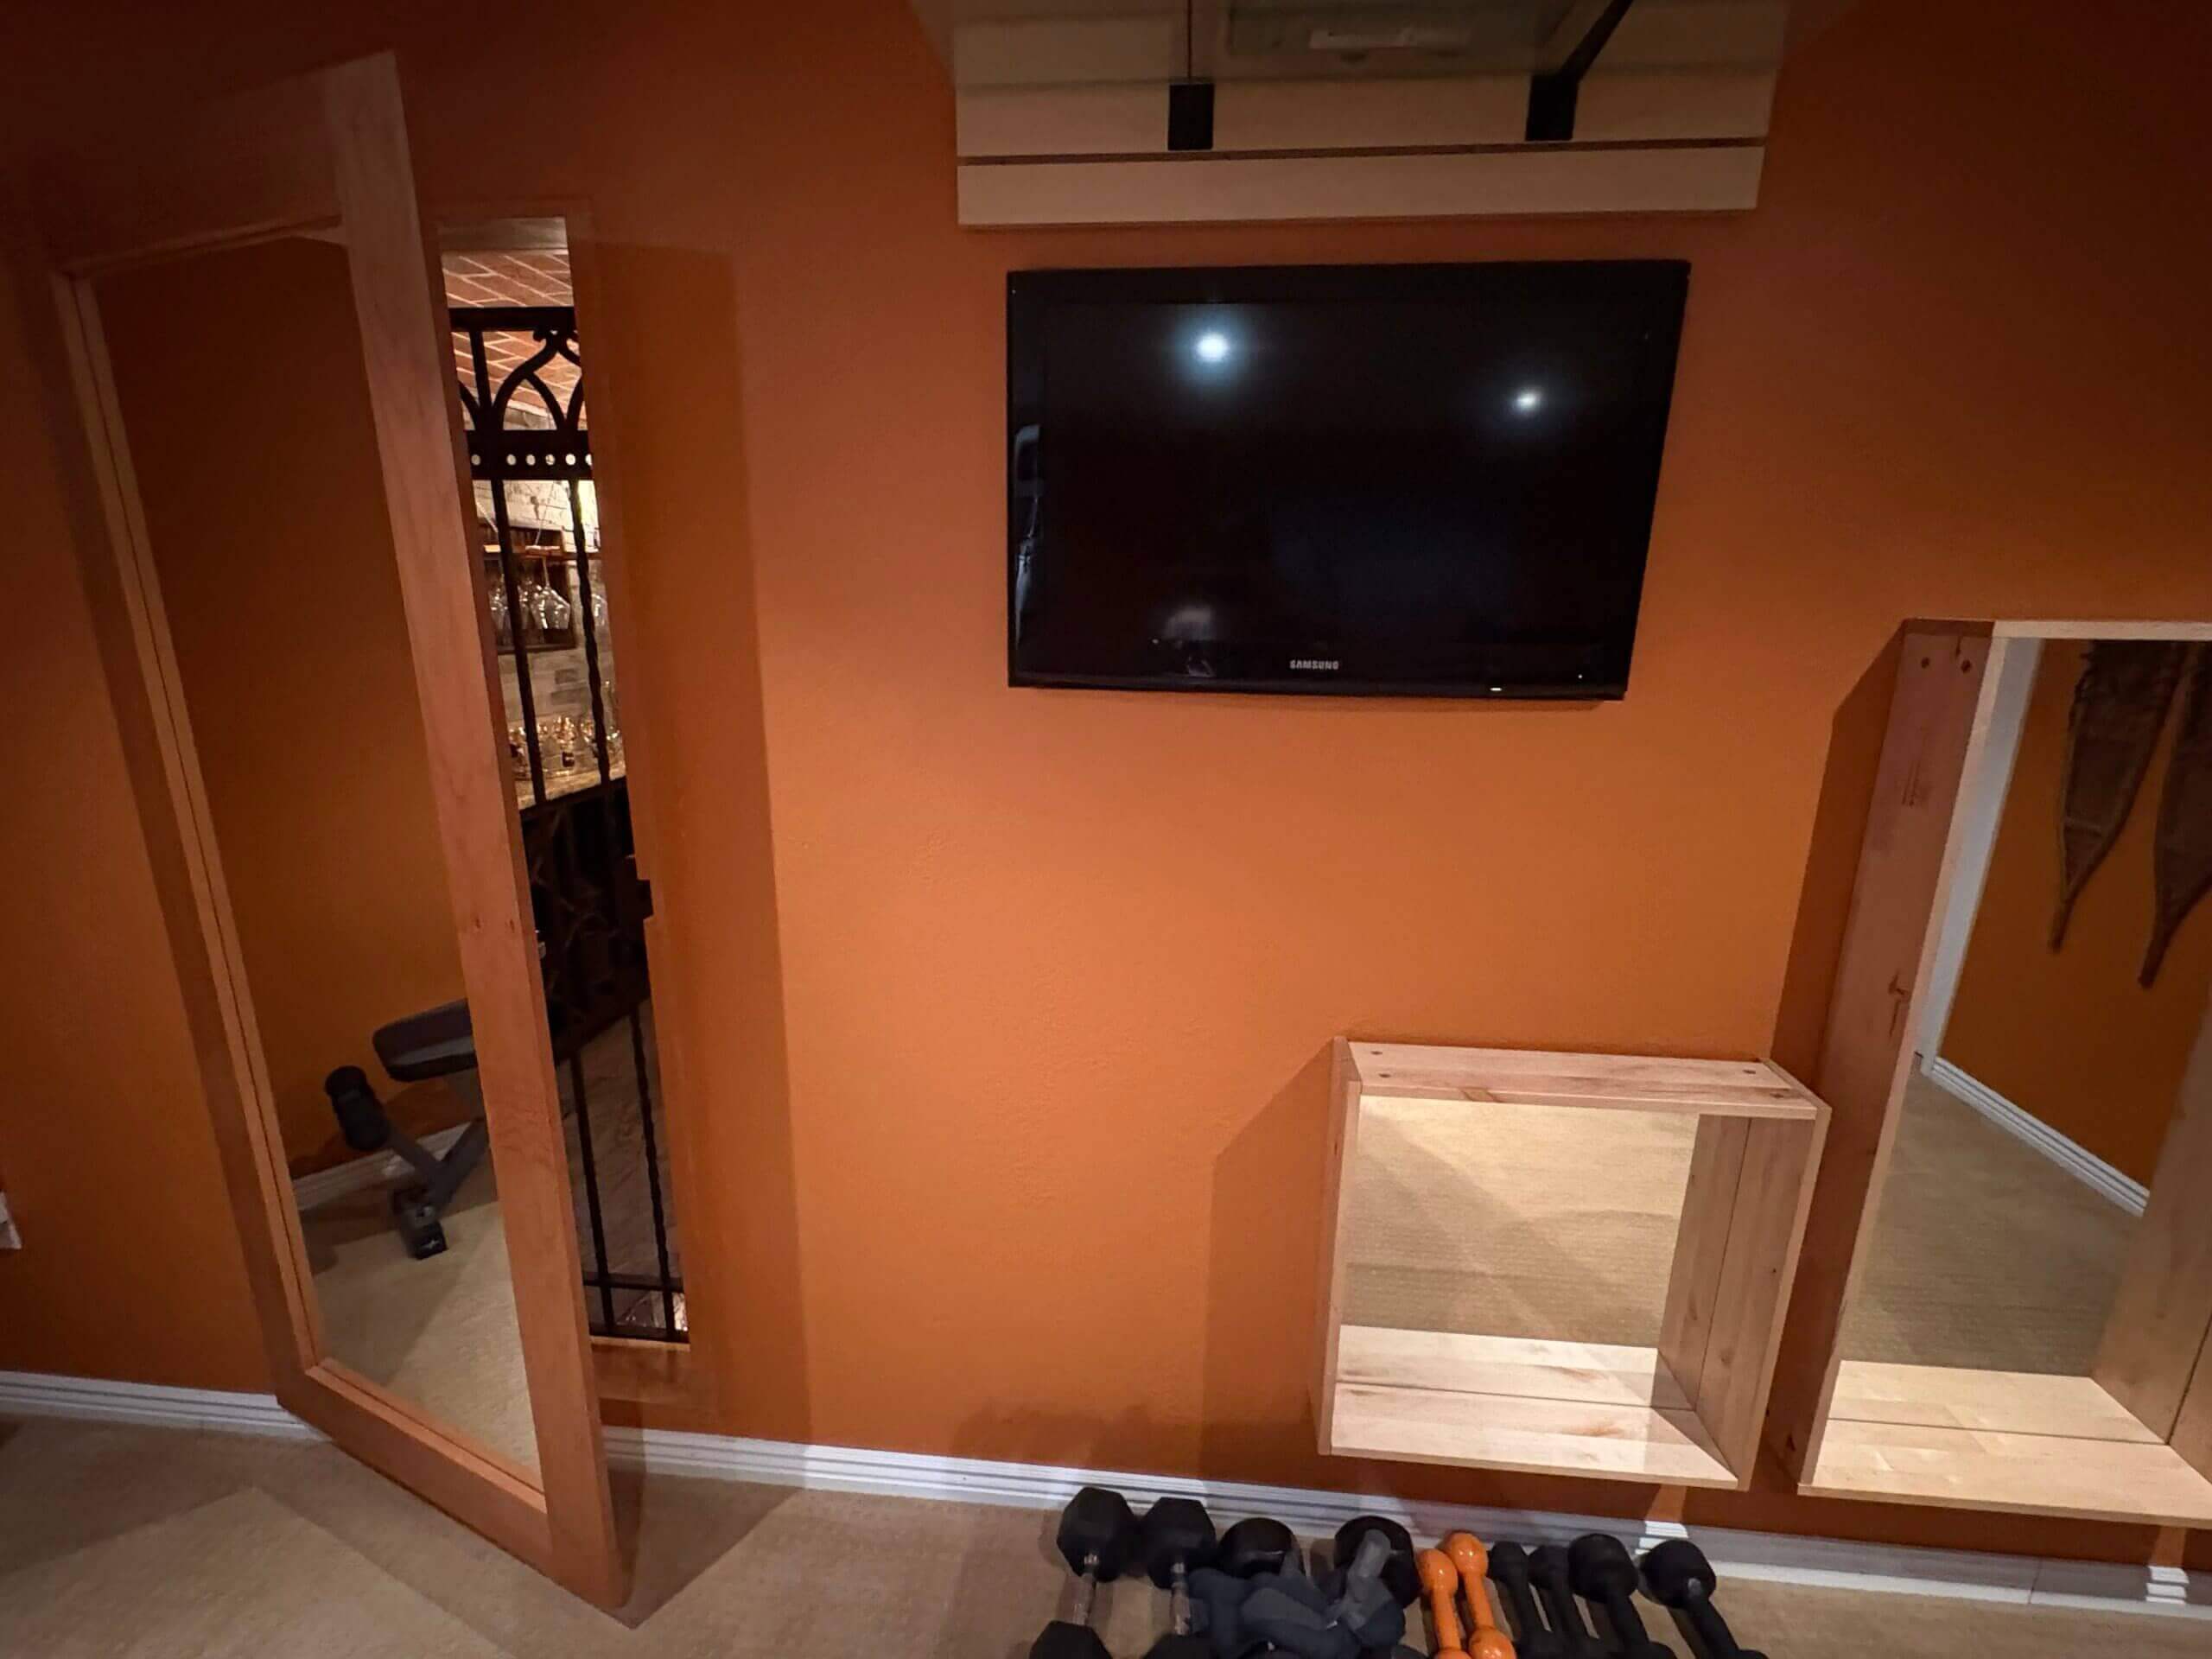


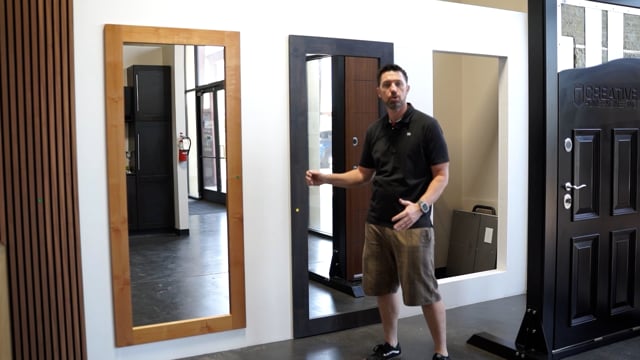
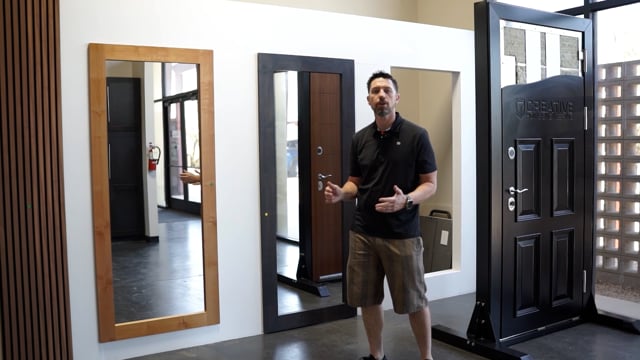



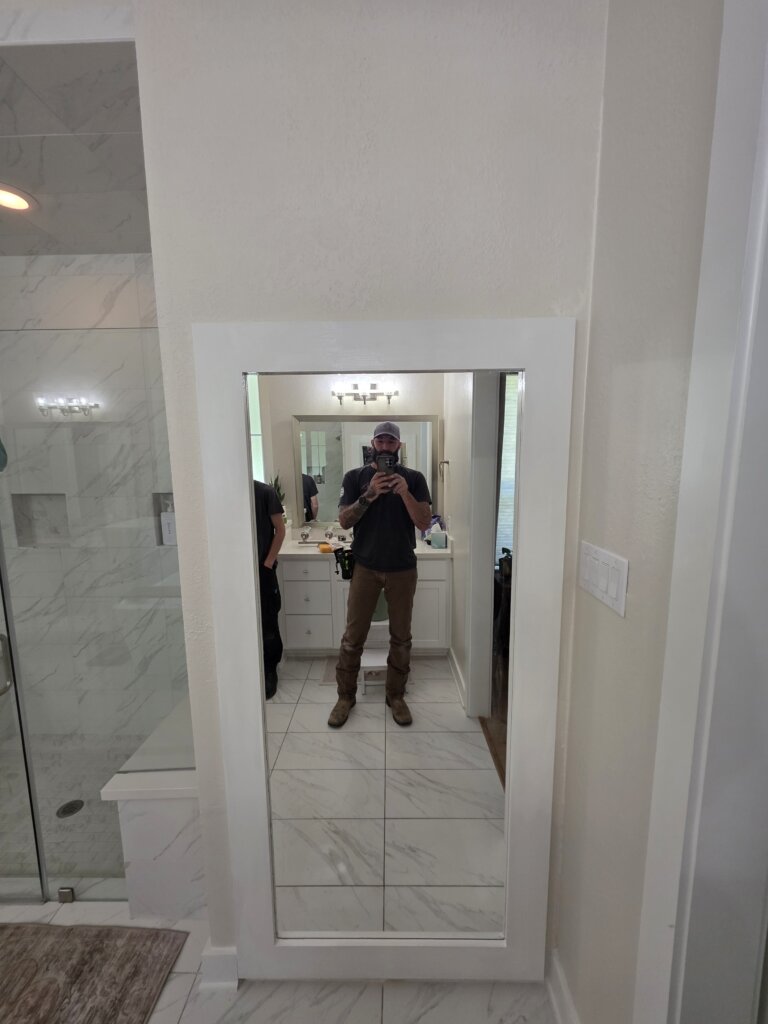
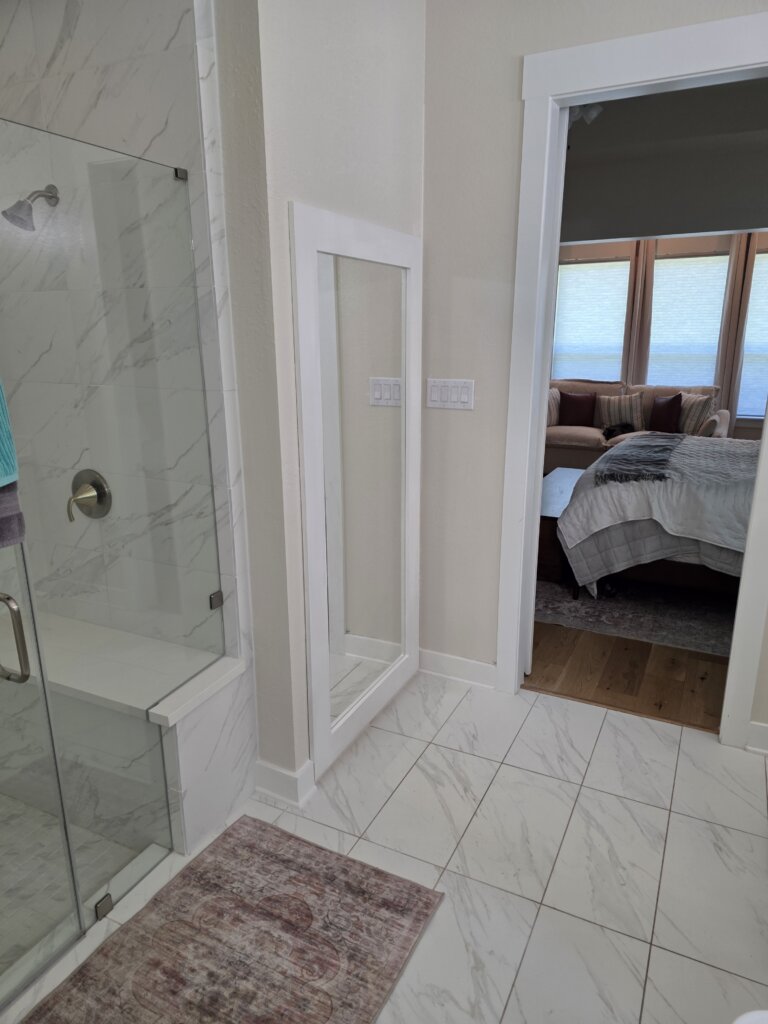

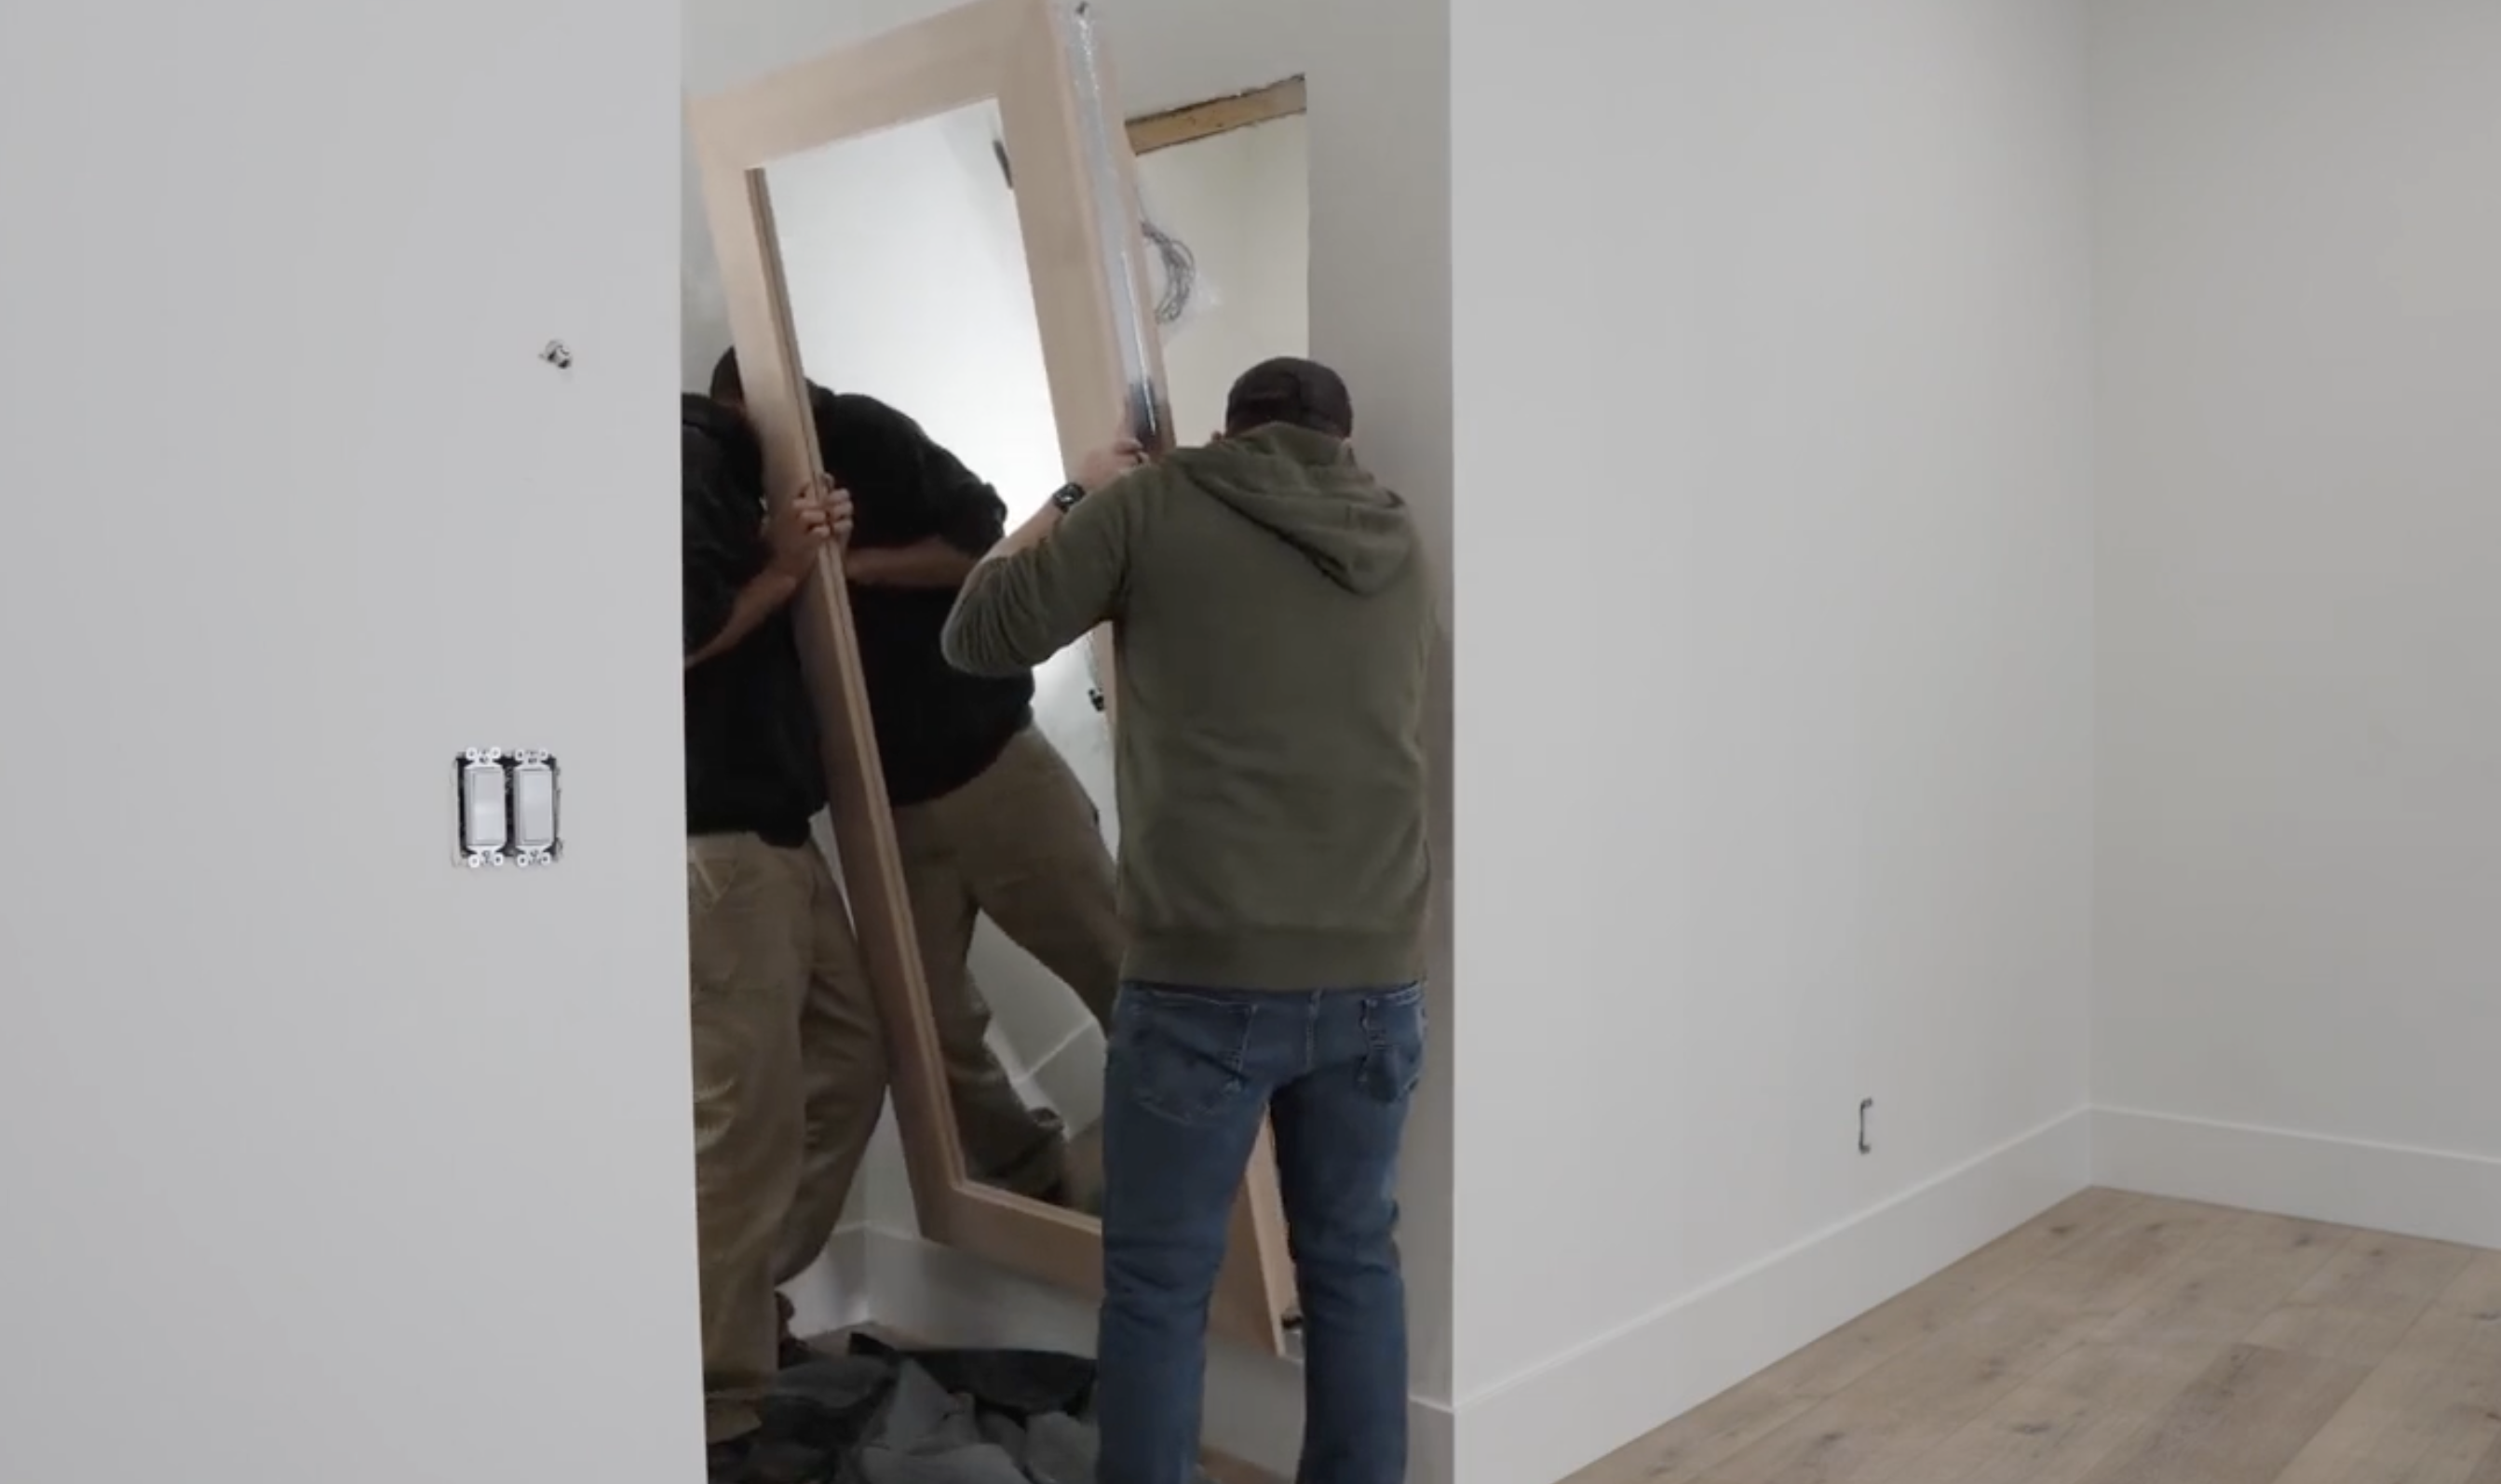




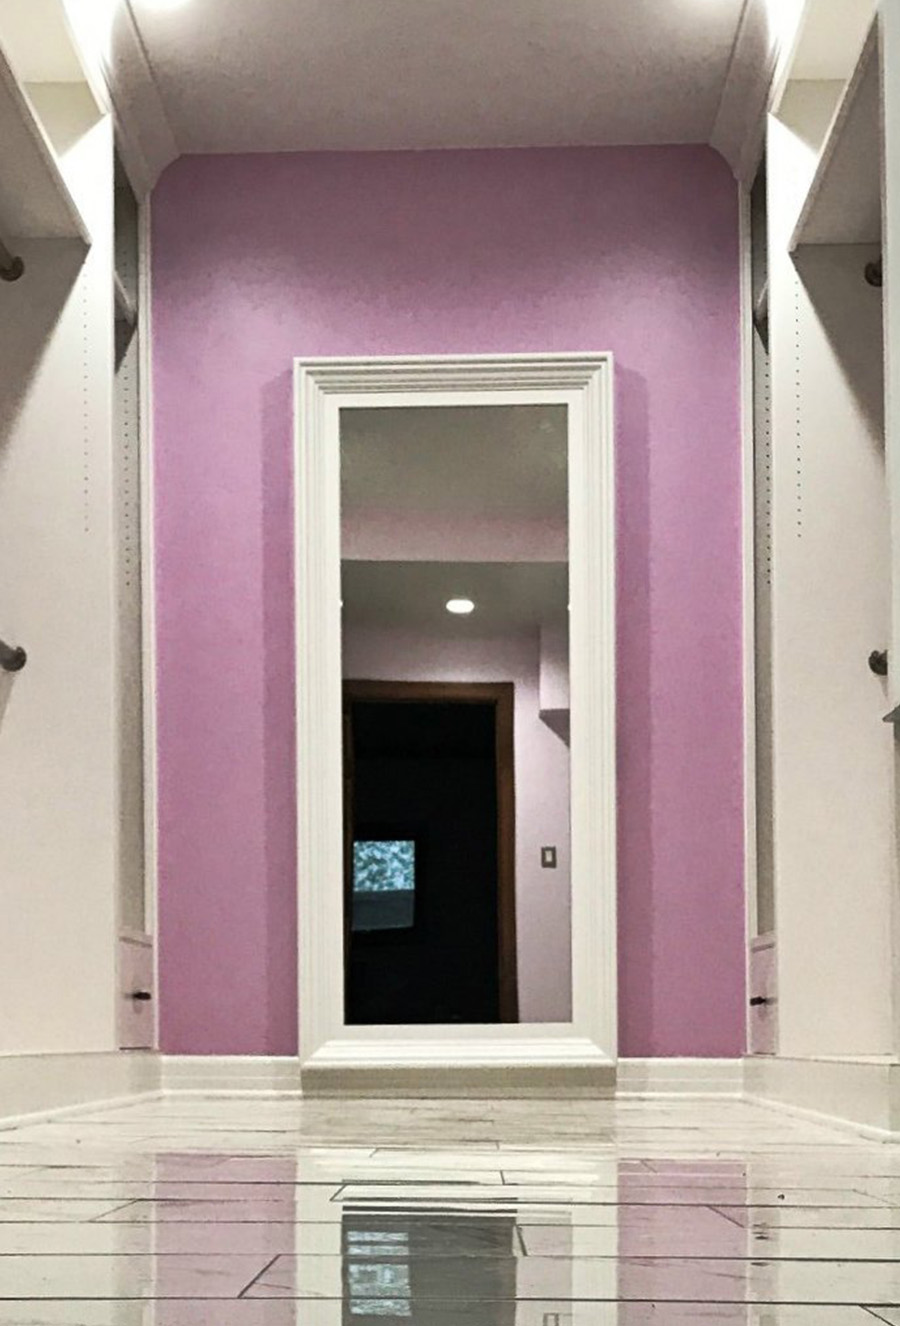
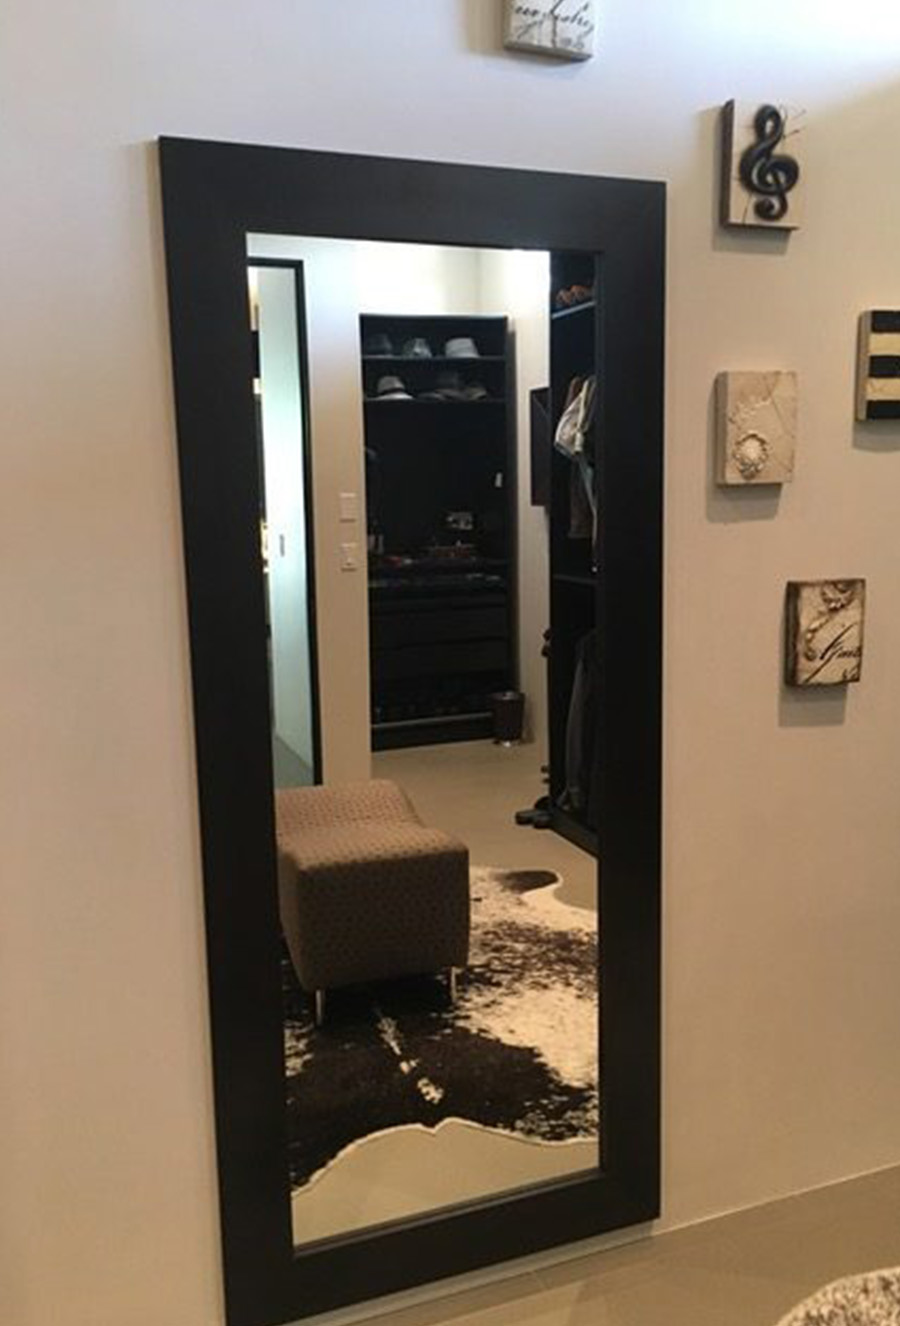
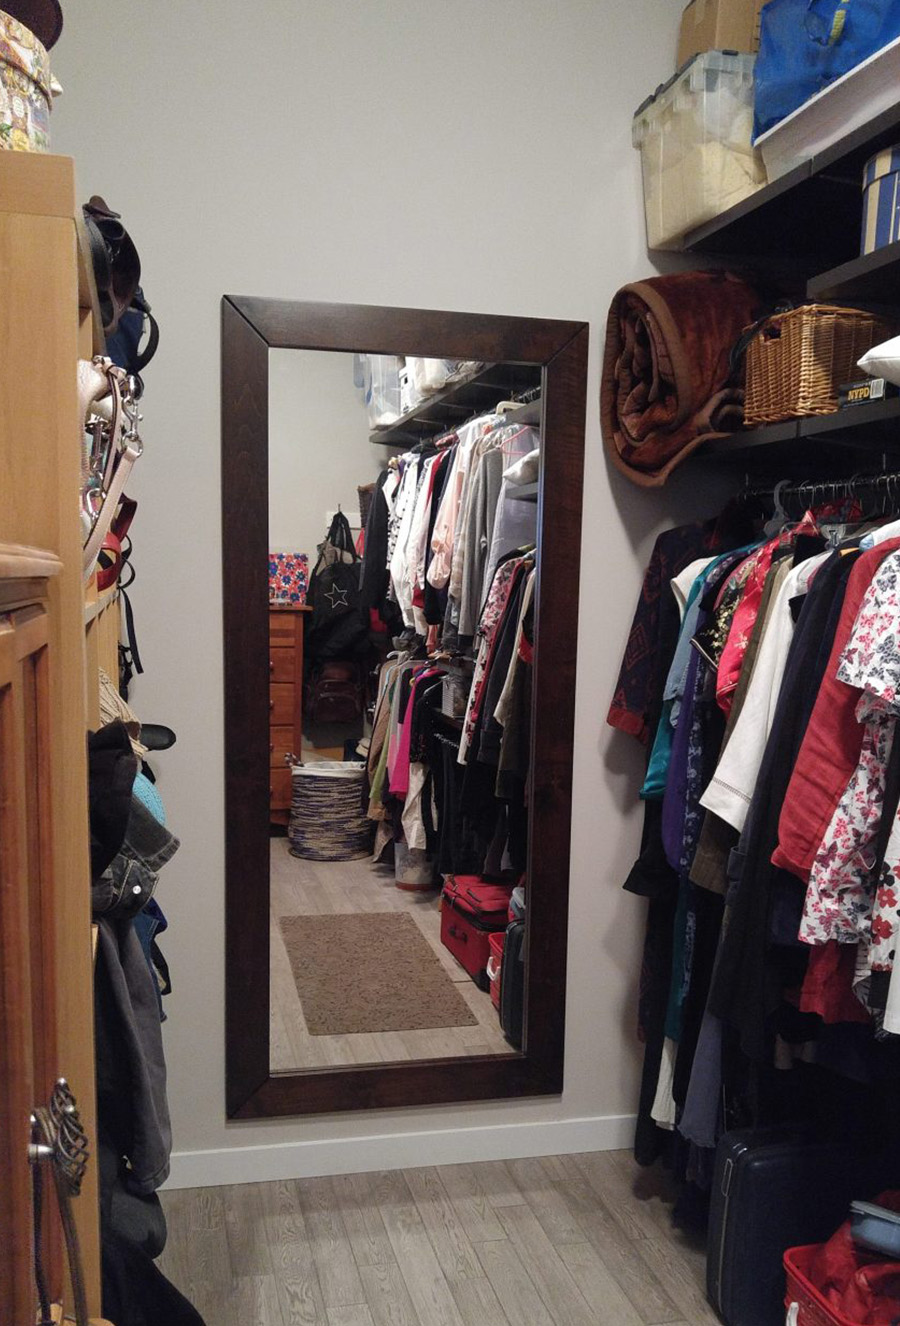
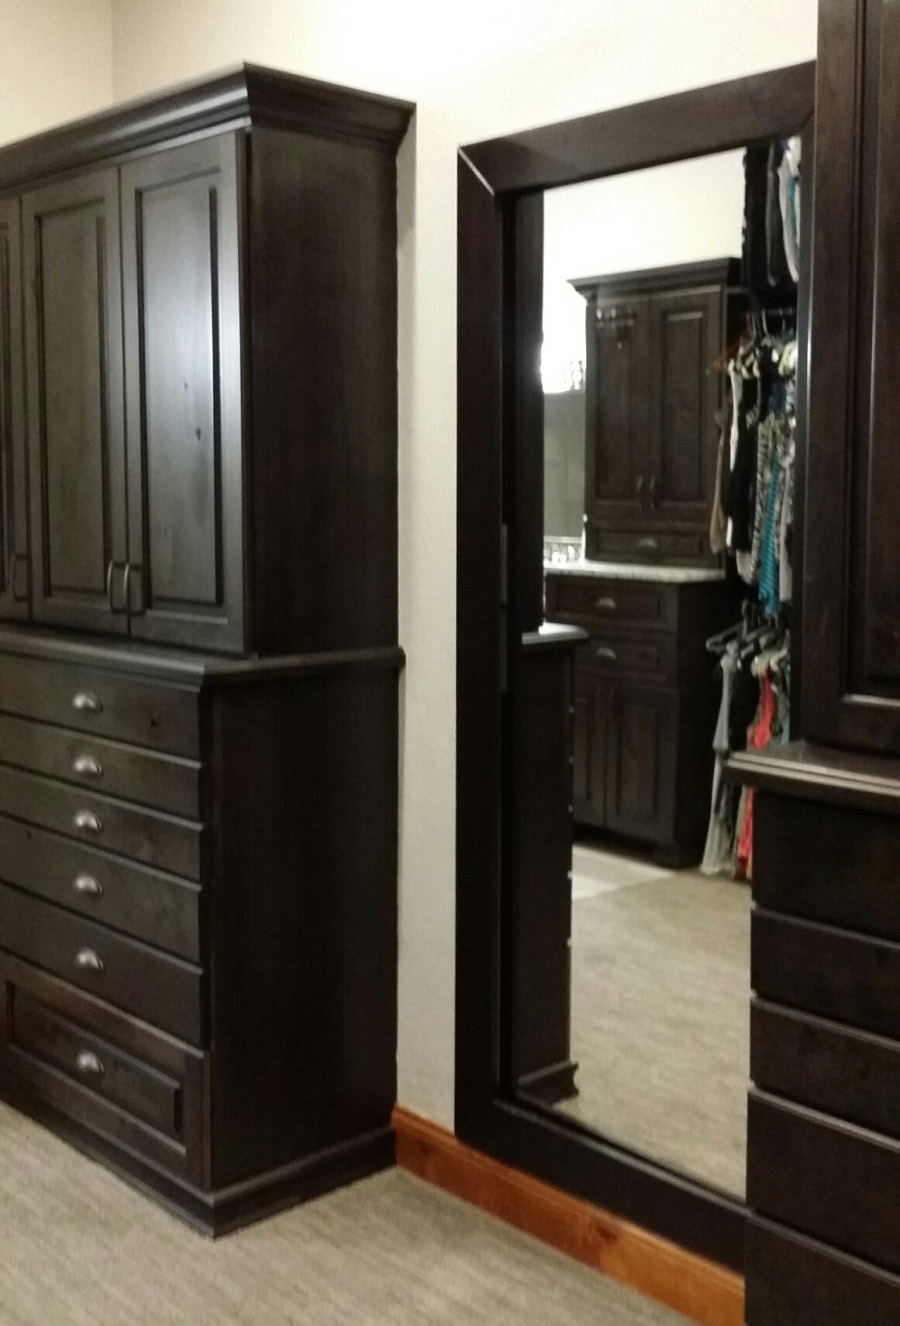

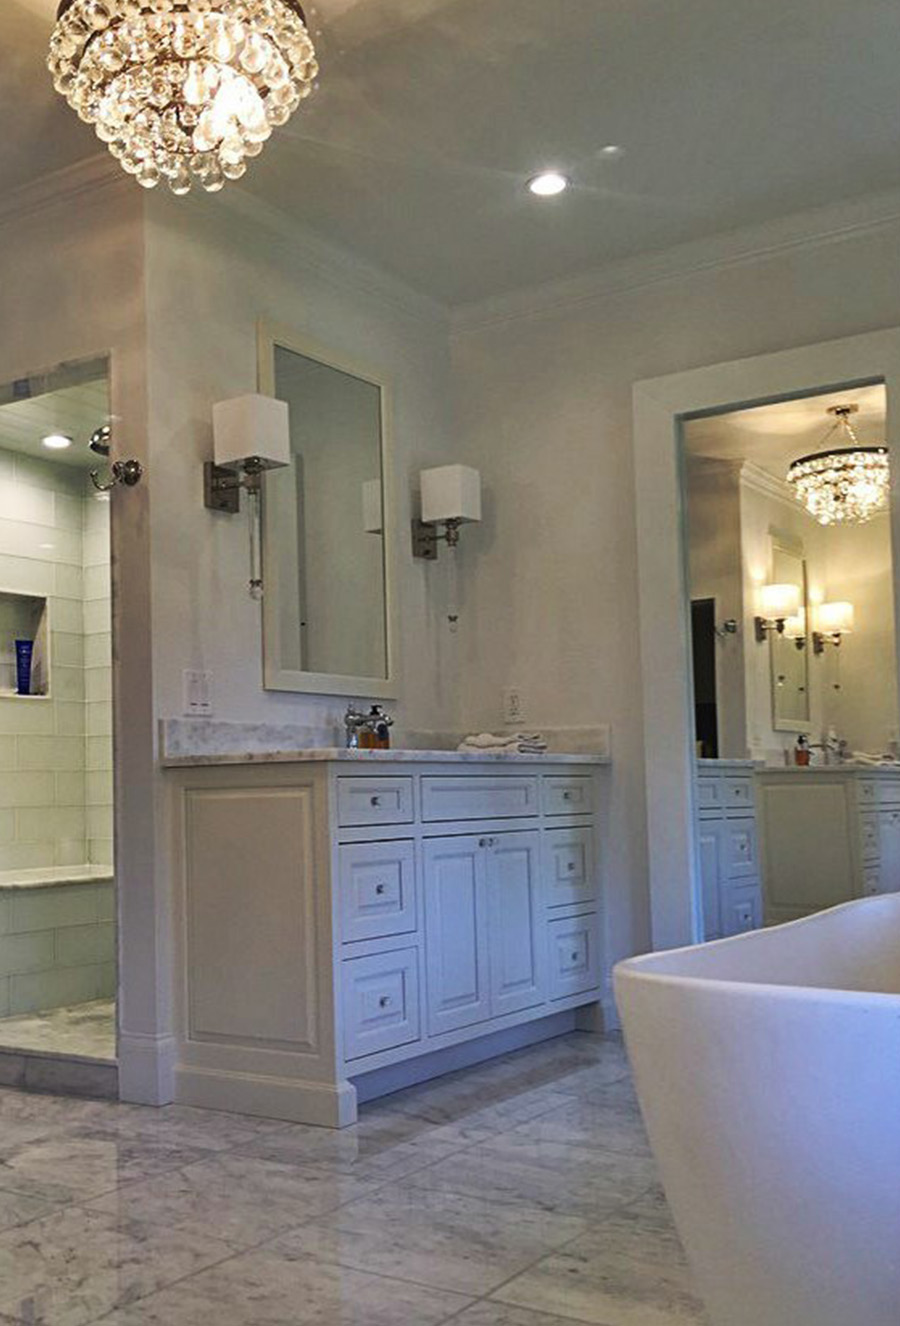
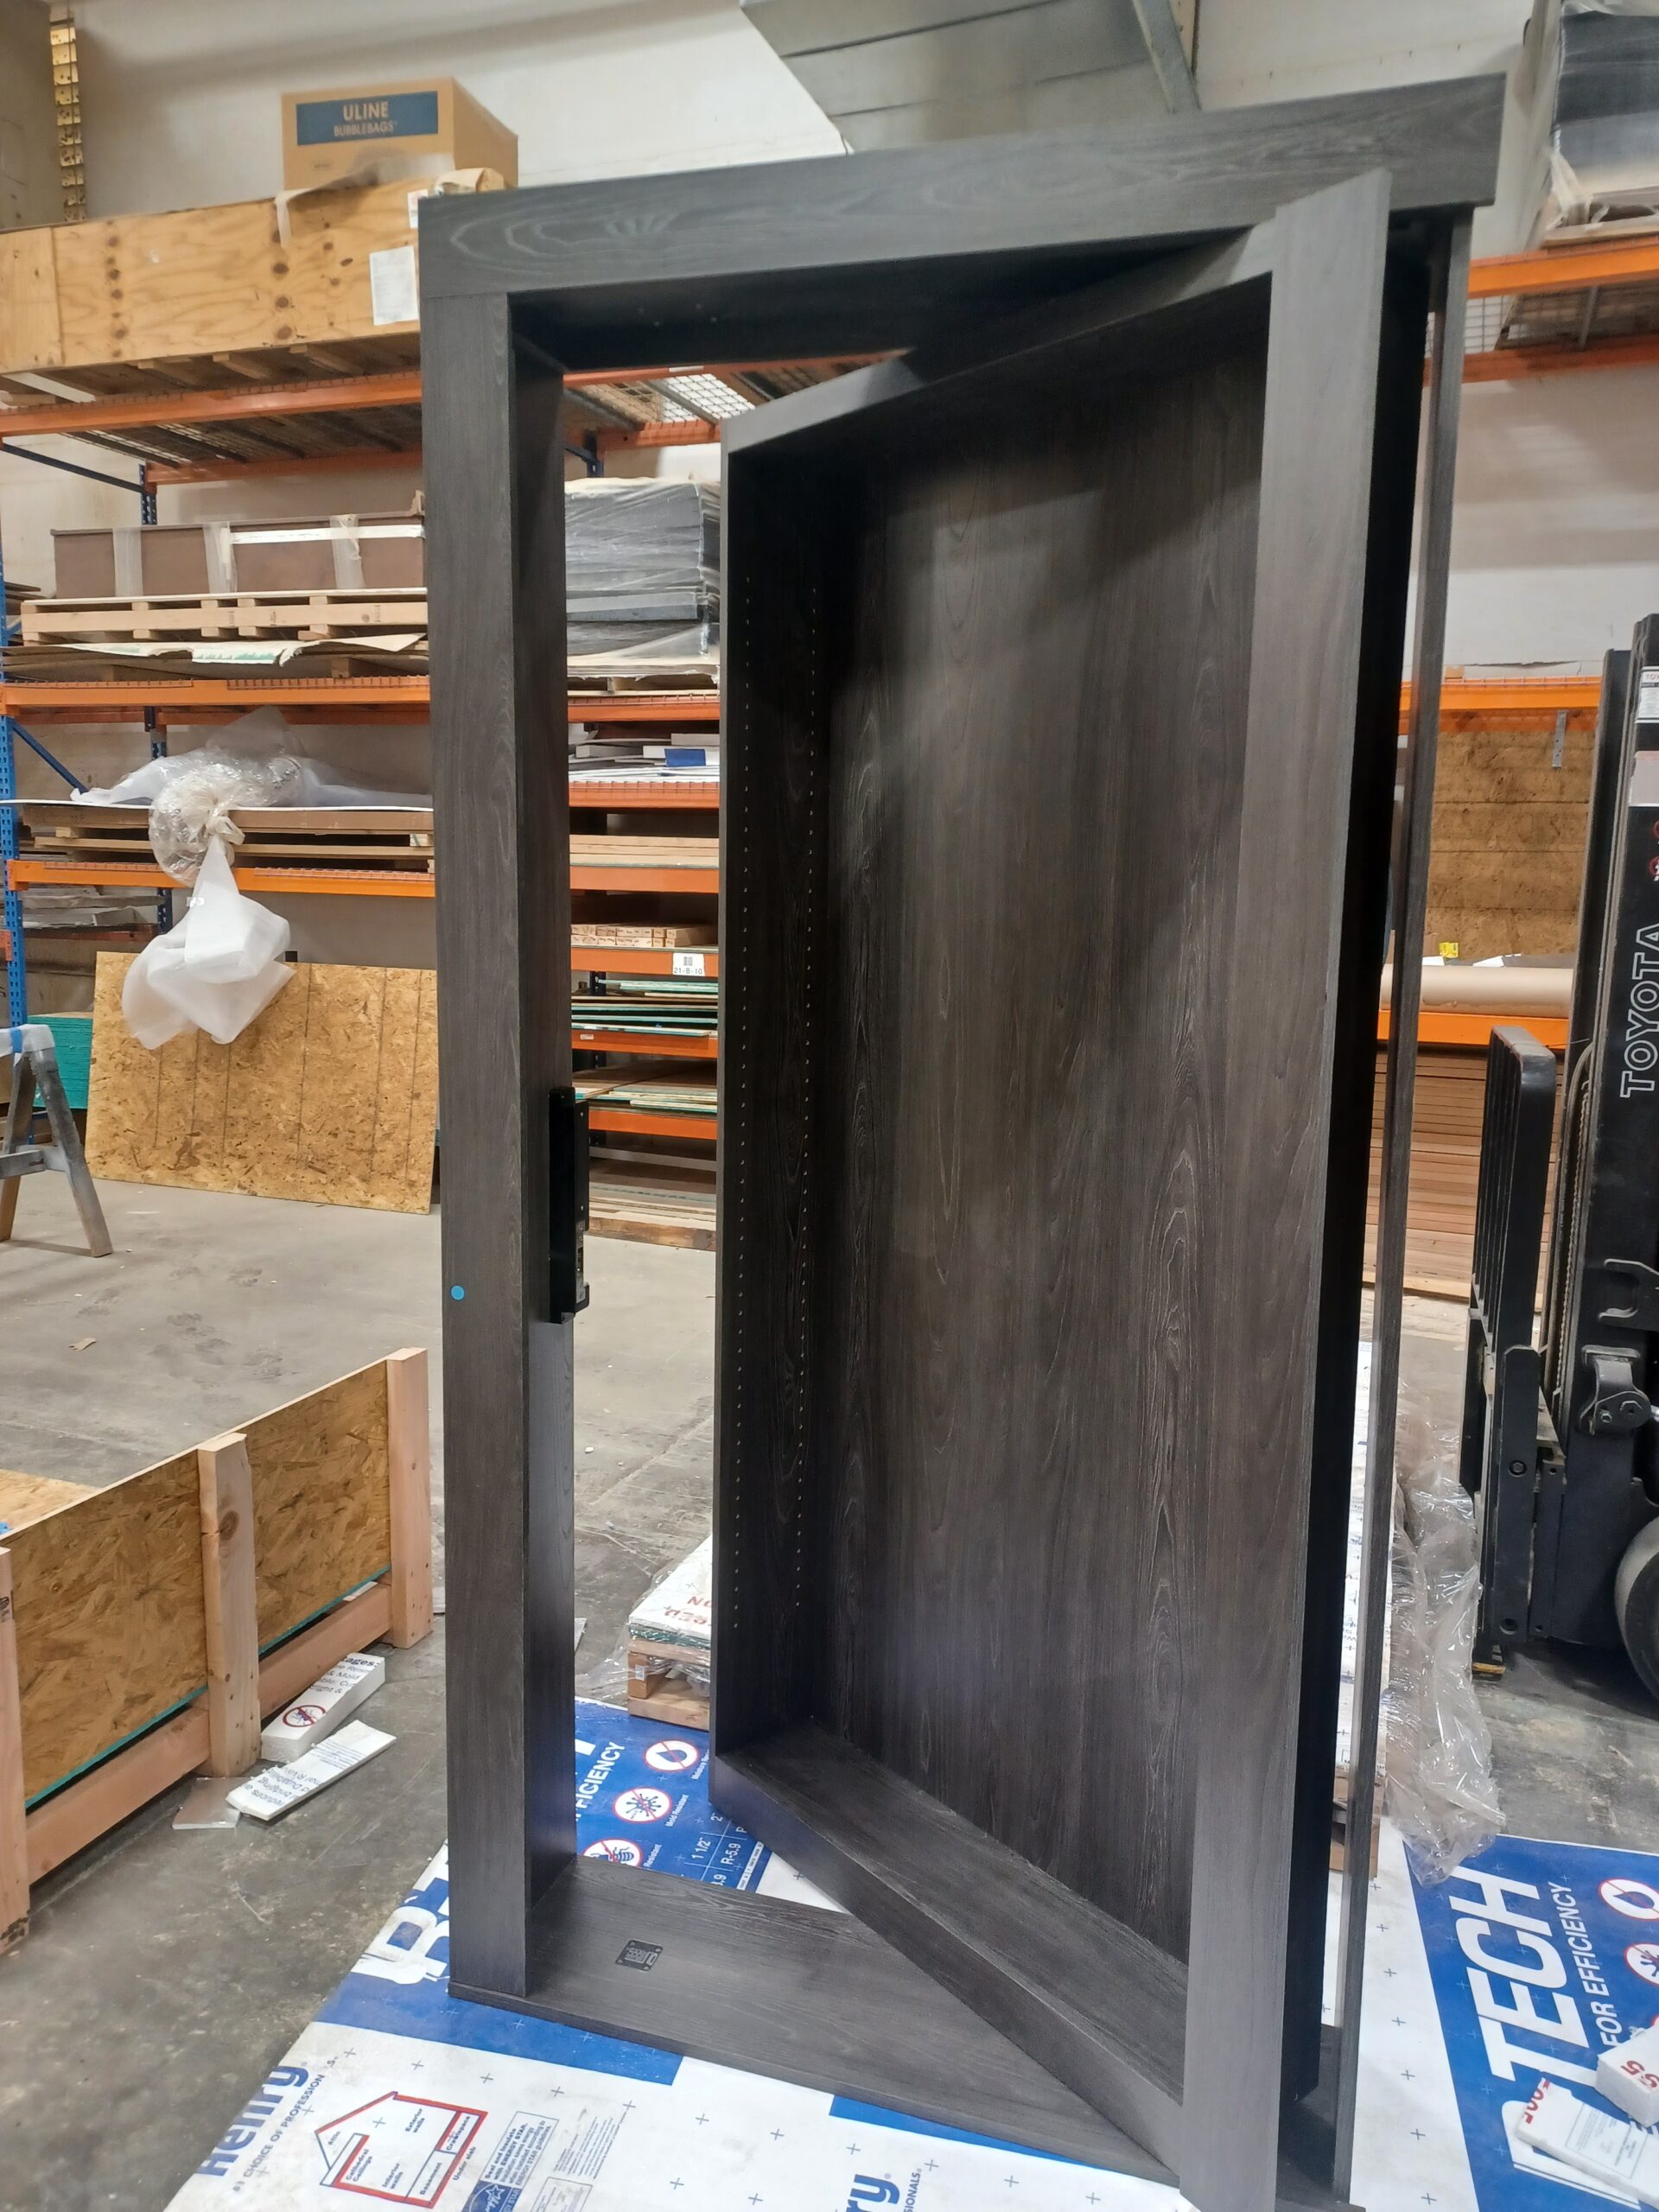
Love the Mirror secret door! Exceeded expectations and it’s built really well. So happy I went with the Hidden Door Store!
Door great quality and works good.