Bookcase Secret Door
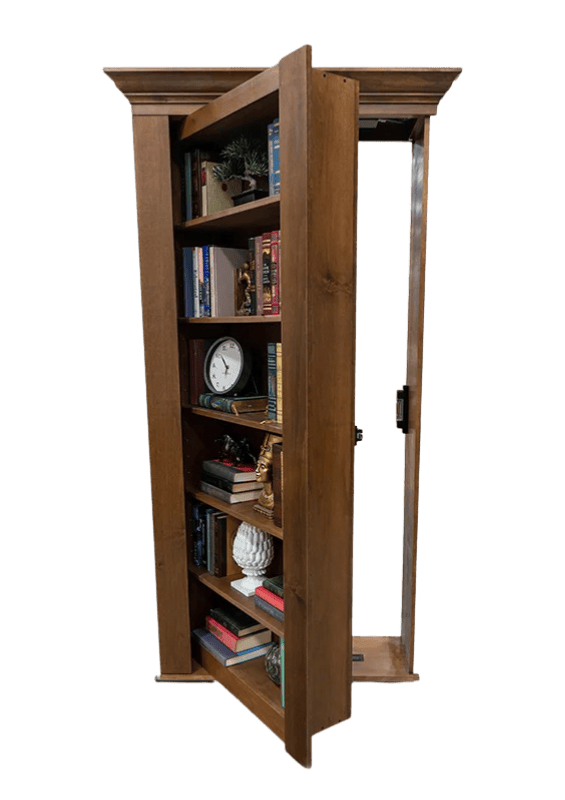
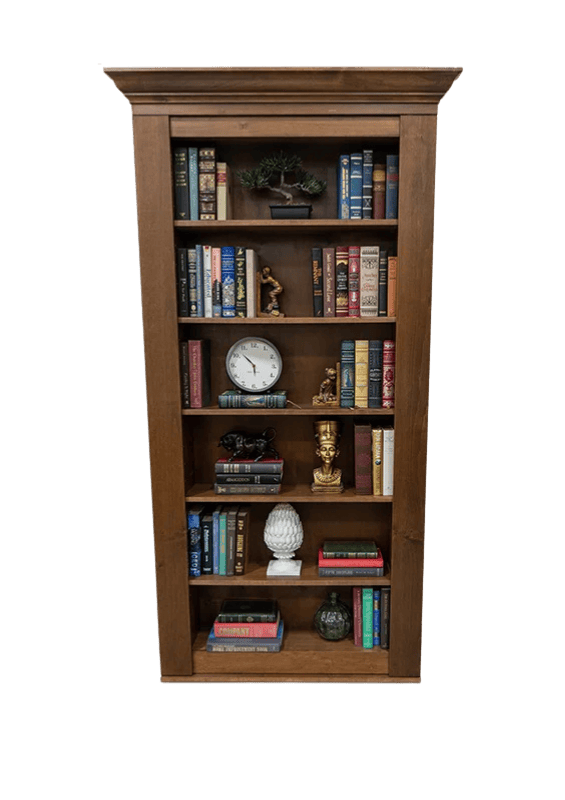
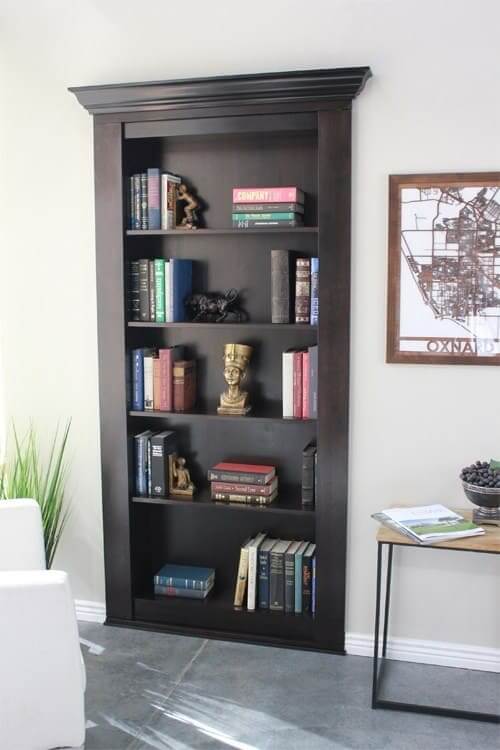
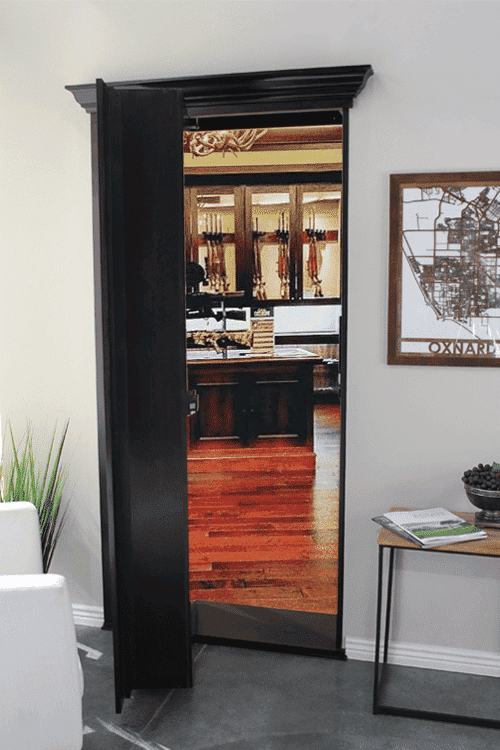
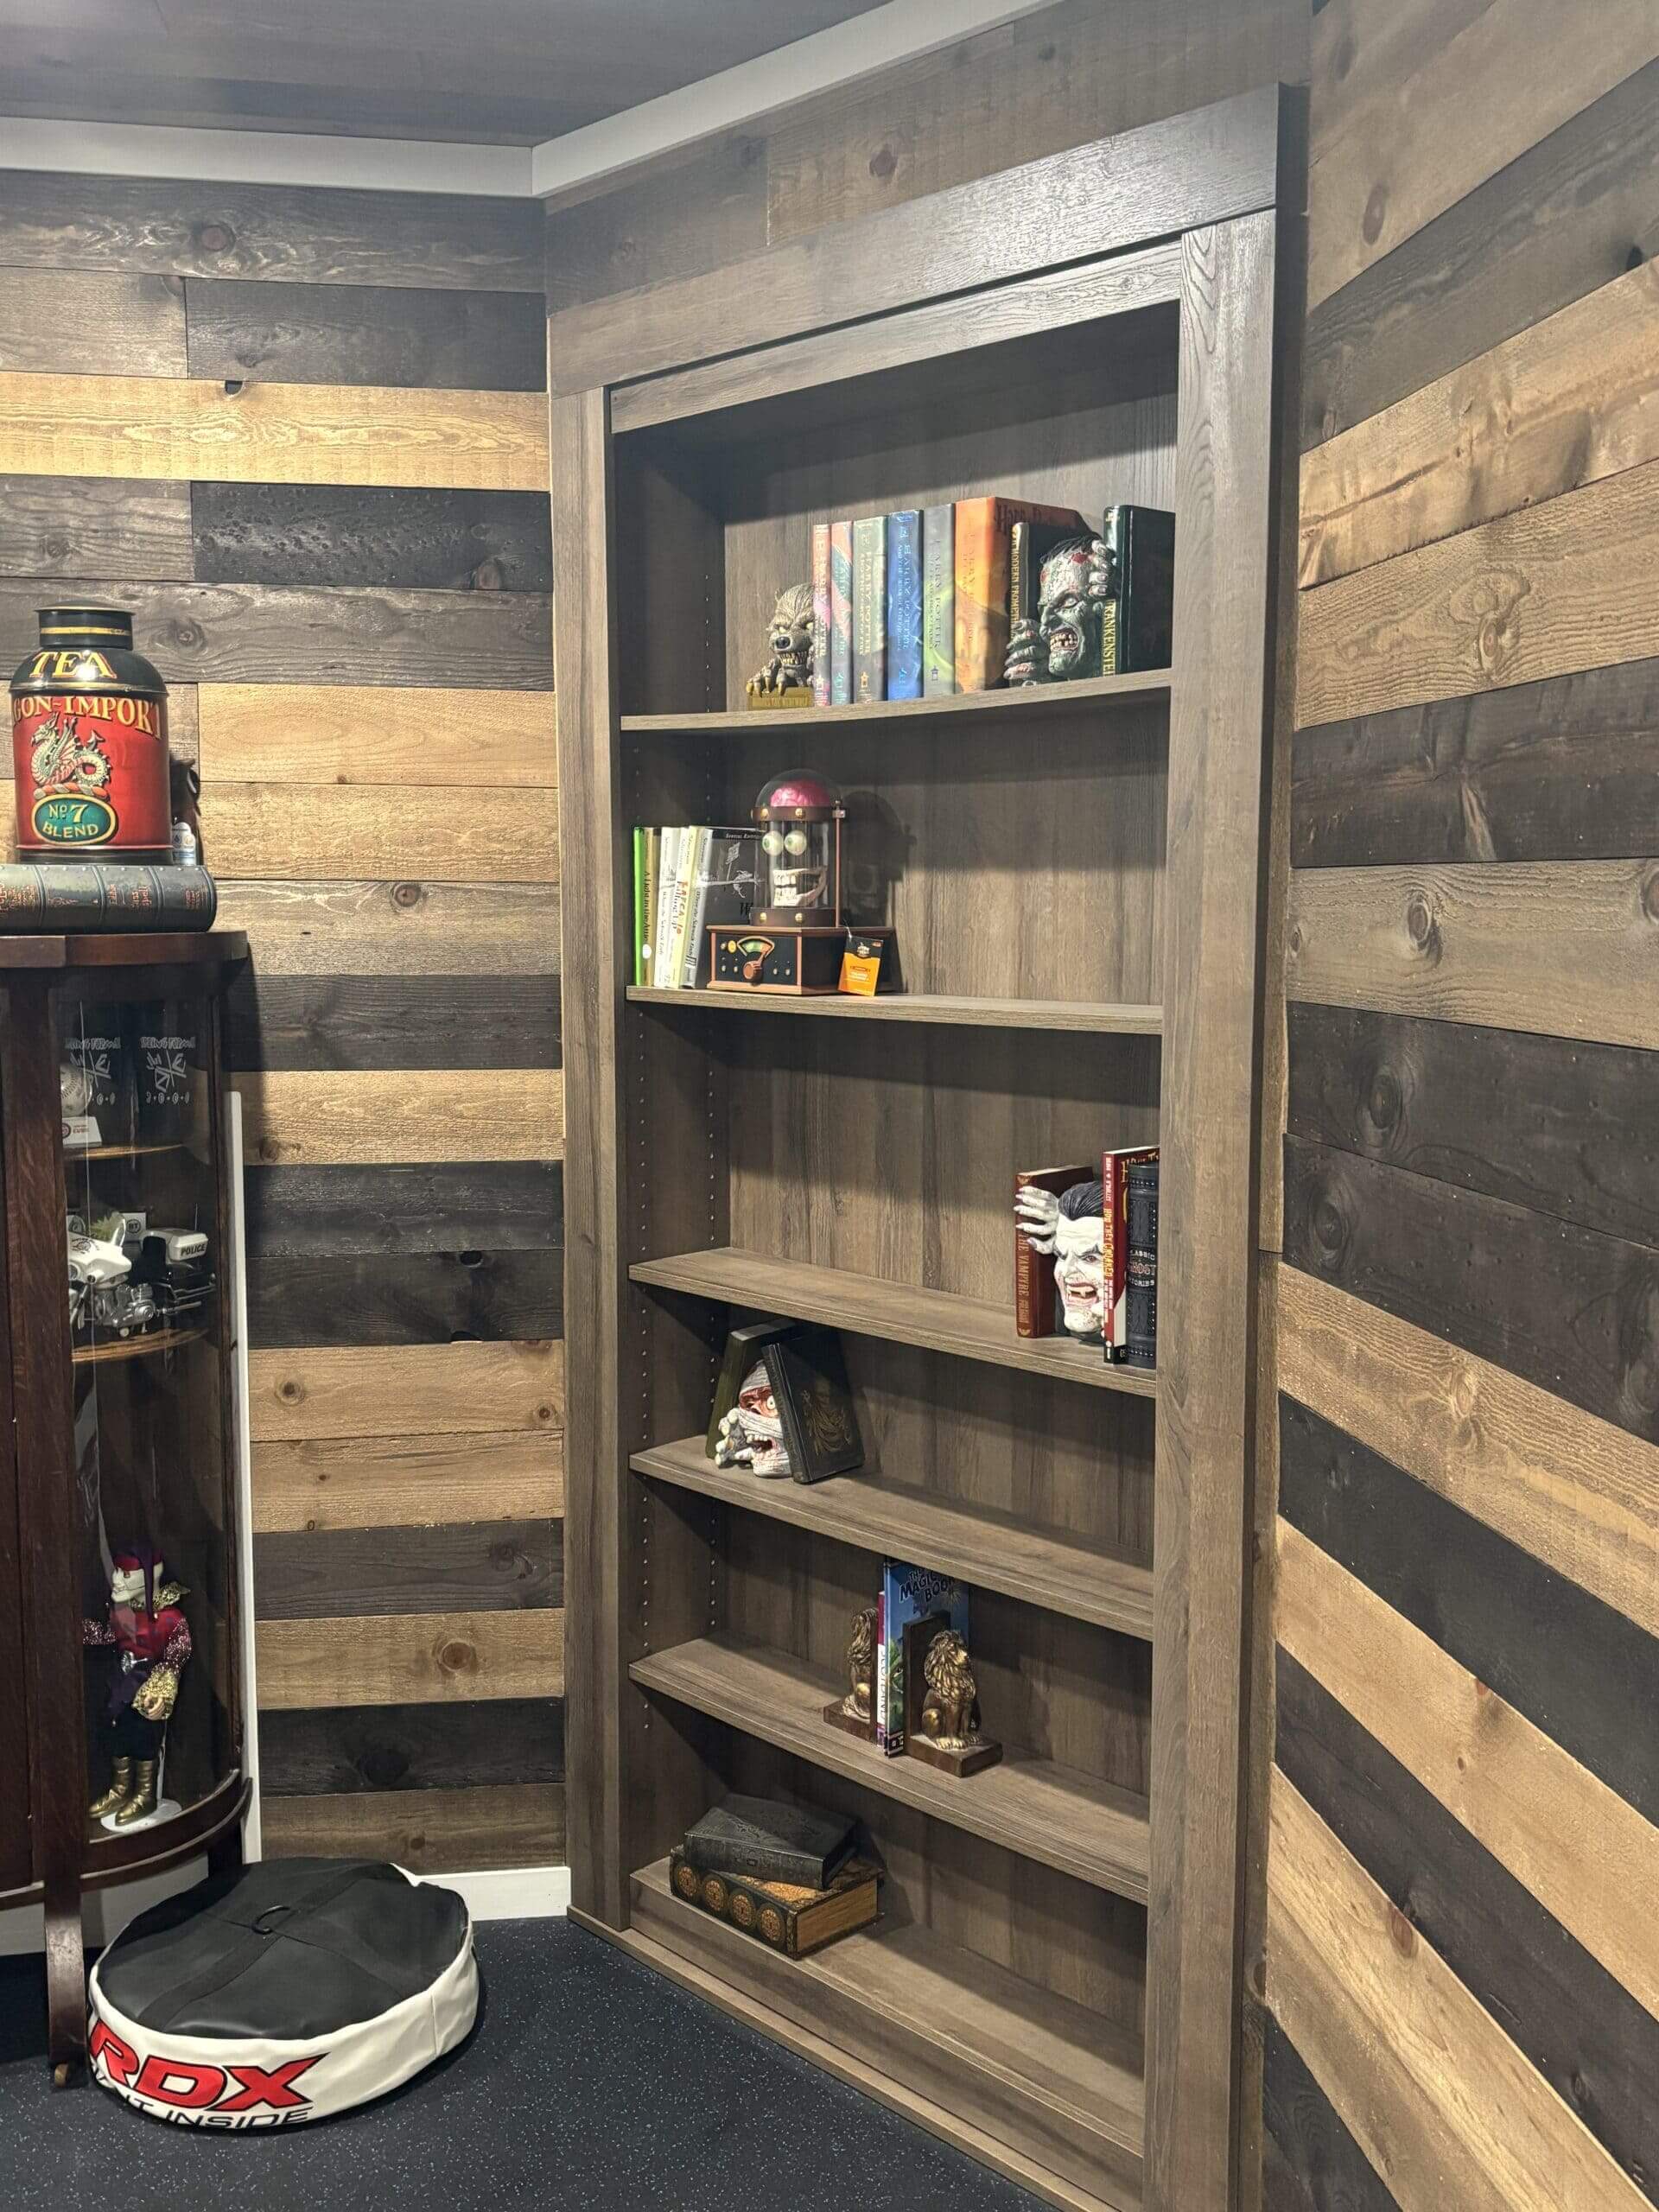
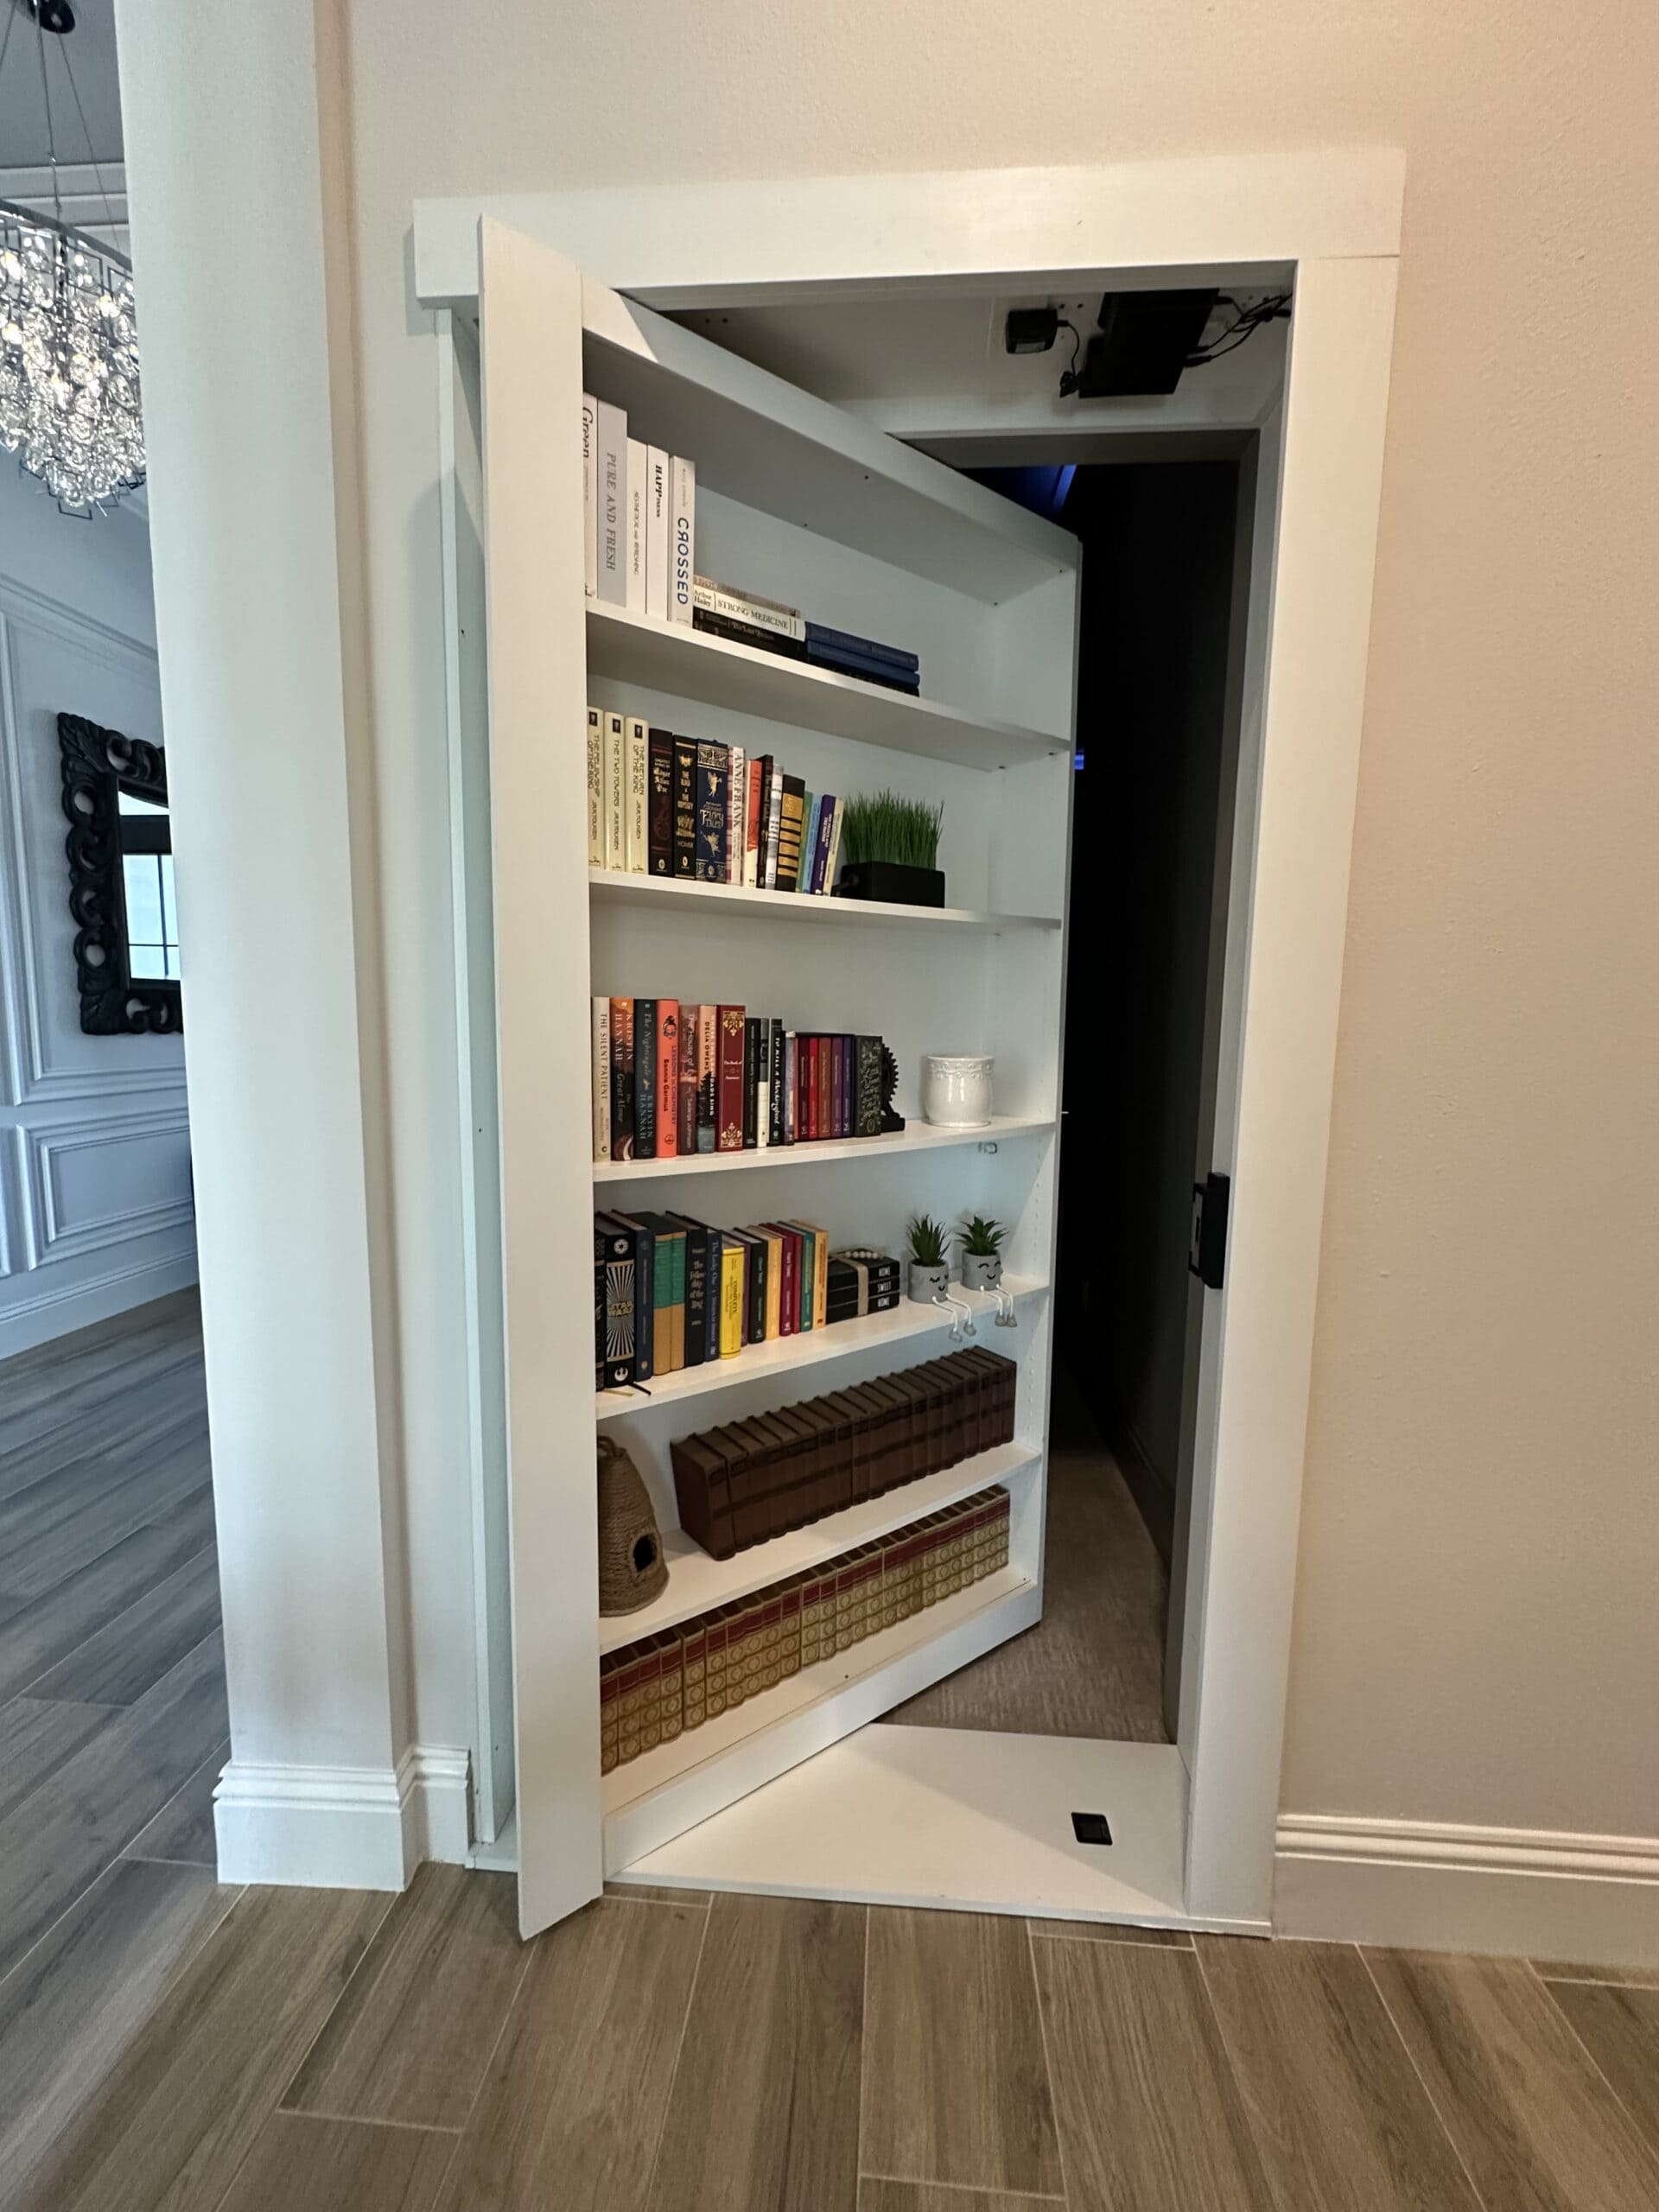
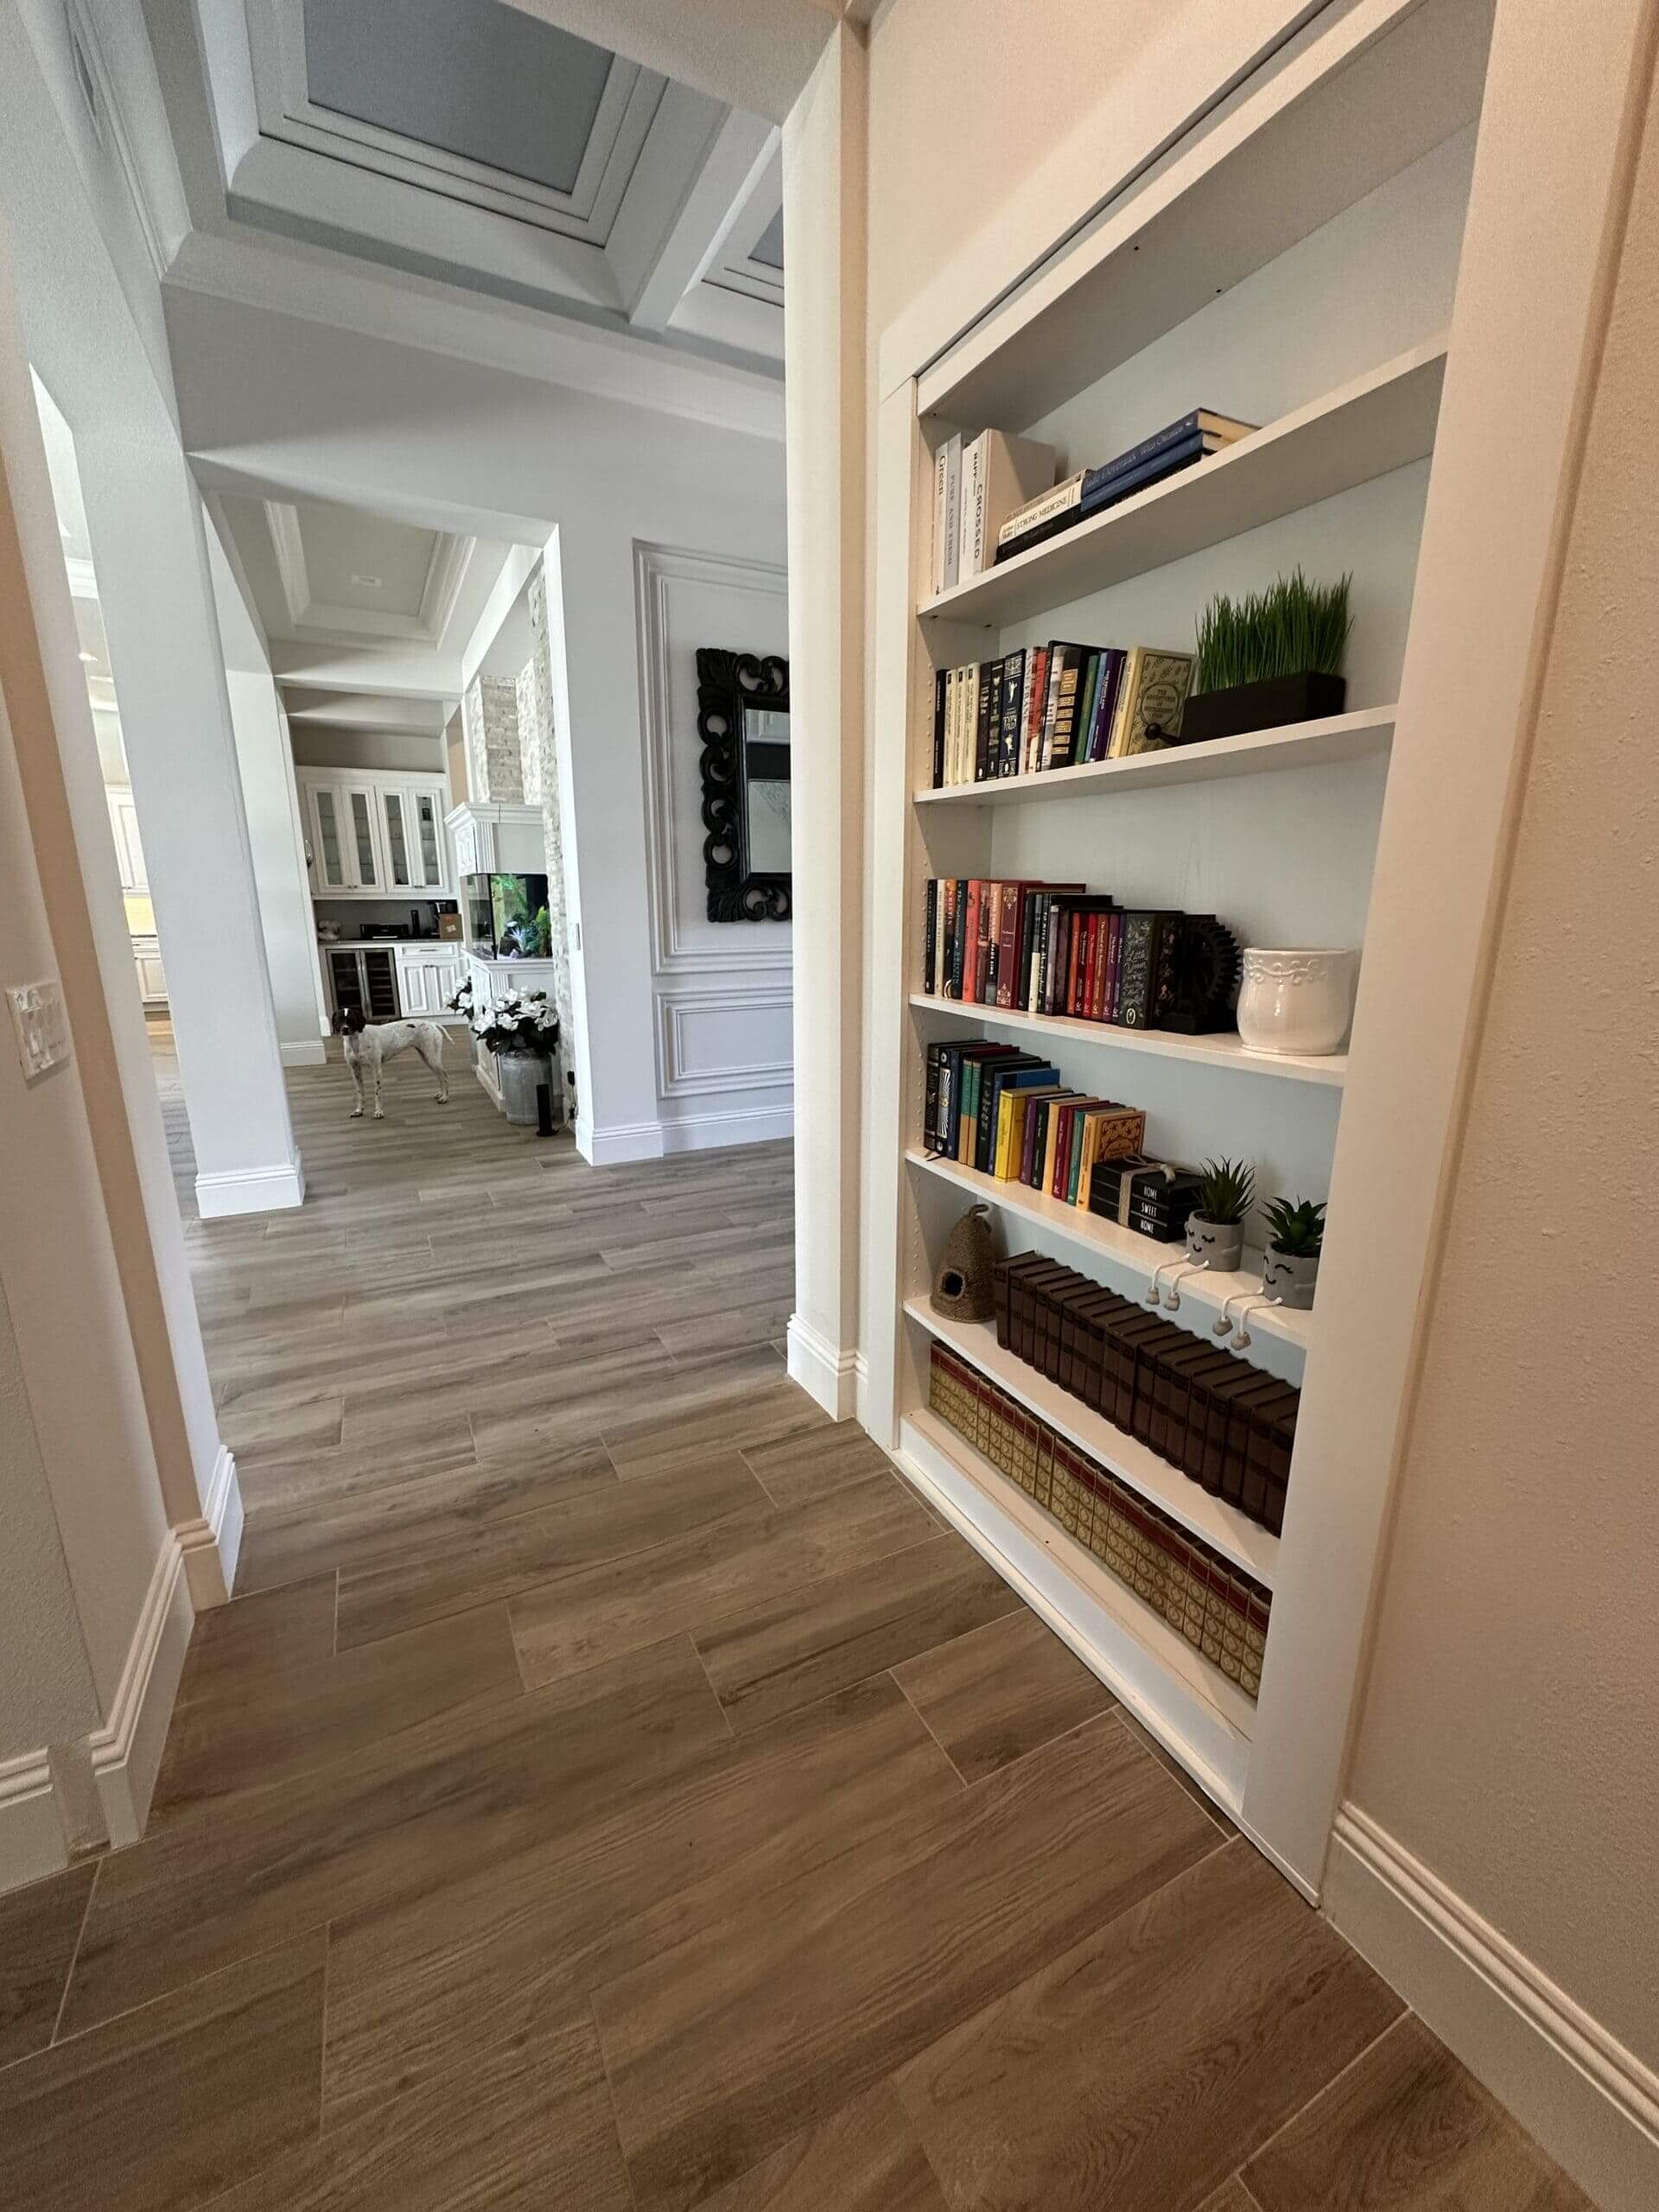
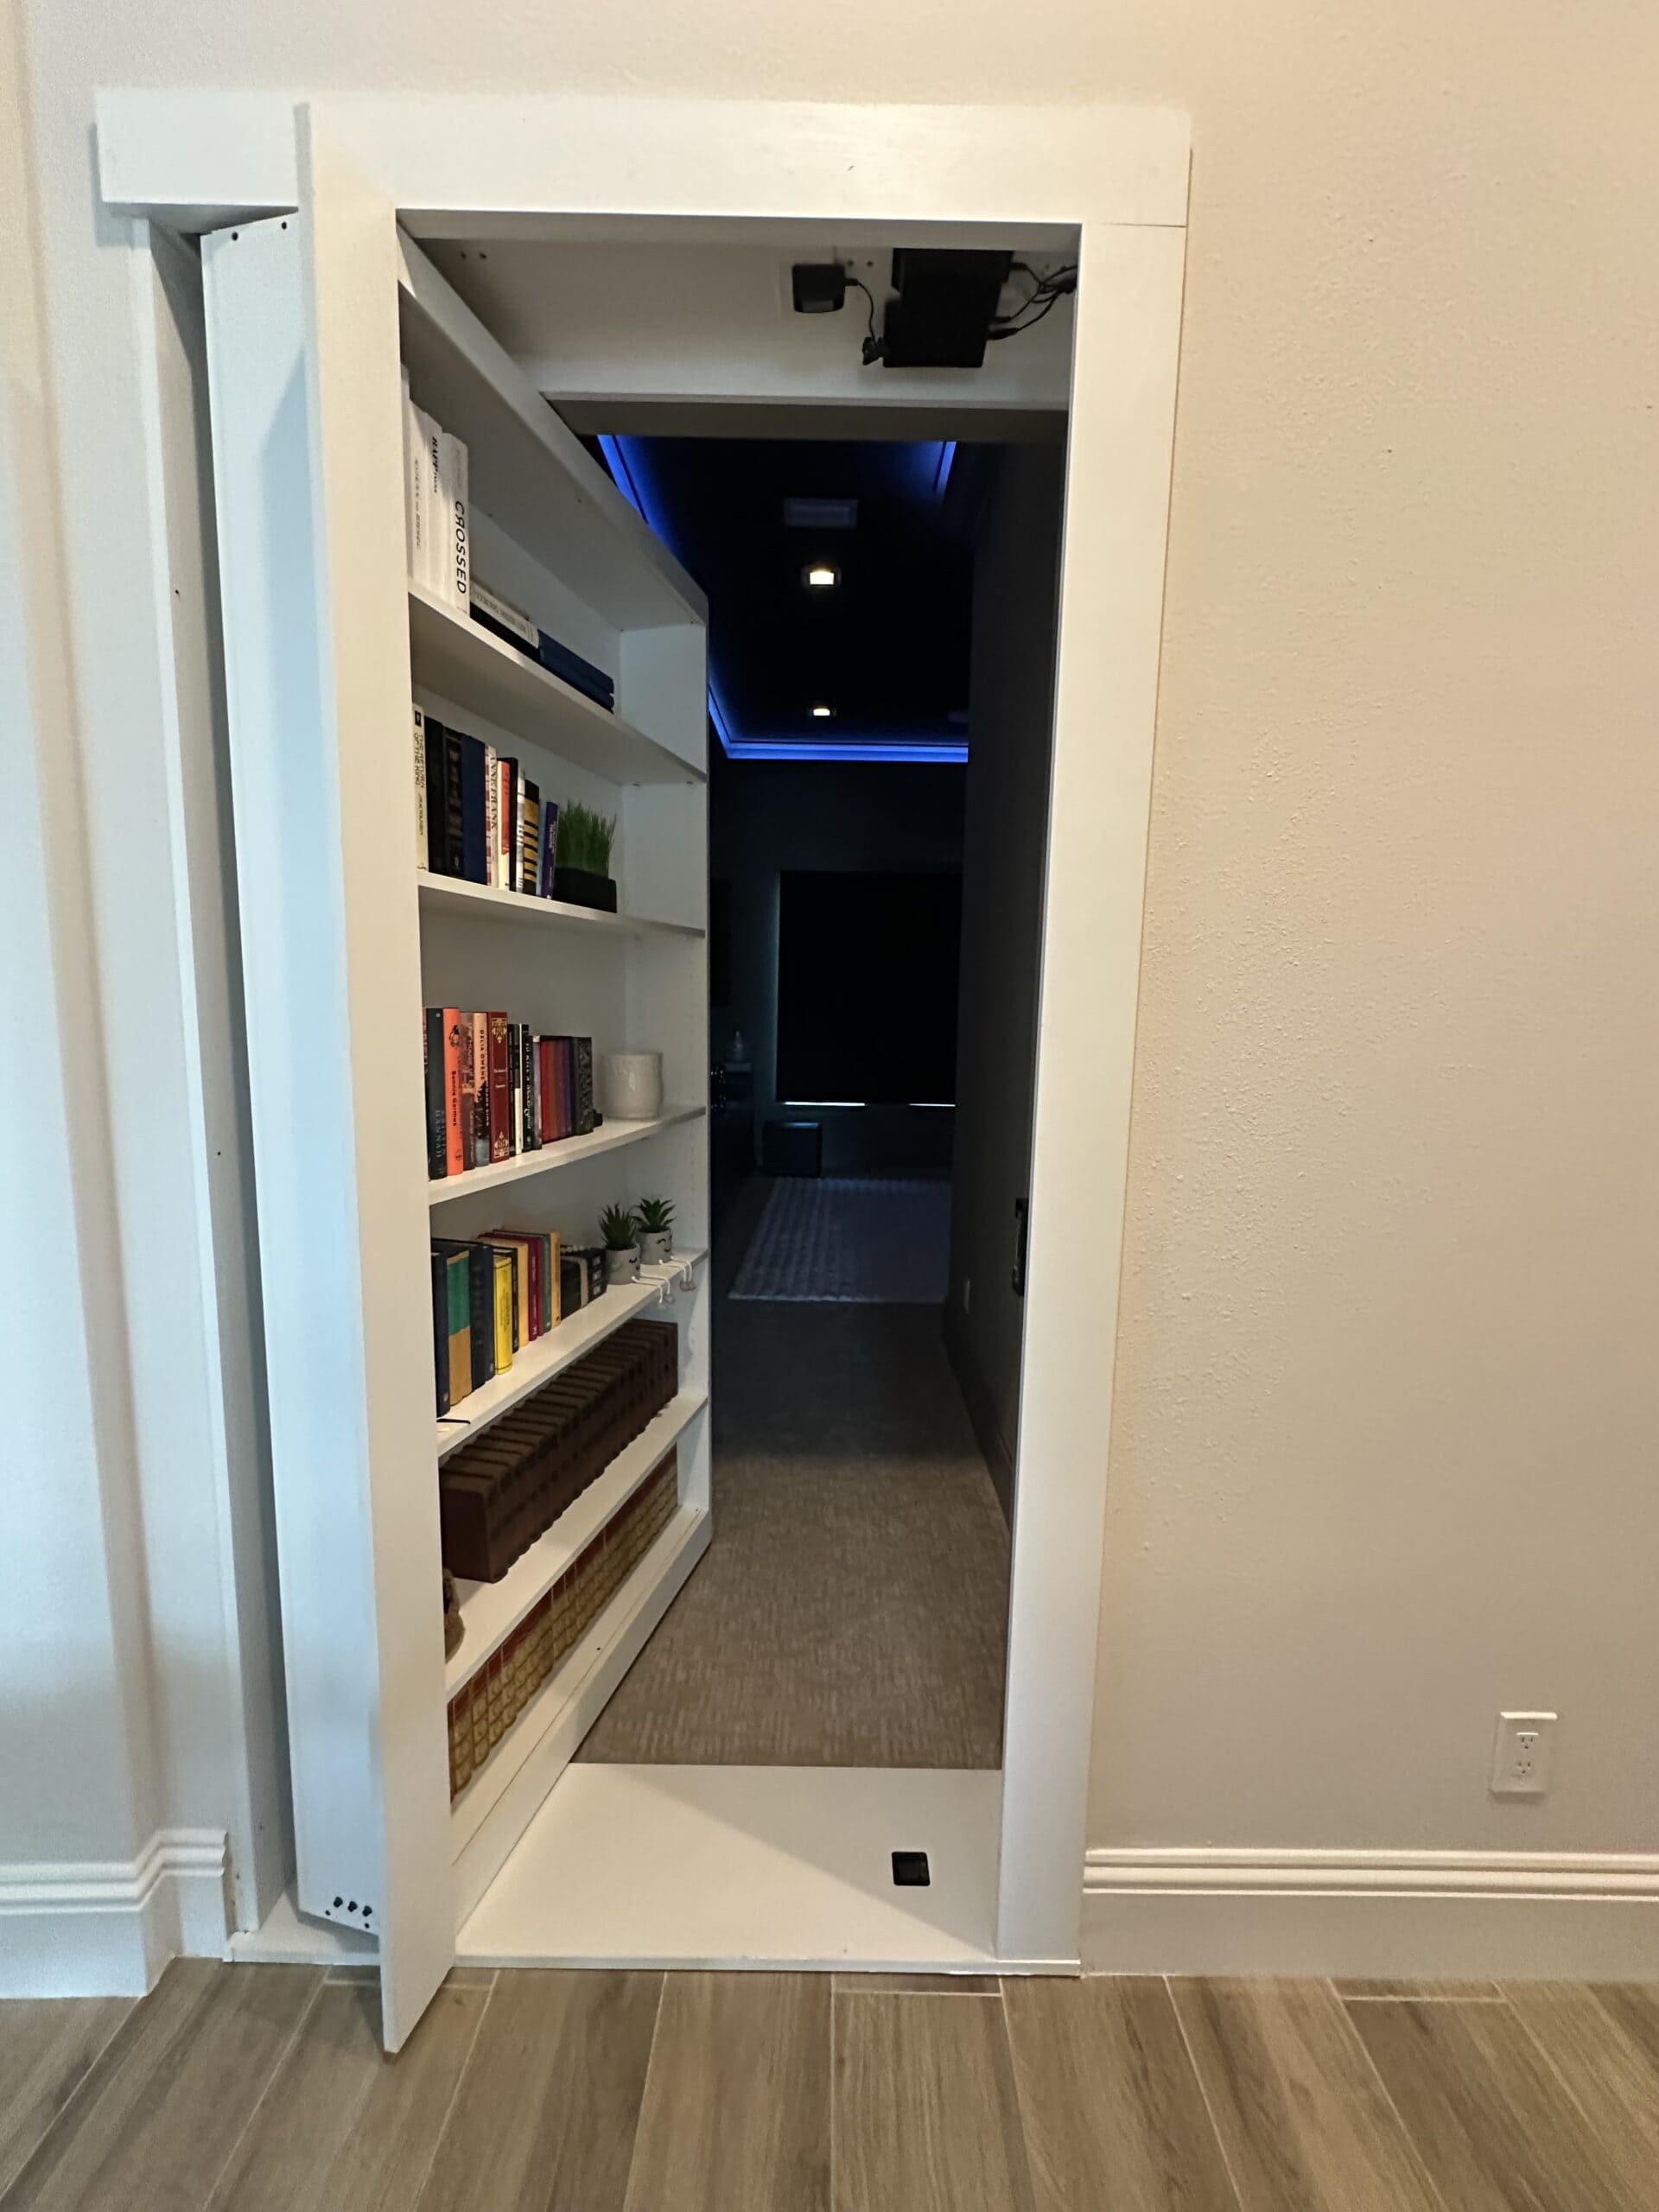
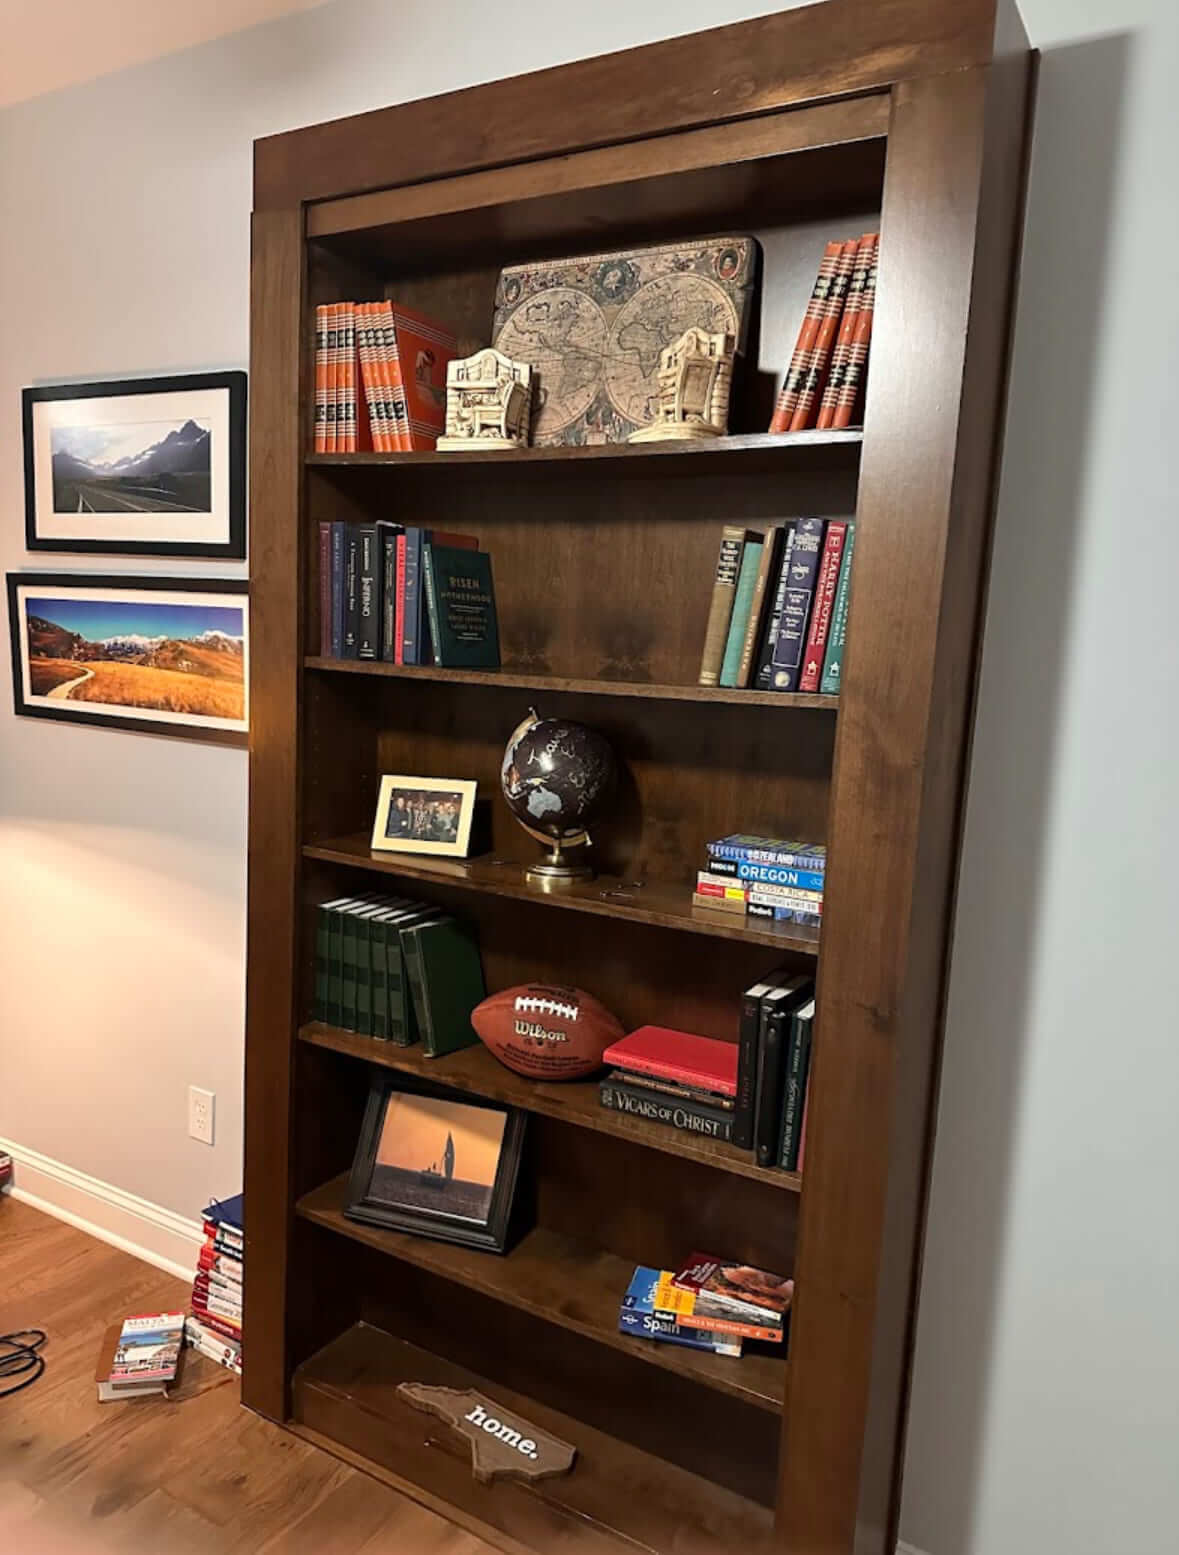
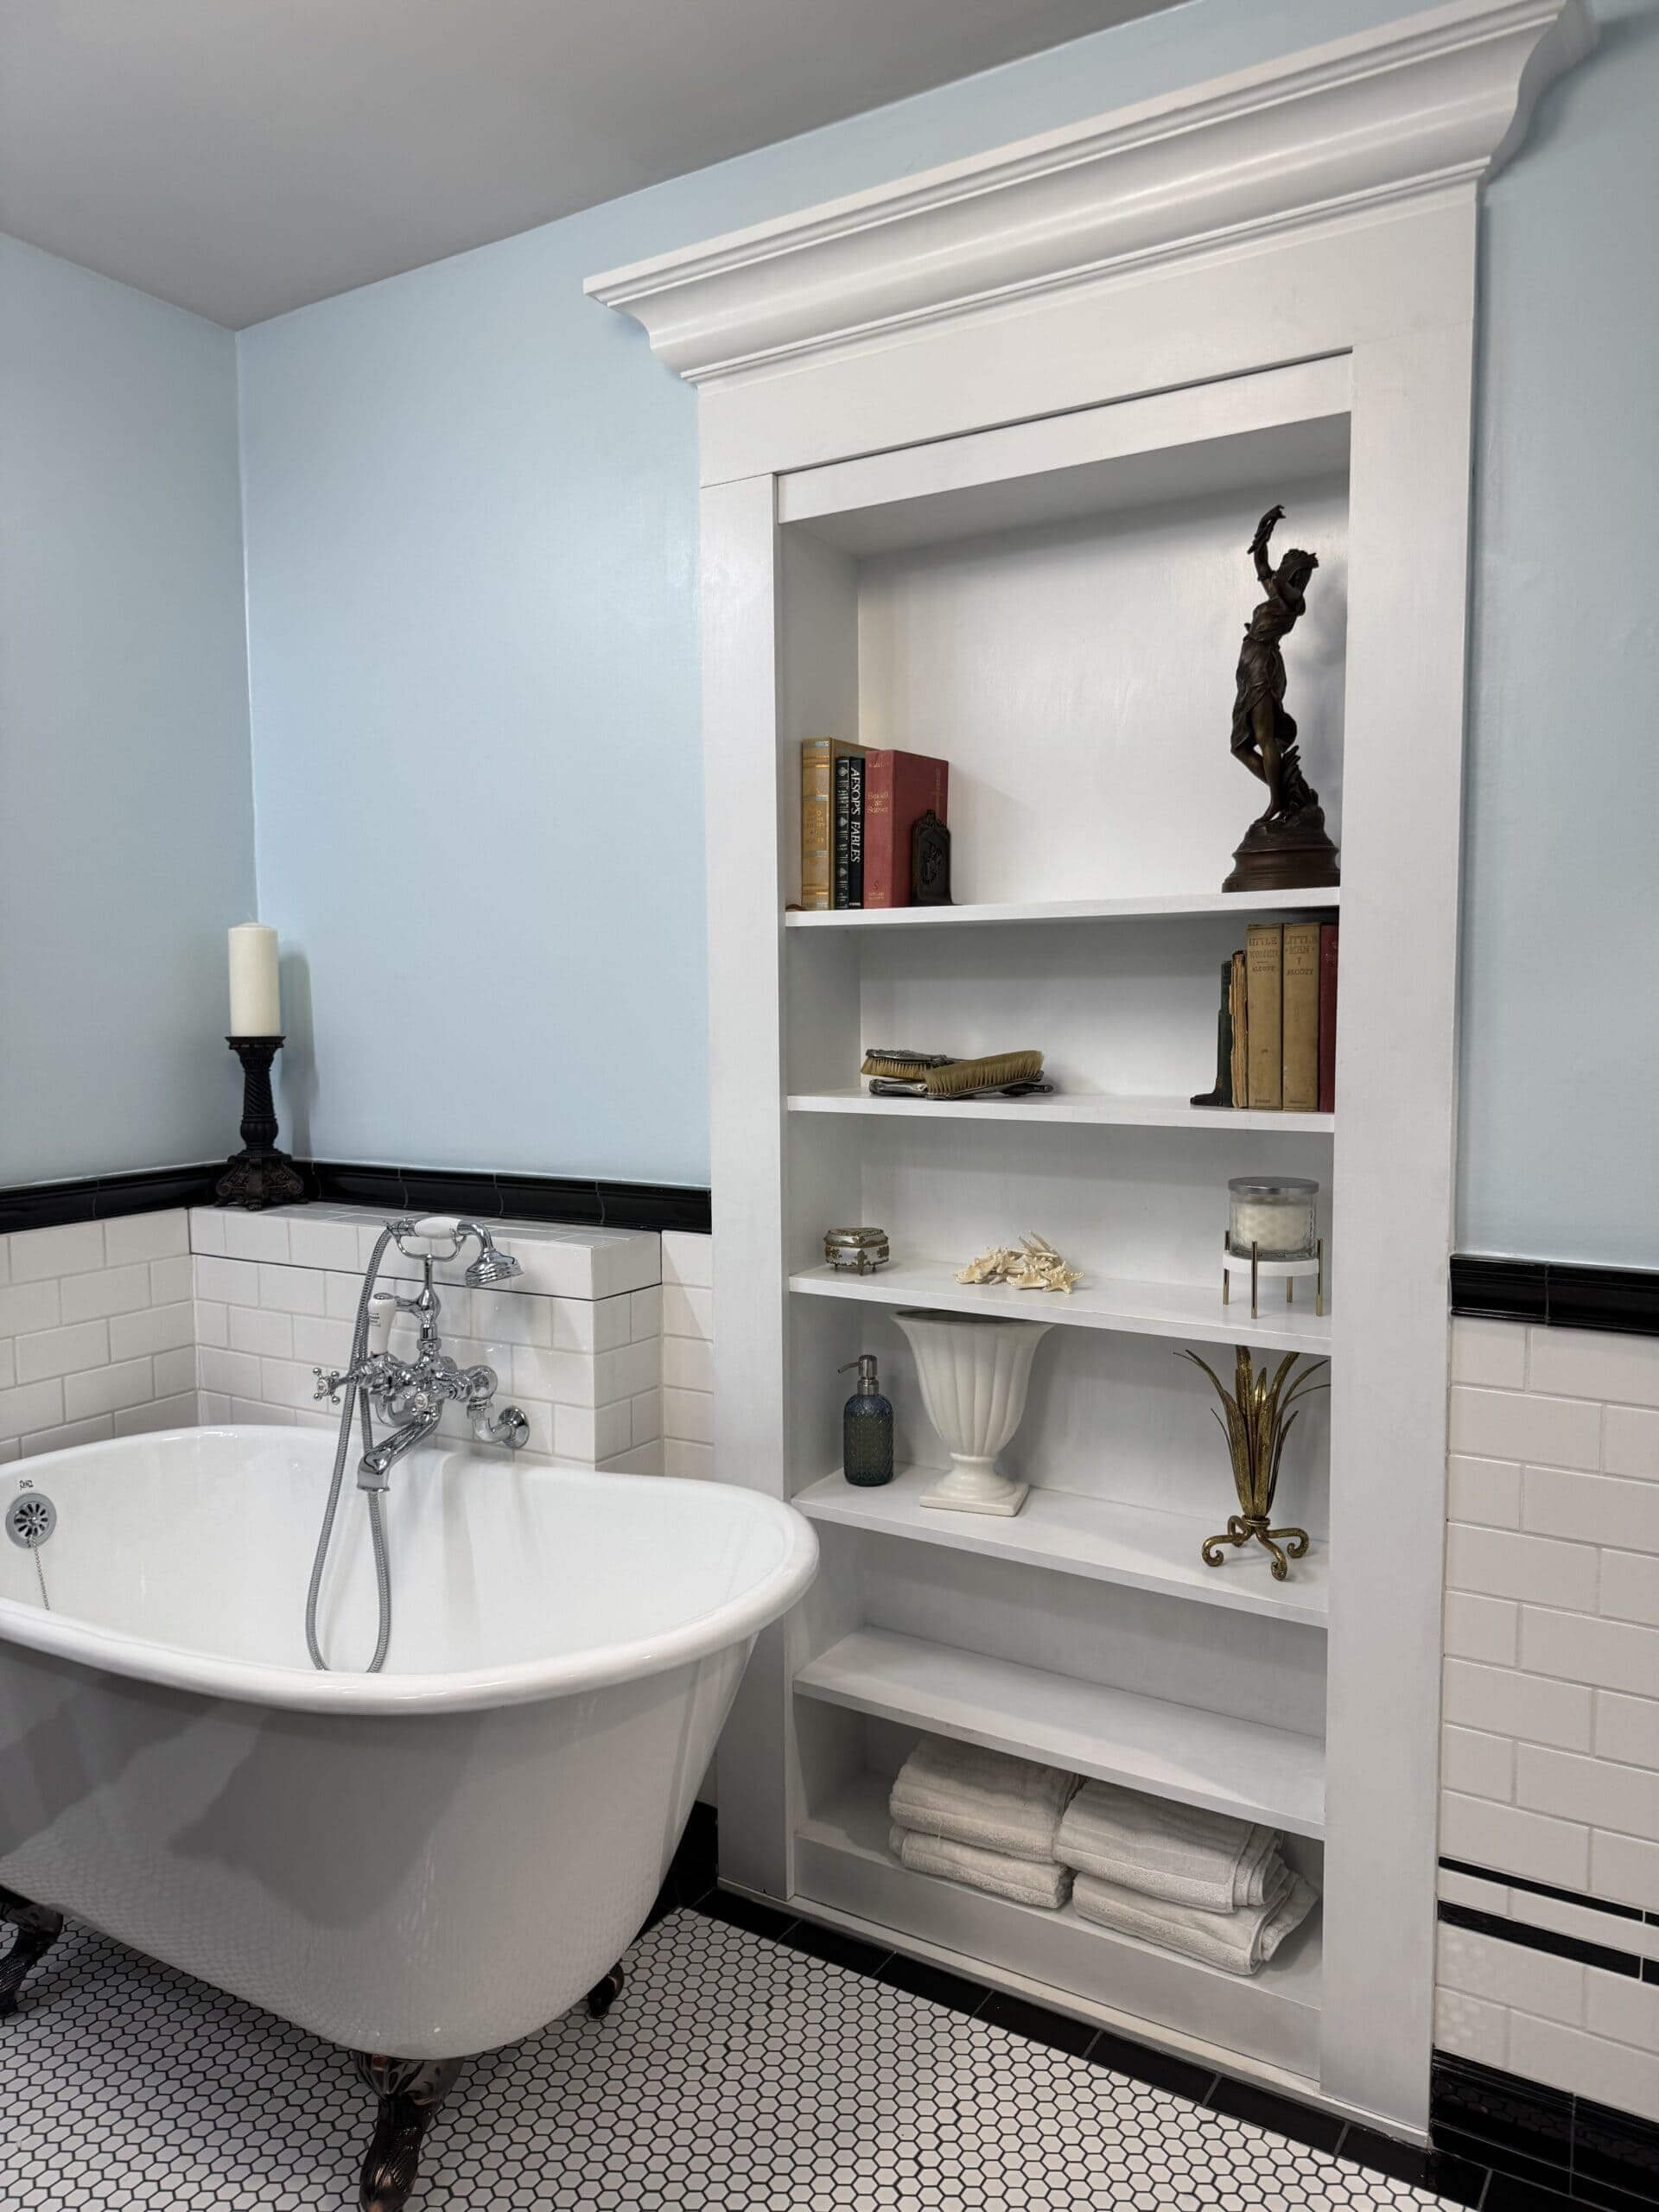
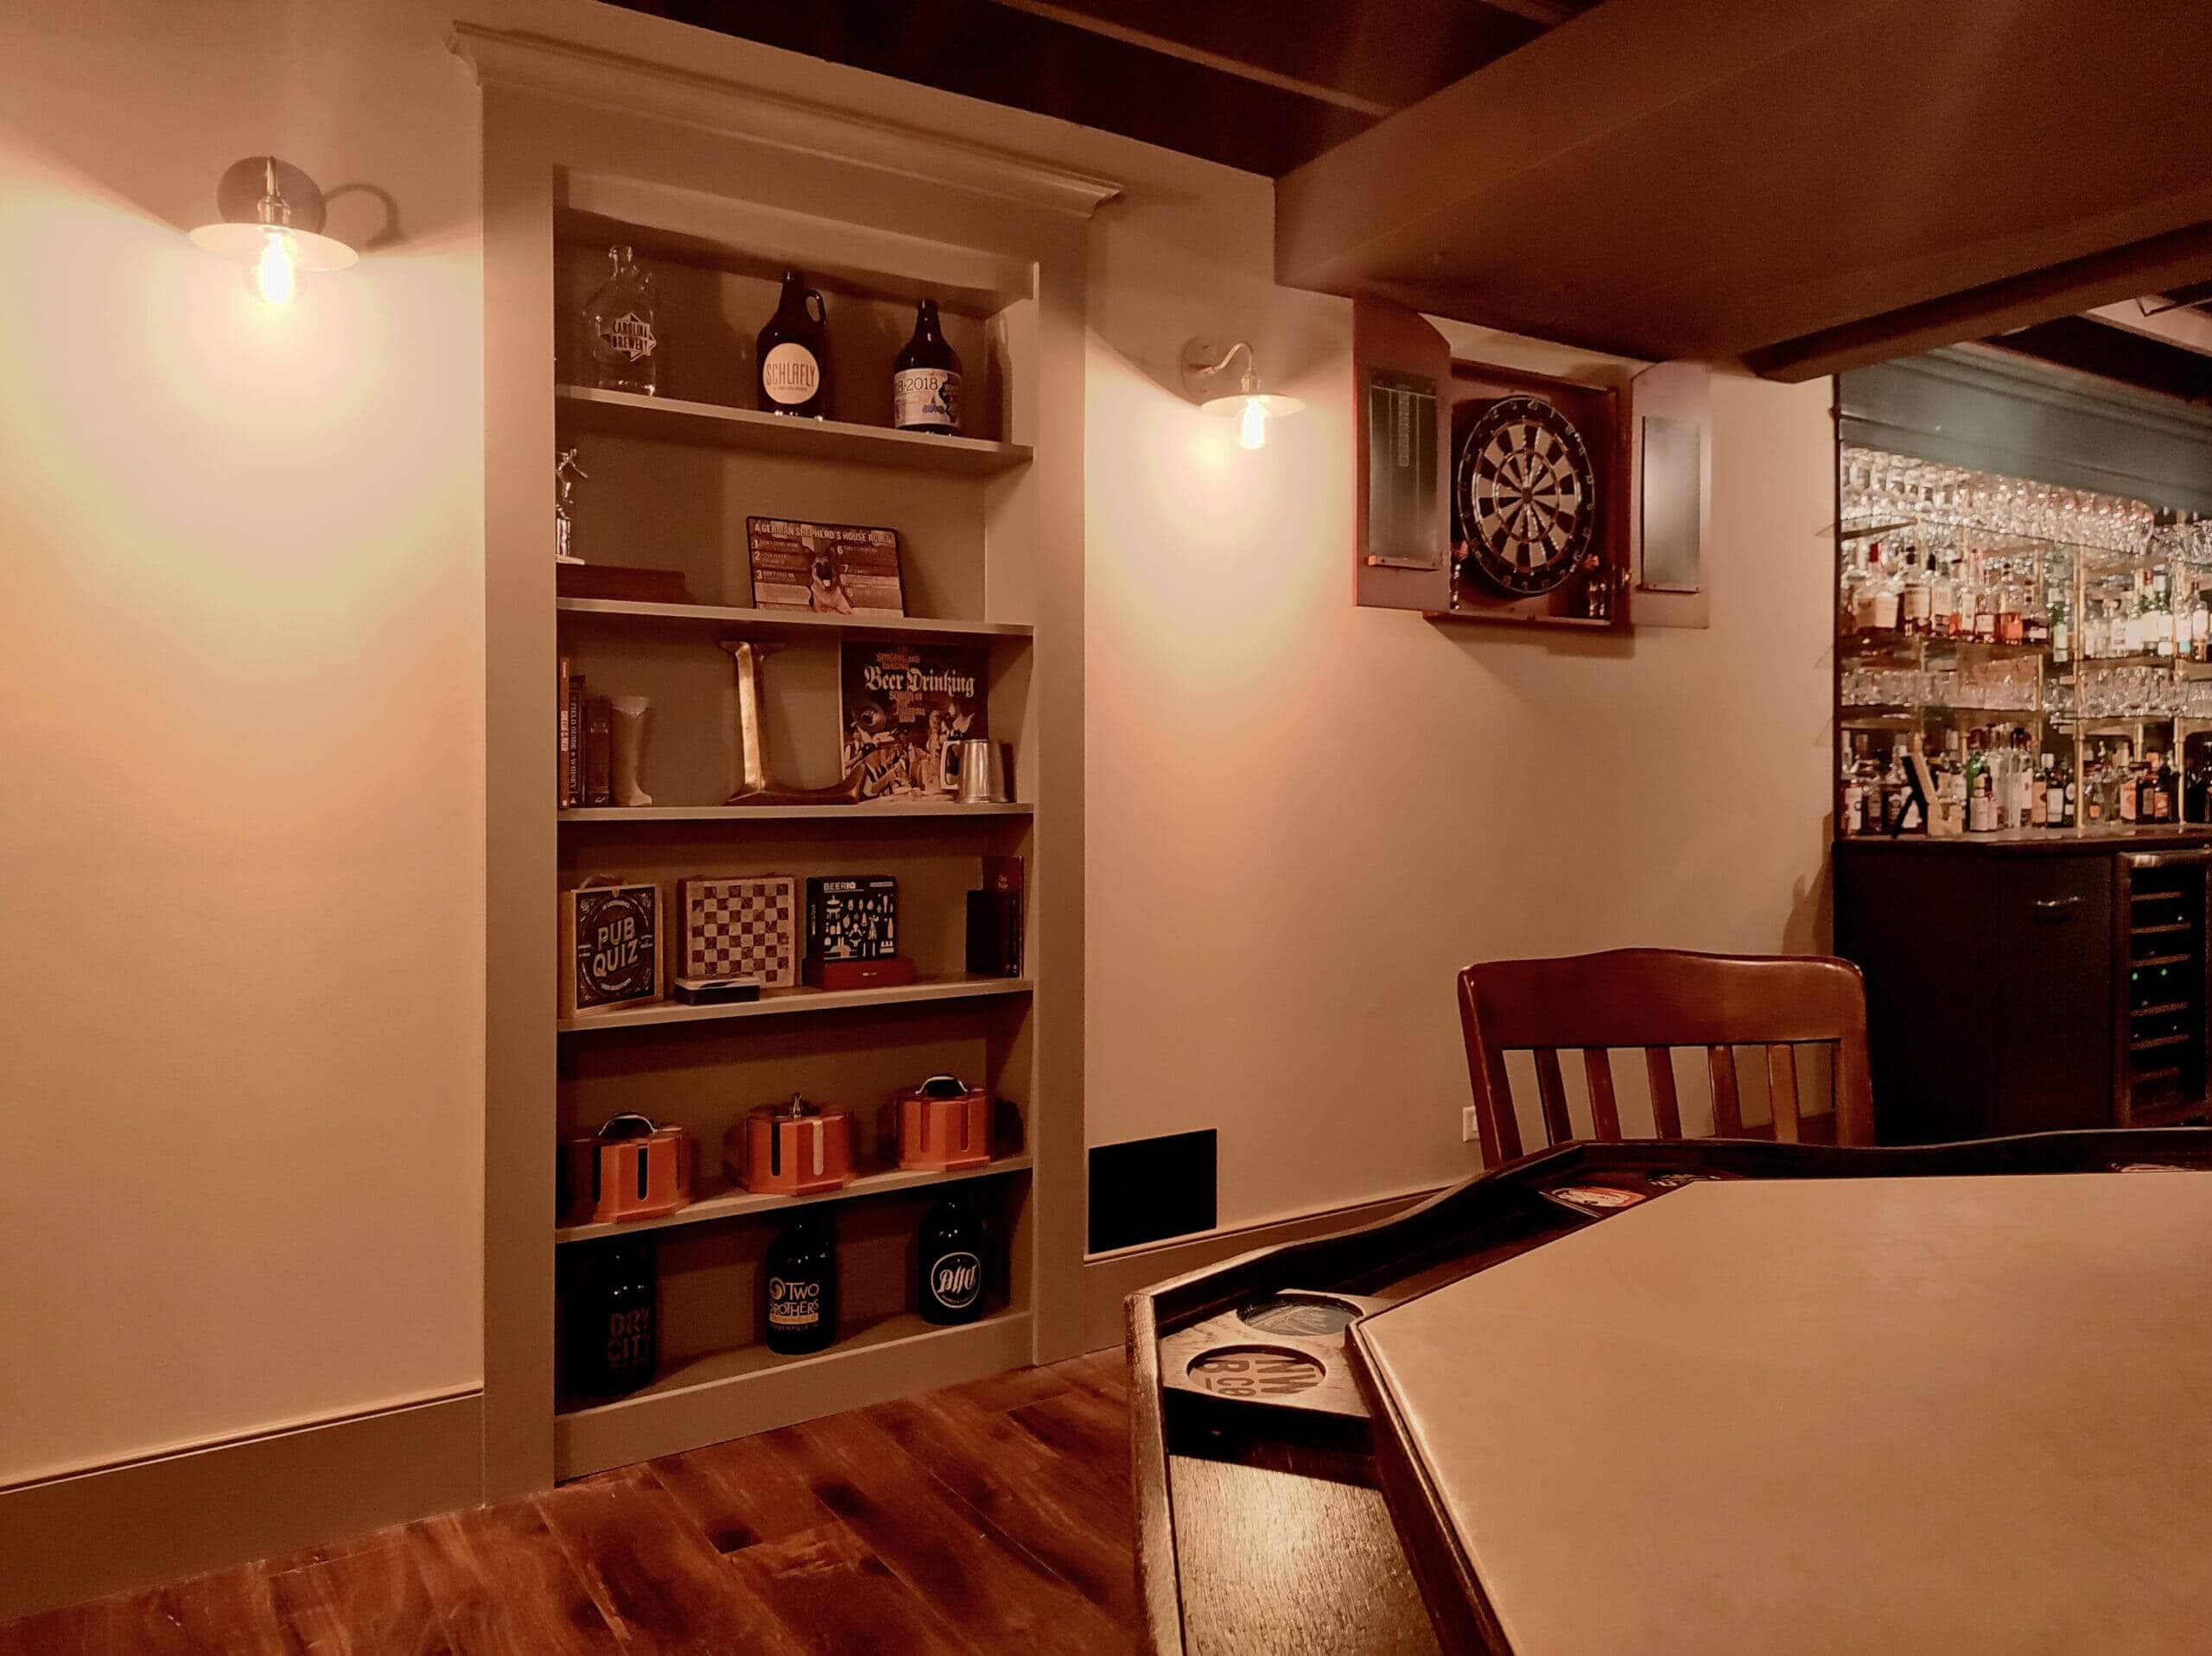
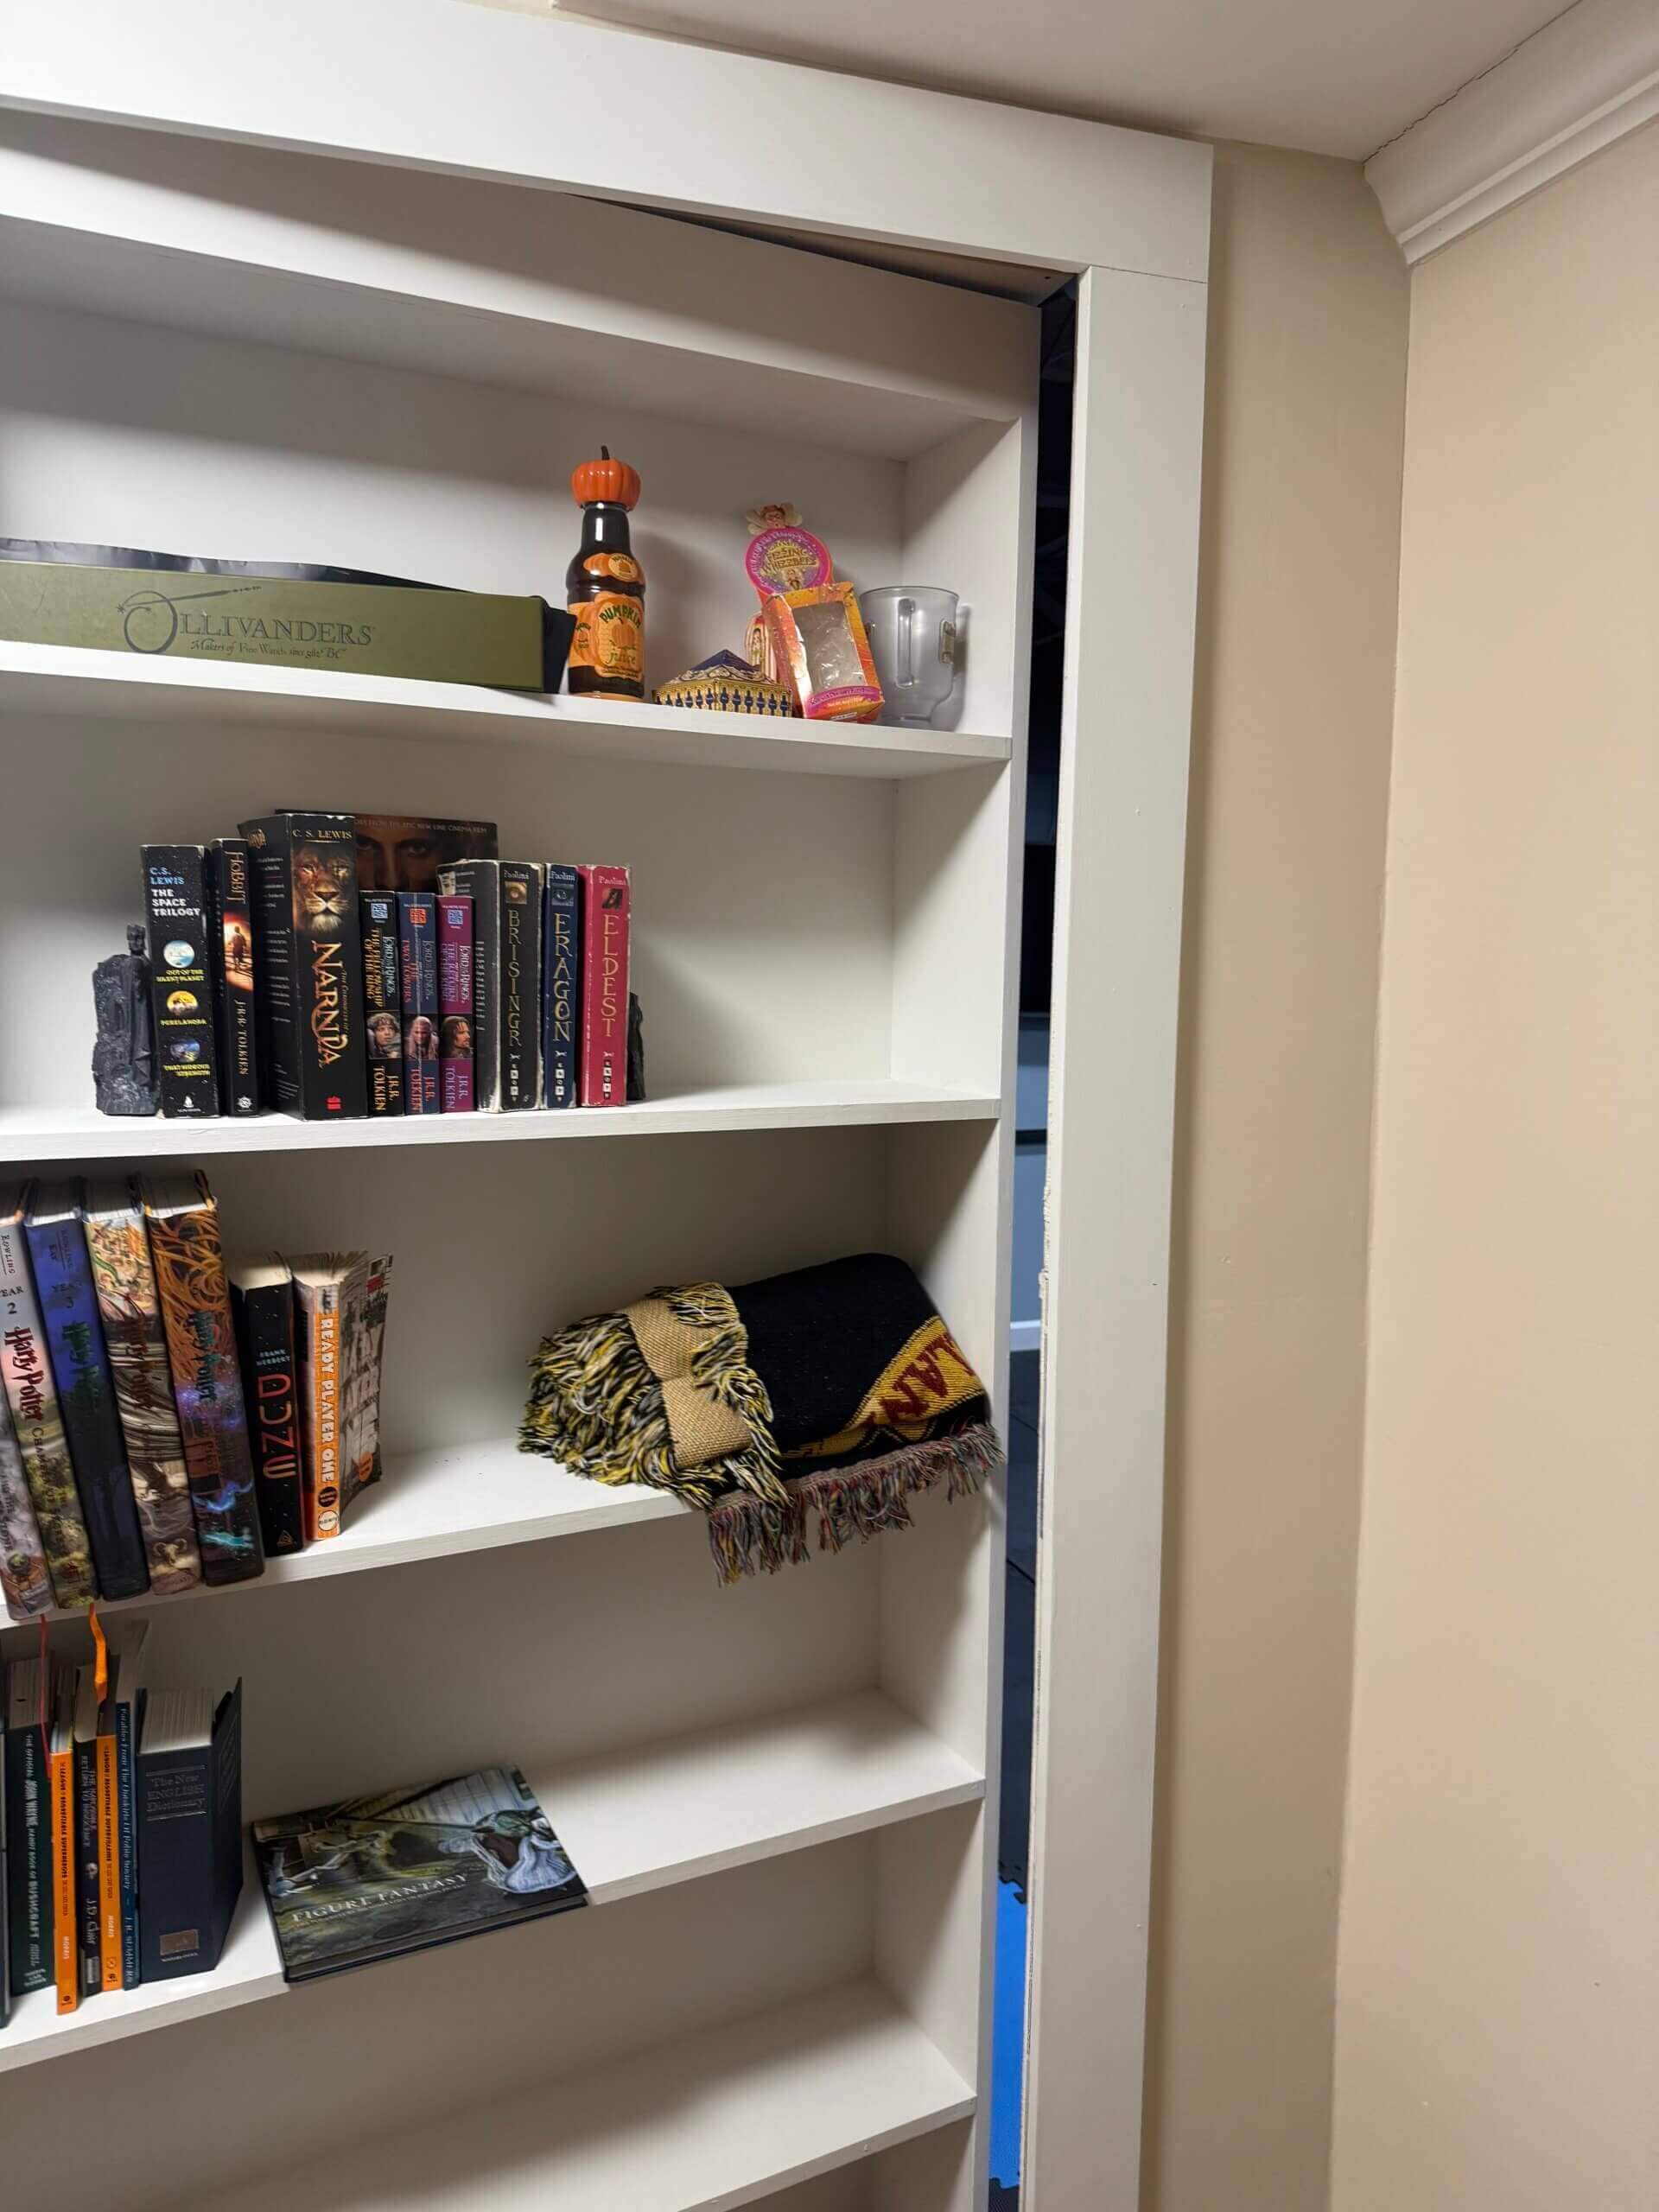
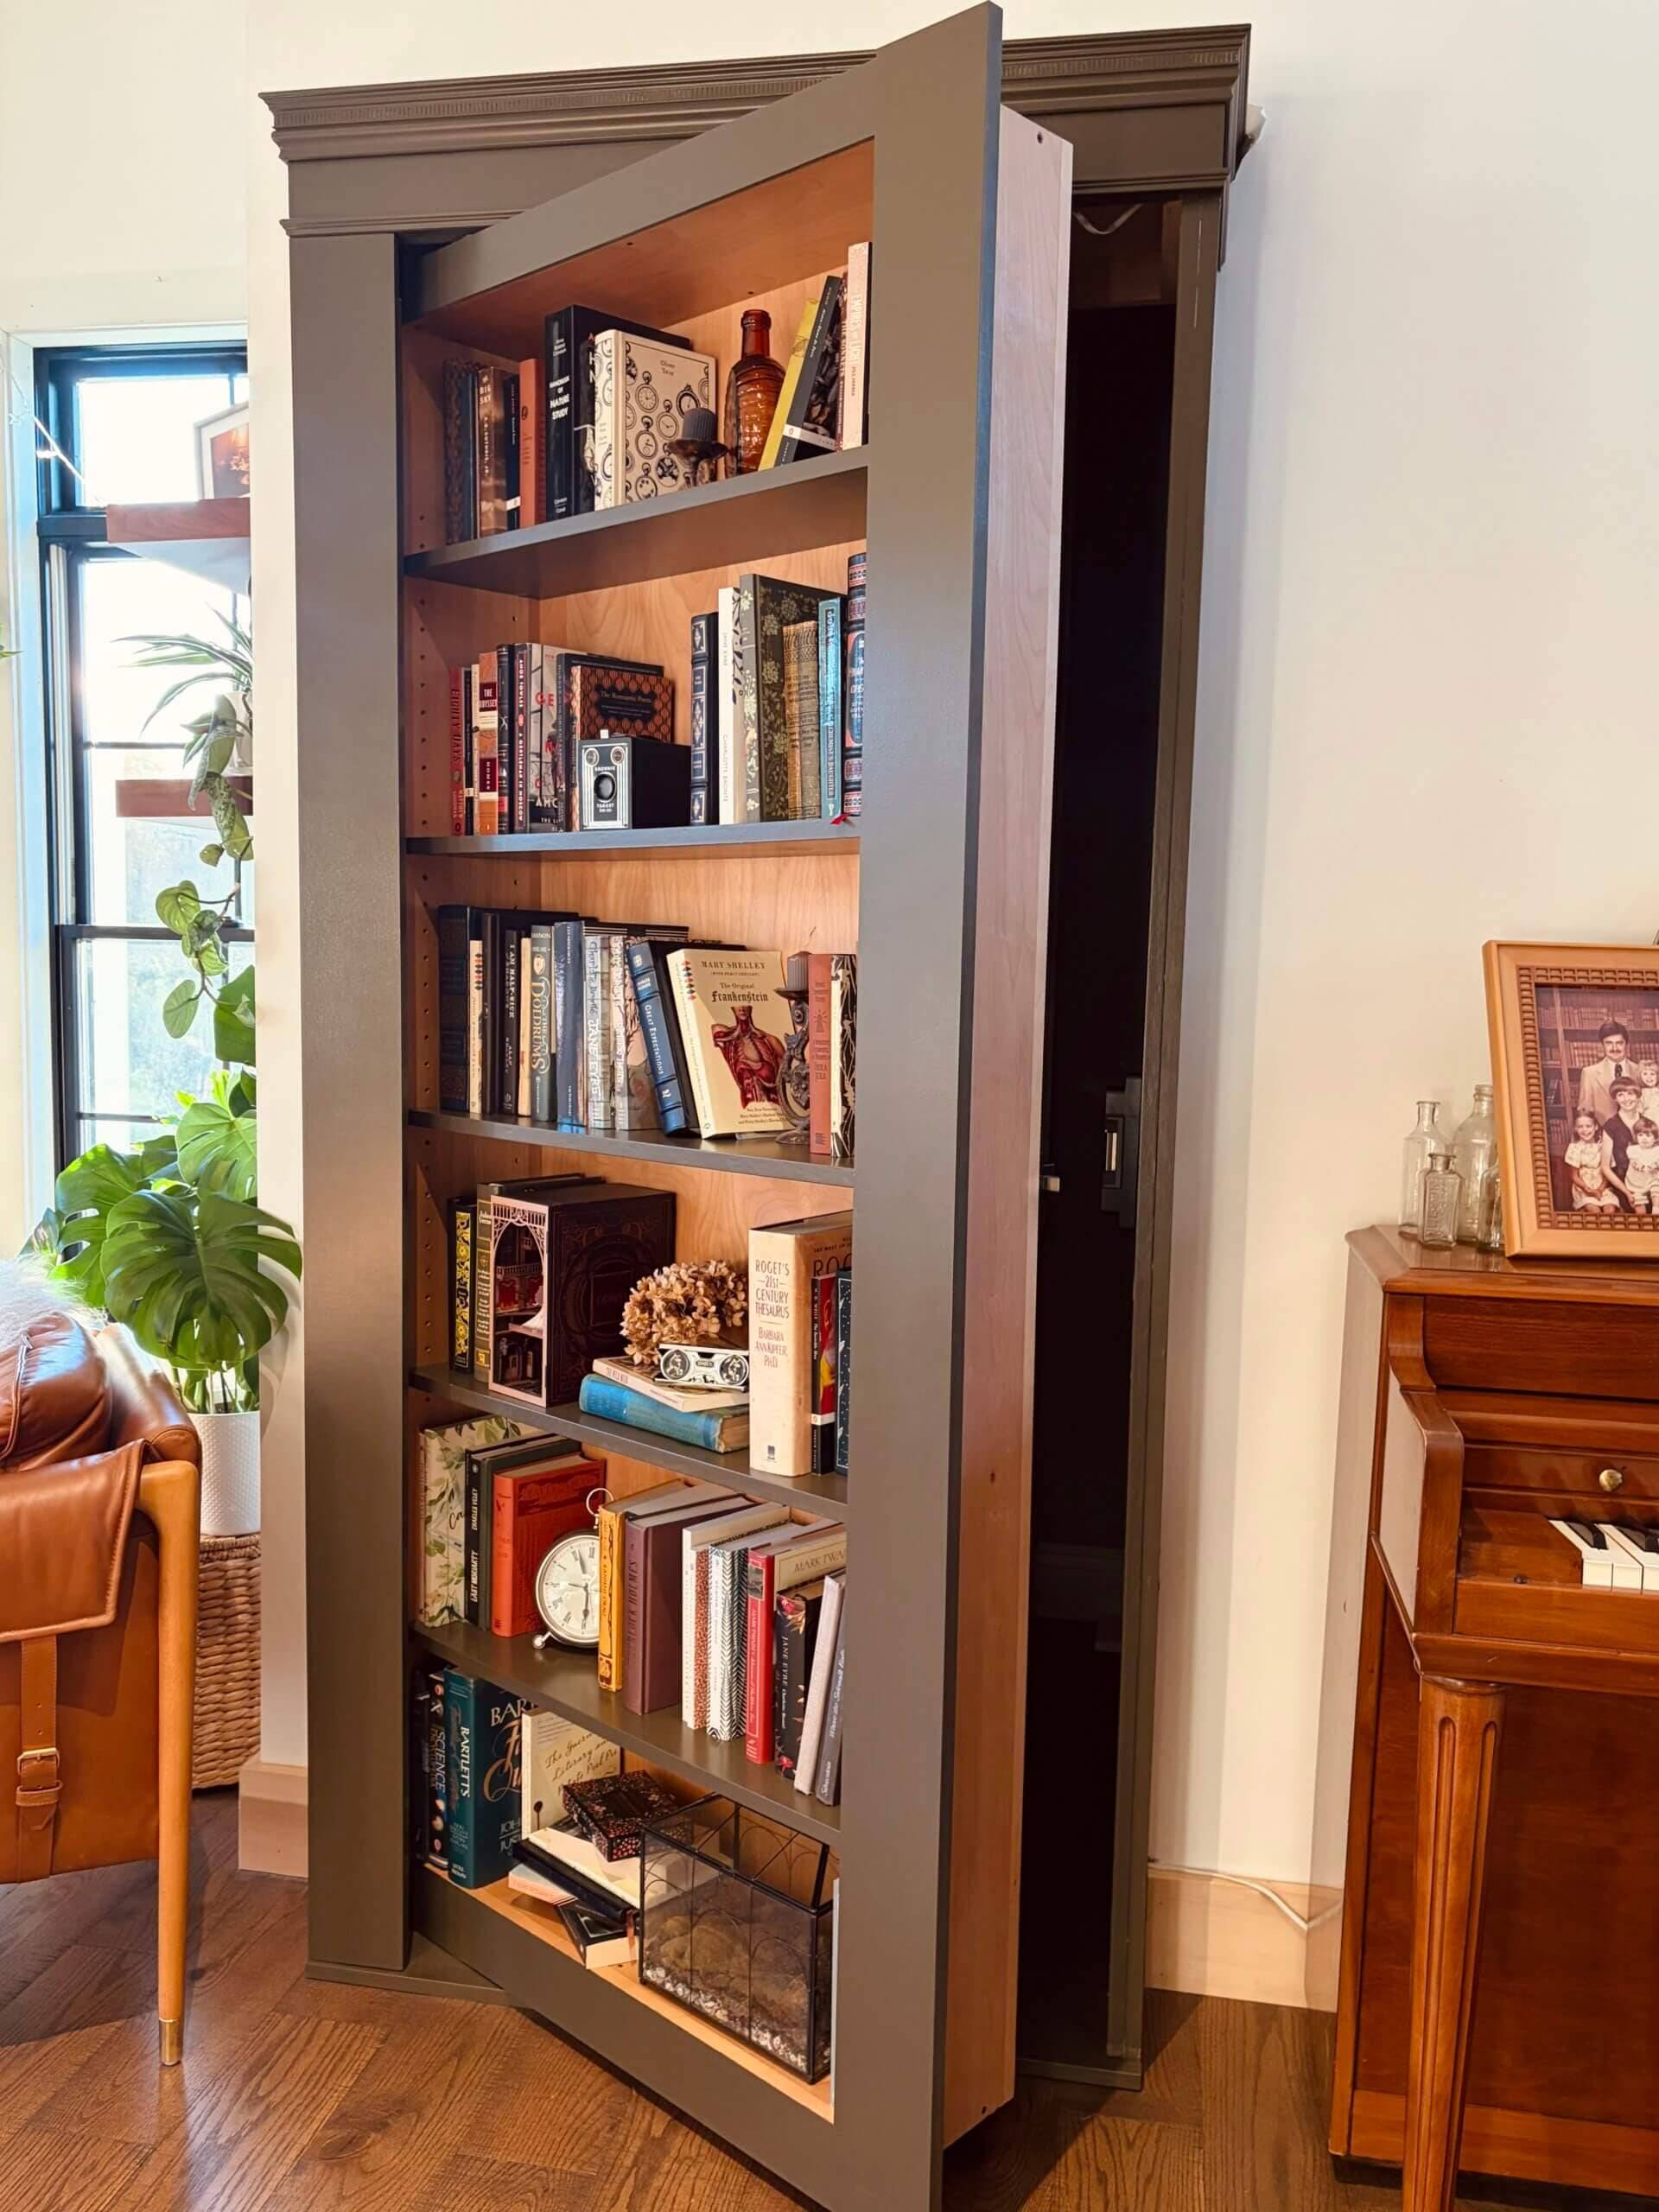
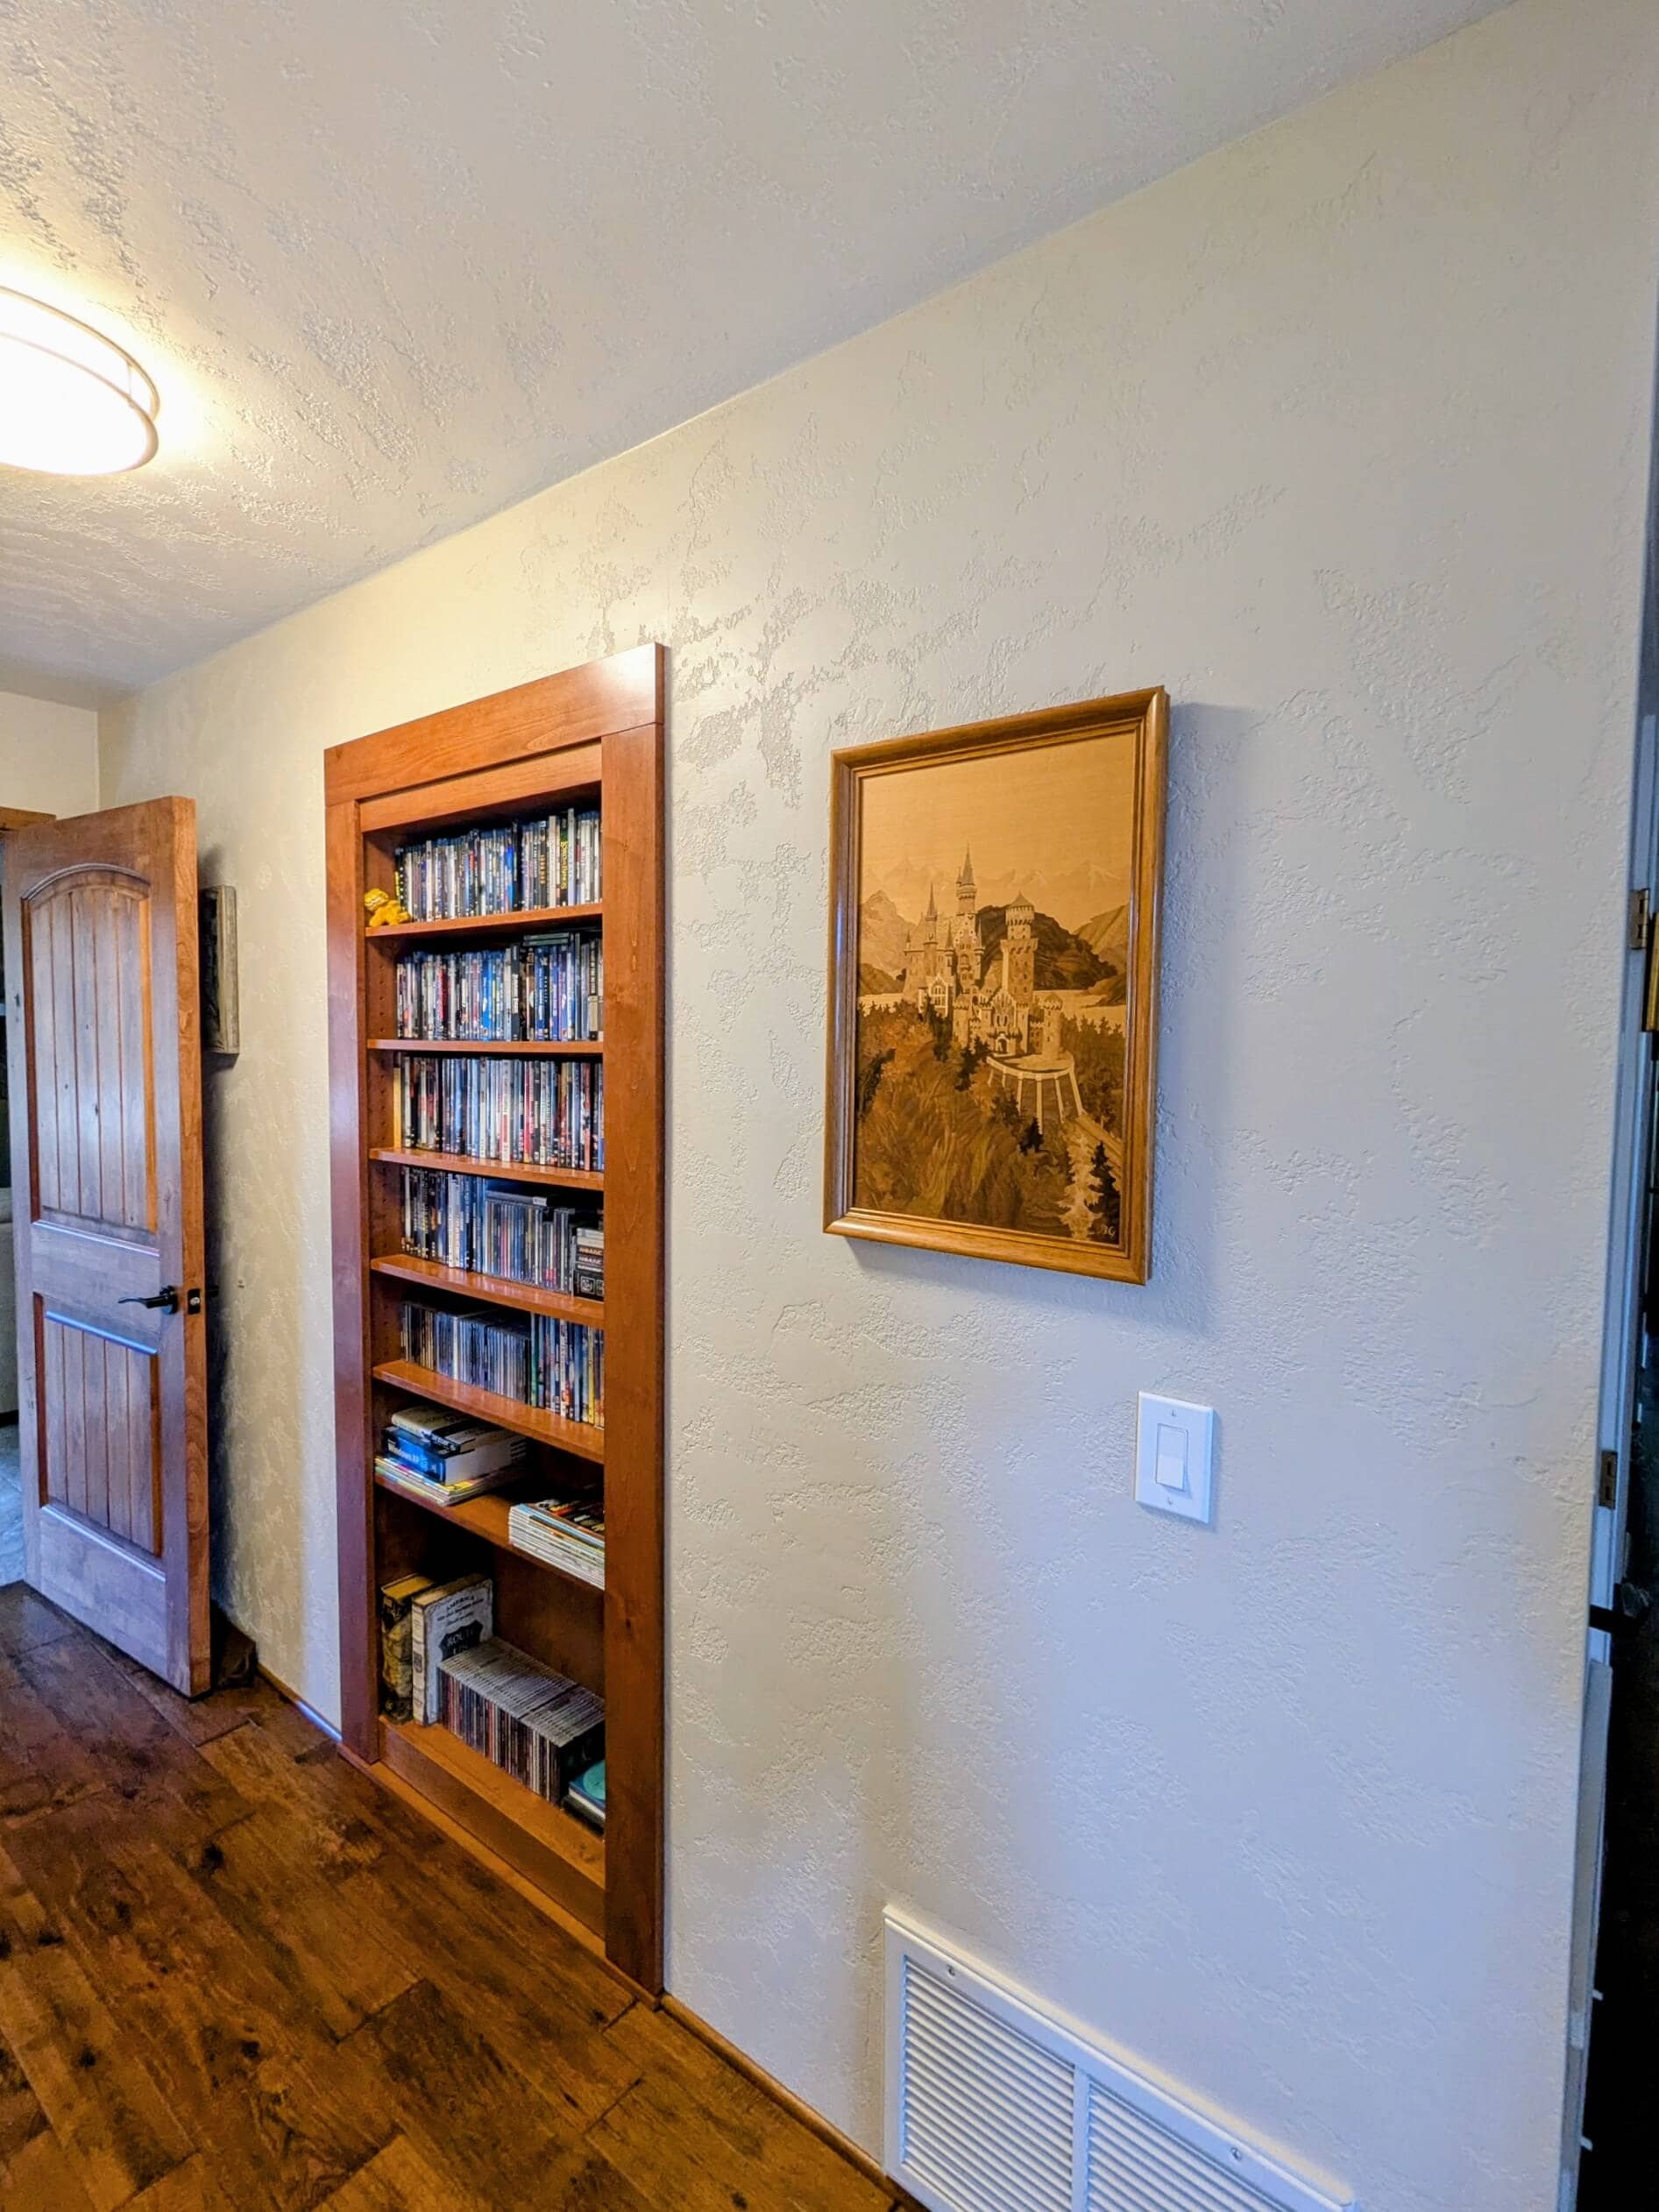
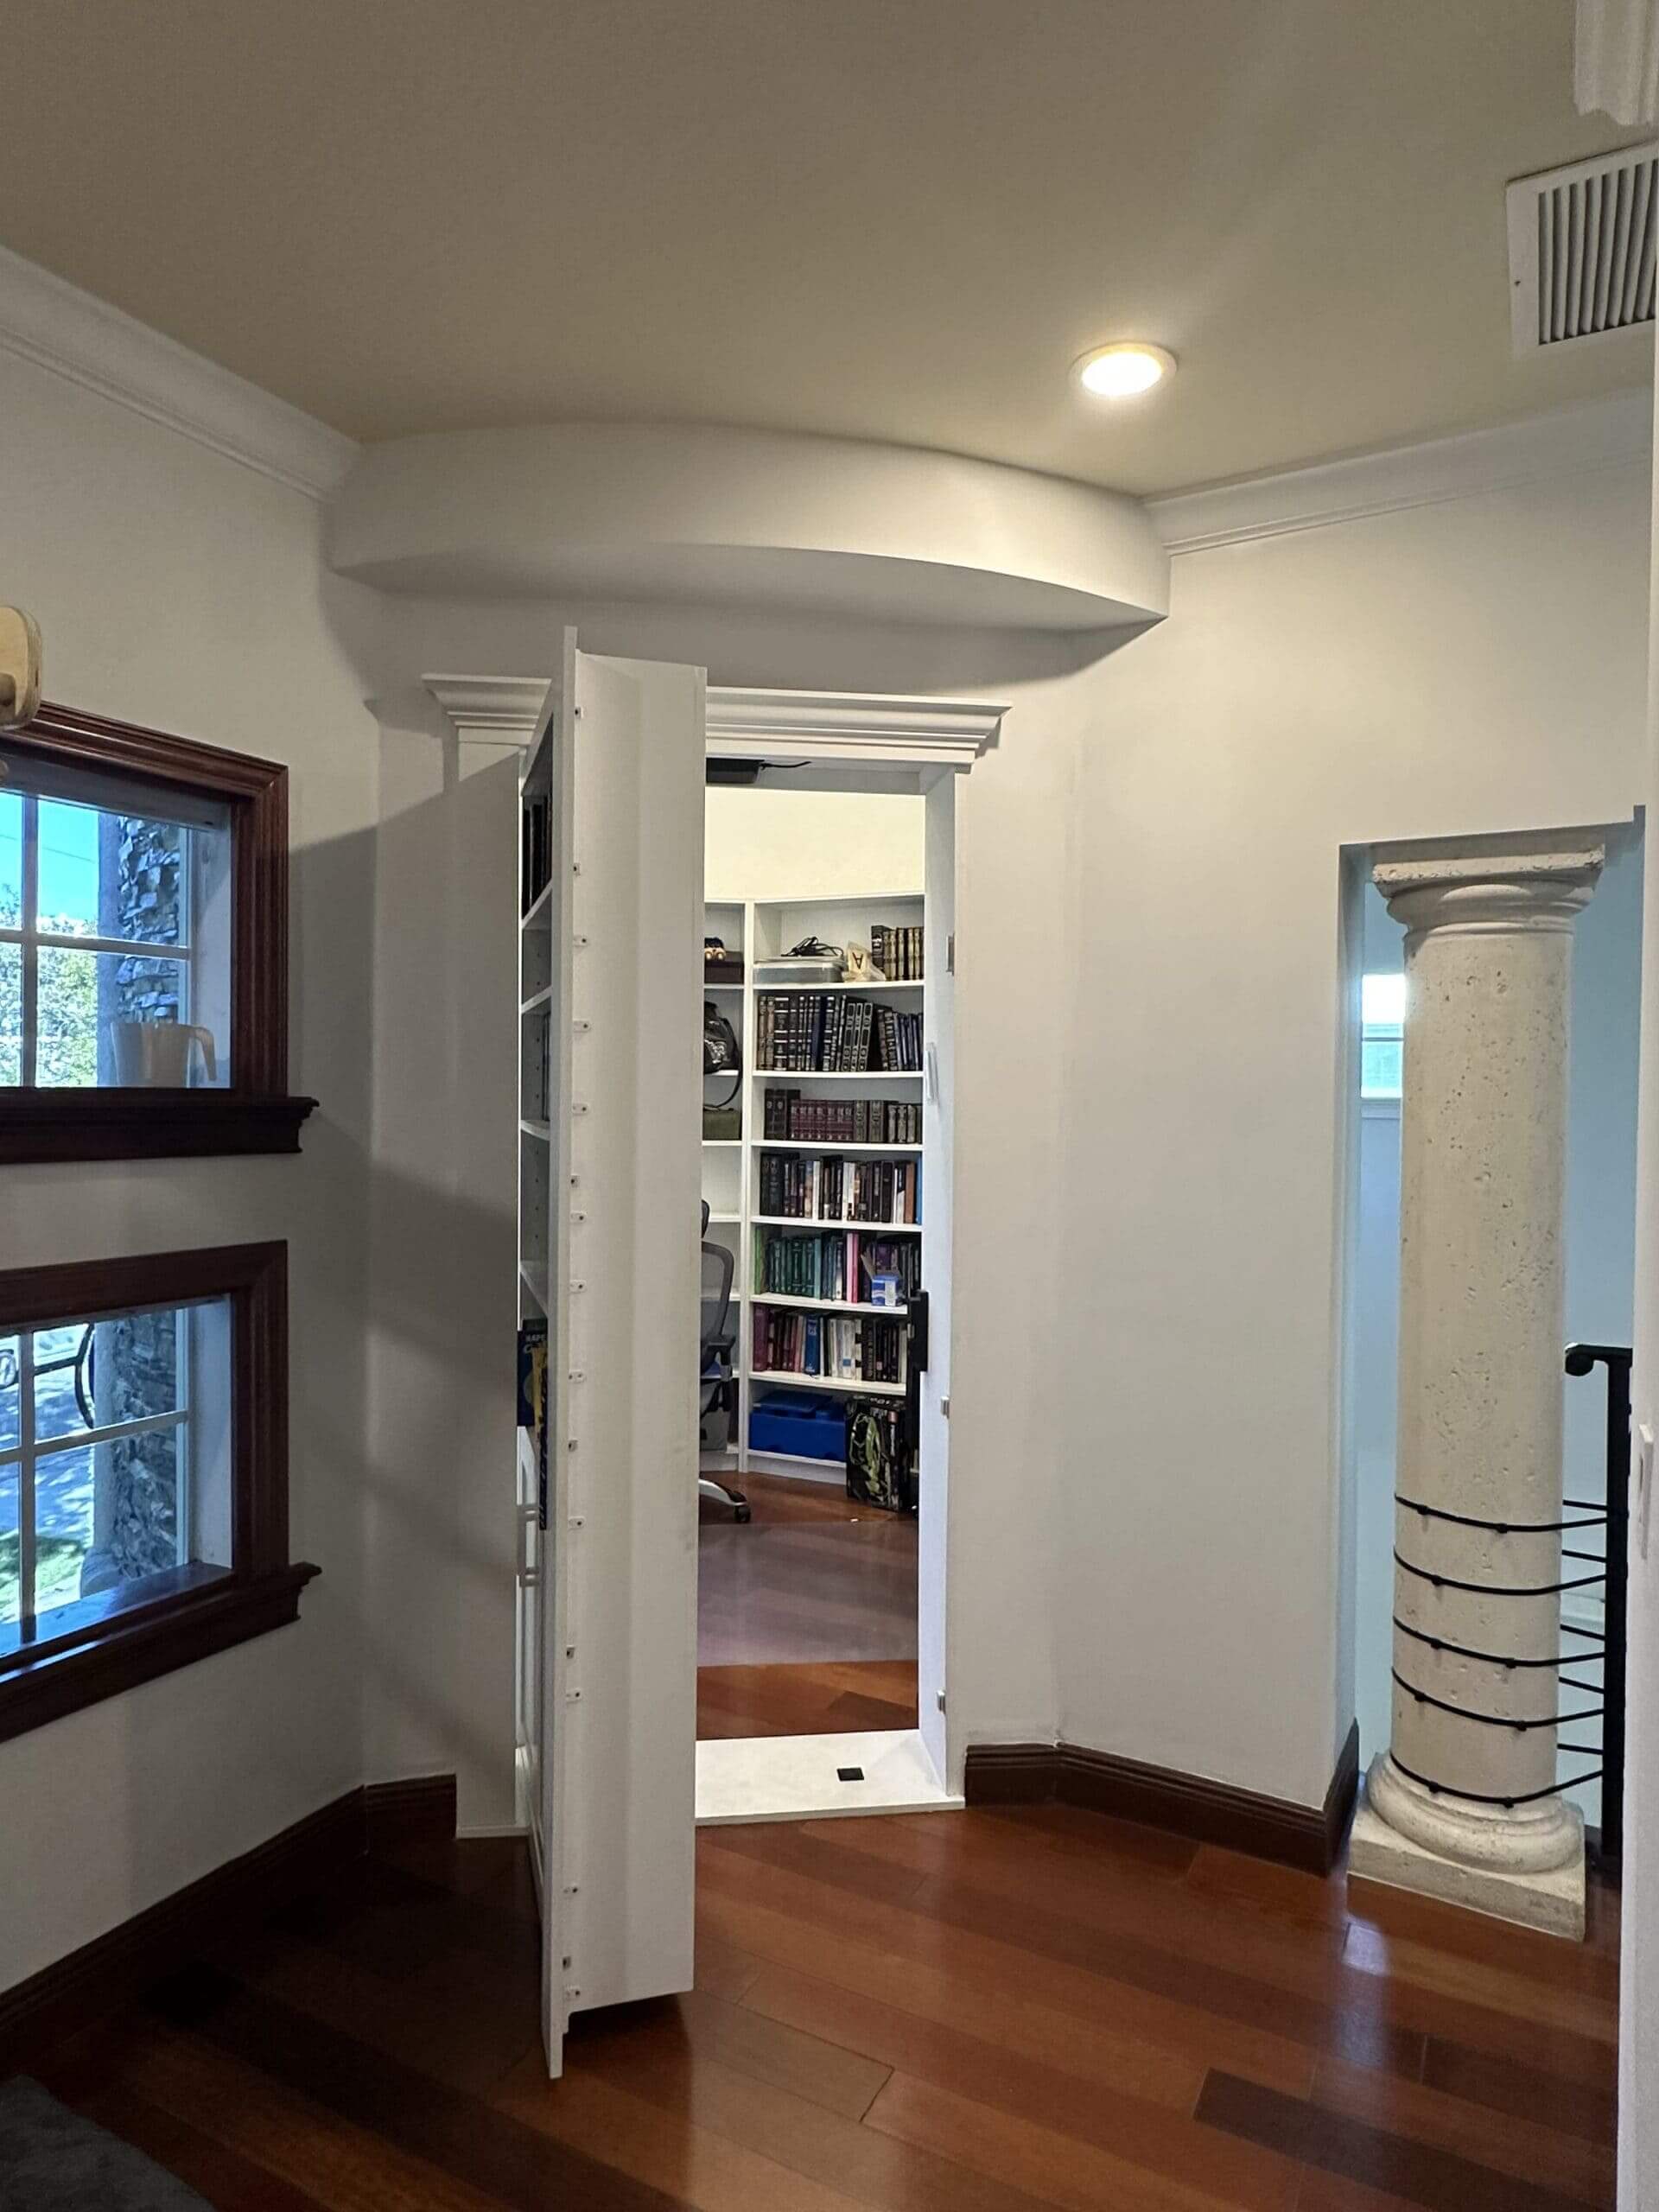
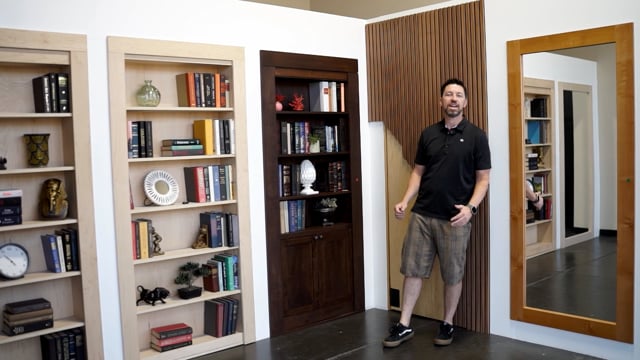
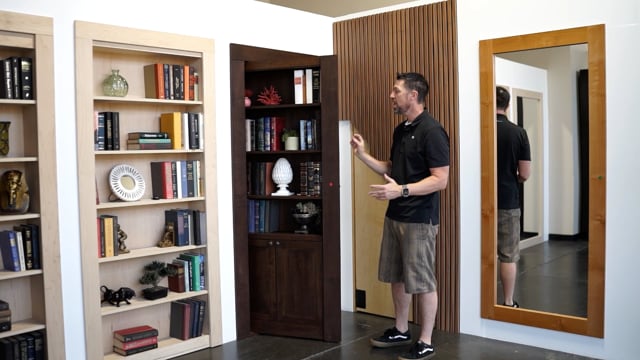
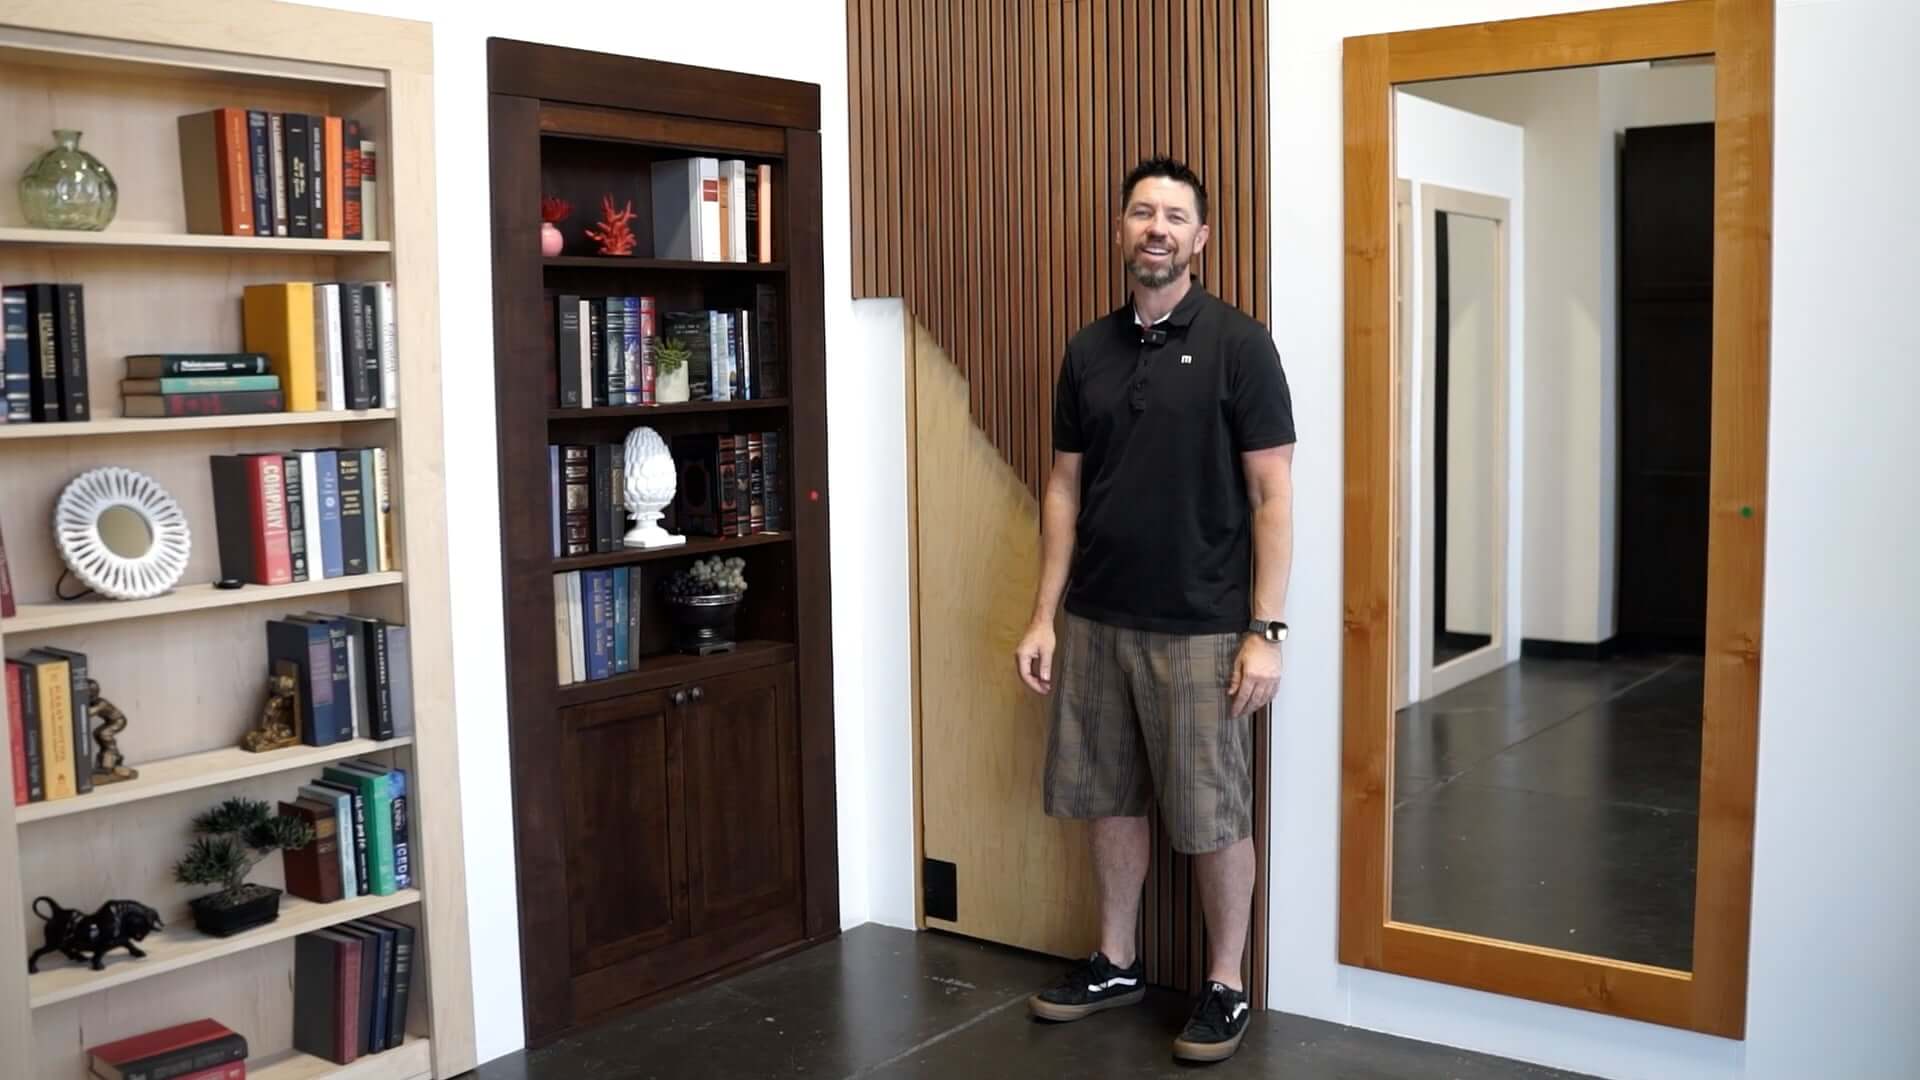
Bookcase secret doors are the perfect addition to any home.
- Click to view complete sizing and product information.
- Industry leading warranty and support.
- Superior concealment, materials, and mechanical design. Learn more.
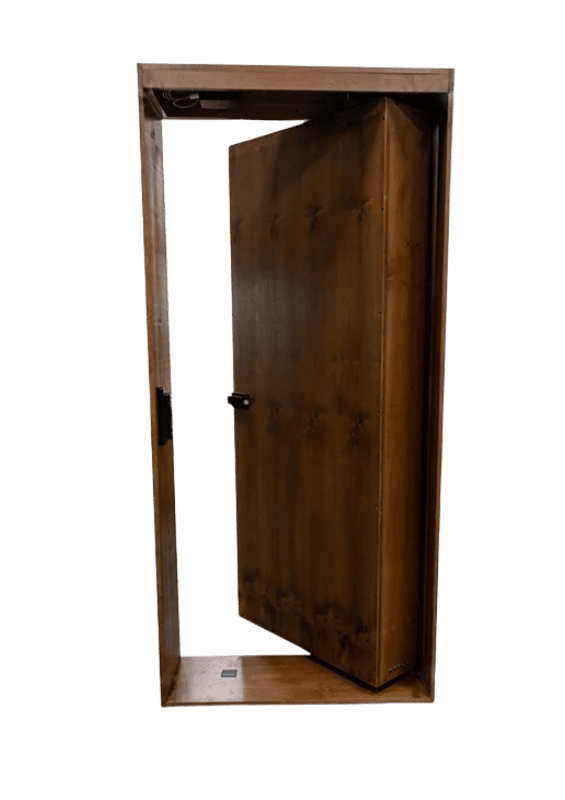
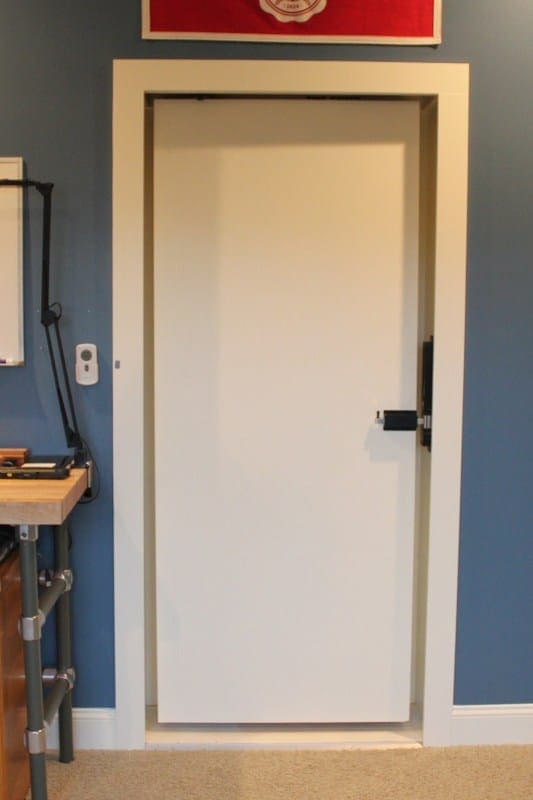
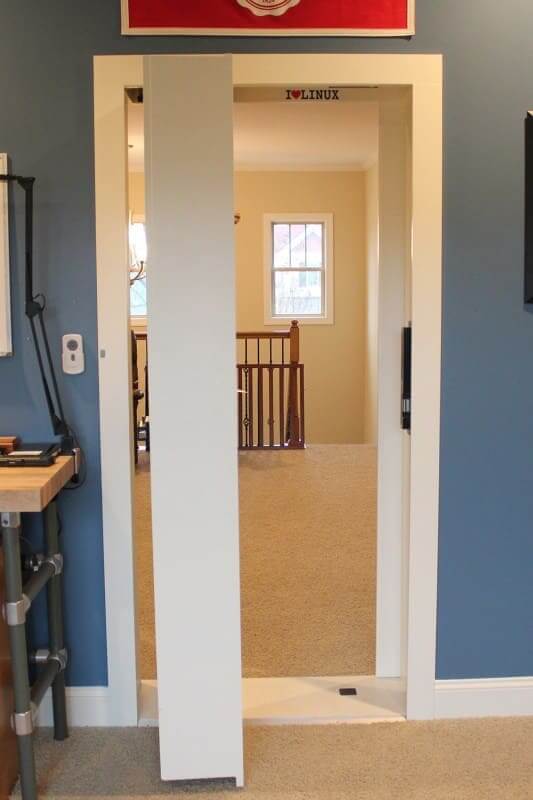
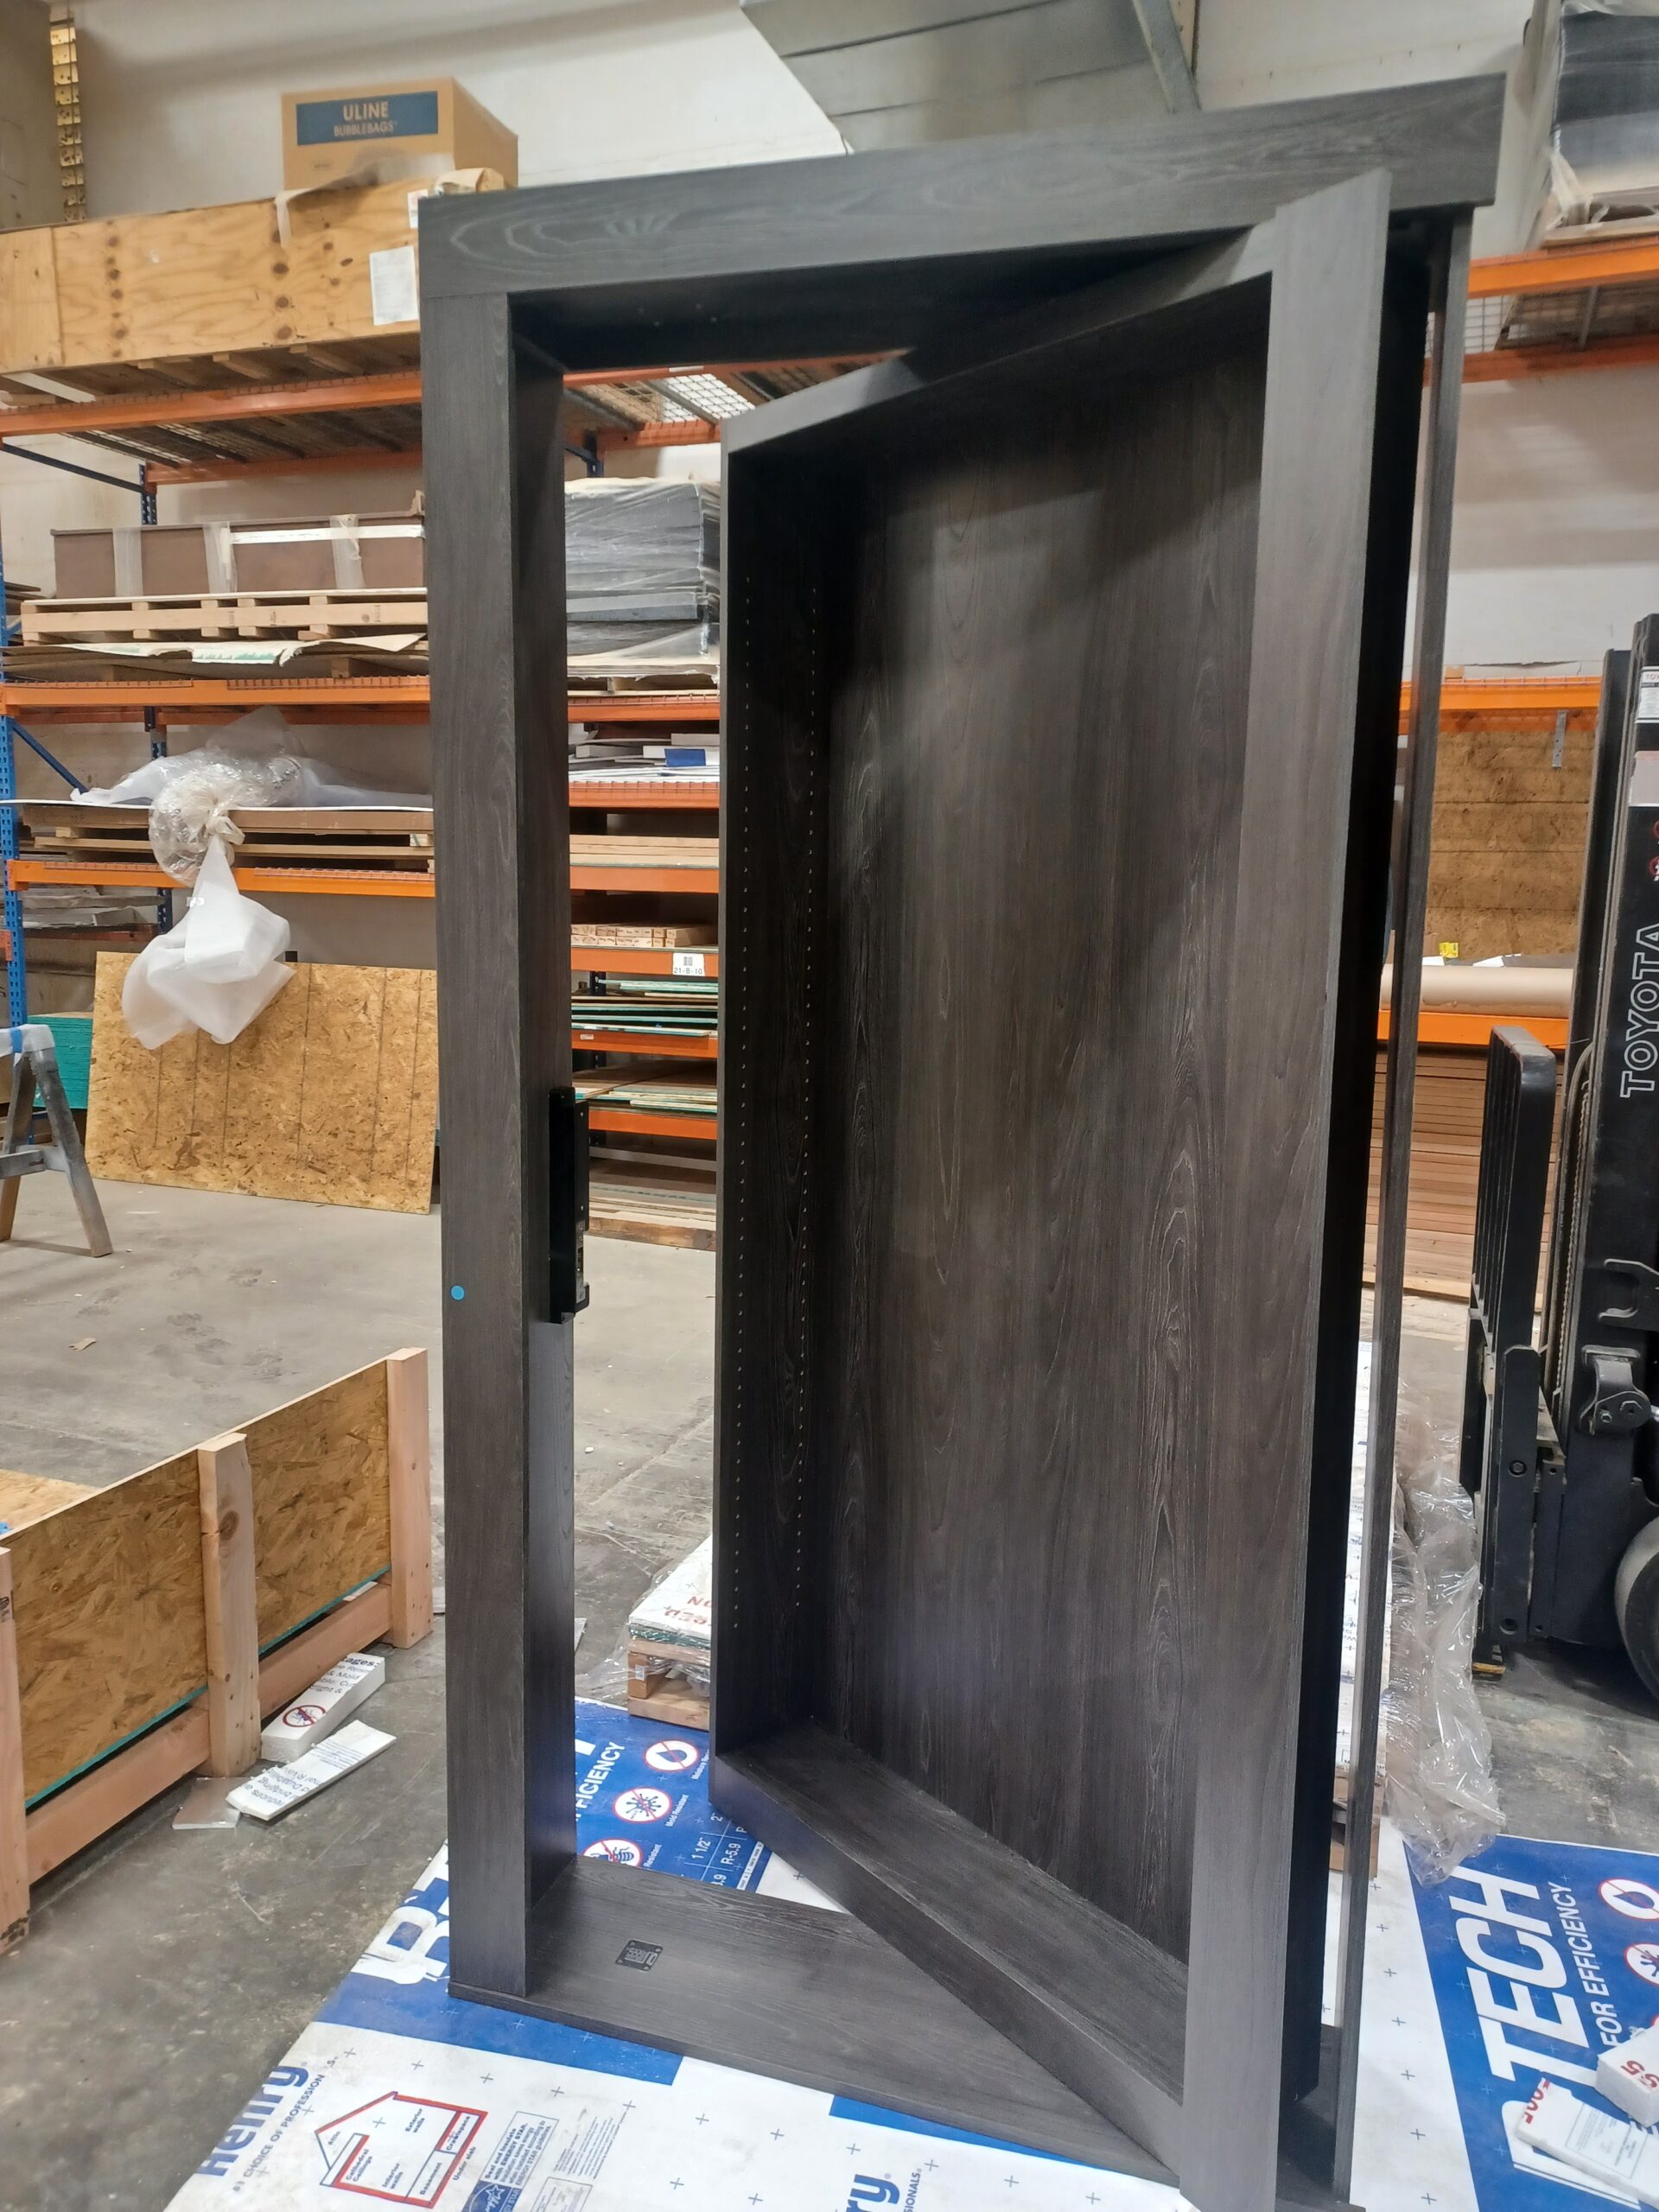
- Standard size replaces common 3’0″x 6’8″ interior doors. Custom sizing is also available.
- Pre-hung and ready to install. No wiring or assembly required.
- Available in multiple finishes, wood choices, and swing options.
Customize your bookshelf secret door exactly to your liking. Discover what sets us apart and why we’re the best fit for your needs.
Bookcase Secret Door
We offer our products in Maple and Alder hardwood veneer over a stable, engineered wood substrate. This results in premium appearance, easy repair, and the ability to accept a wide variety of stains and paints.
Stain options
- Light
- Medium
- Dark
- Unfinished: Apply your own finish. Door is sanded and ready.
Bookcase Secret Door
Download Spec Sheet
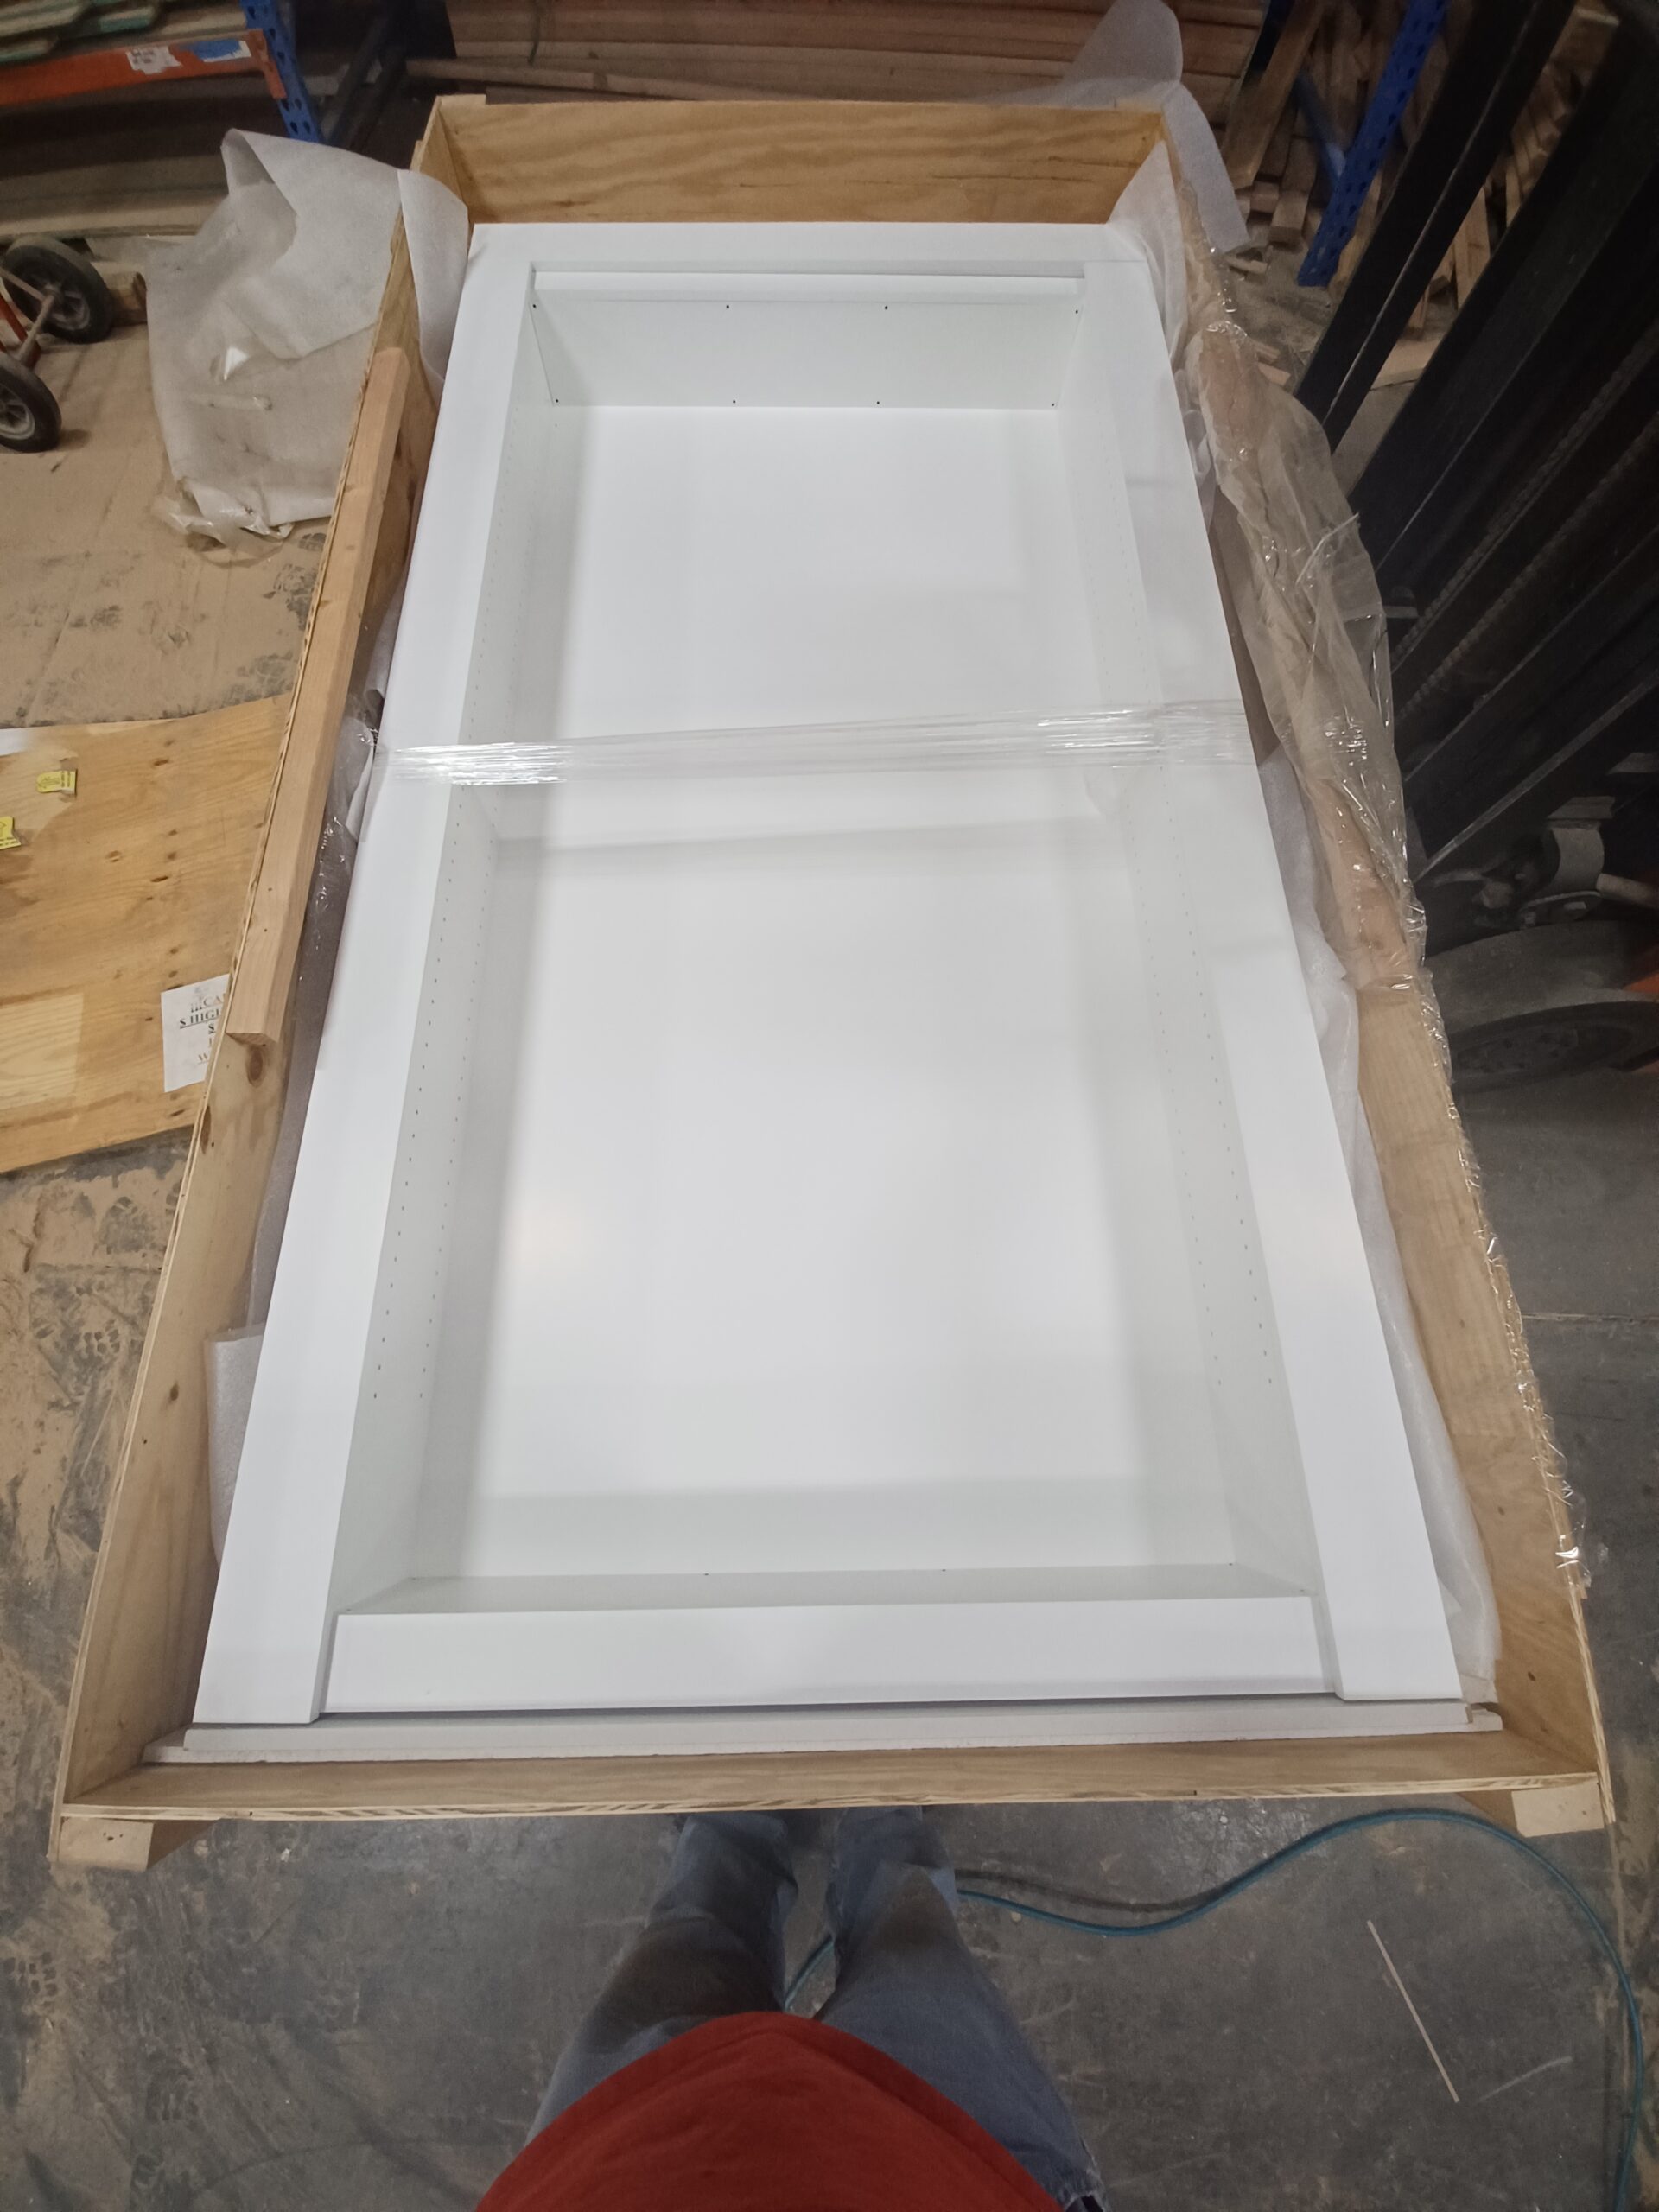
The Hidden Door Store team fully assembles and tests each door before shipment.
This includes installing the door in our testing jig that simulates the required wall conditions. The door is crated and shipped pre-hung so installation is fast and easy for a handy homeowner or contractor.
The door can fit in any wall opening up to 48″ in width and 94″ in height.
Unlimited phone support – though rarely needed – is both available and free.
How to Install a Bookcase Hidden Door
Step 1: Find your Tools
• Laser level
• Drill
• Impact Driver
• Right-angle drill attachment or right-angle drill/driver
• #2 Phillips Bit
• T25 Torx Bit
• ½” wrench or crescent wrench
• Wood or composite shims
Step 2: Inspect Your Hidden Door
Before moving the door:
- Remove the shipping crate carefully.
- Inspect the hidden bookcase for shipping damage.
- Leave the protective shrink wrap on until installation.
- Keep all packaging until installation is complete.
If you notice damage, stop installation and contact support before proceeding.
Step 3: Measure the Rough Opening
A hidden door requires much tighter tolerances than a traditional interior door.
Verify:
- Opening width matches your order.
- Opening height matches your order.
- Measurements vary no more than ¼ inch.
- Flooring beneath the door is solid (wood, tile, or concrete).
Carpet should be removed beneath the pivot hinge area before installation.
Step 4: Make Sure the Wall Is Level and Plumb
Use a laser level to check:
- Floor is level
- Both sides of the opening are plumb
- Corners are square
- Wall surface is flat
Even small framing issues can create visible gaps that reduce the hidden appearance.
Step 5: Verify Power (If Applicable)
If your hidden door includes:
- Electronic lock
- Wireless switches
- Battery backup
- AC power option
Install a standard 110V outlet inside the hidden room within approximately 2 feet of the top center of the doorway.
Step 6: Move the Door Into Position
Because Hidden Door Store bookcase doors are pre-hung:
- Plan your moving route first.
- Use four people for heavier models.
- Keep the door wrapped until it reaches the opening.
- Stand the unit upright before removing the protective wrap.
Step 7: Install the Door Frame
Carefully slide the frame into the rough opening.
Then:
- Open the door carefully.
- Support the door with shims.
- Position the hinge side first.
- Shim until perfectly plumb.
- Secure with the supplied screws.
- Repeat on the latch side.
- Tighten all fasteners after the frame is square.
Proper shimming is critical for smooth operation and hidden alignment.
Step 8: Connect Power (If Equipped)
If your door includes powered features:
- Mount the control box.
- Route the supplied control cable.
- Plug the AC adapter into the nearby outlet.
- Verify the power indicator is illuminated.
Doors without powered accessories can skip this step.
Step 9: Test Door Operation
Before adding books or décor:
- Open and close the door several times.
- Check for rubbing or sticking.
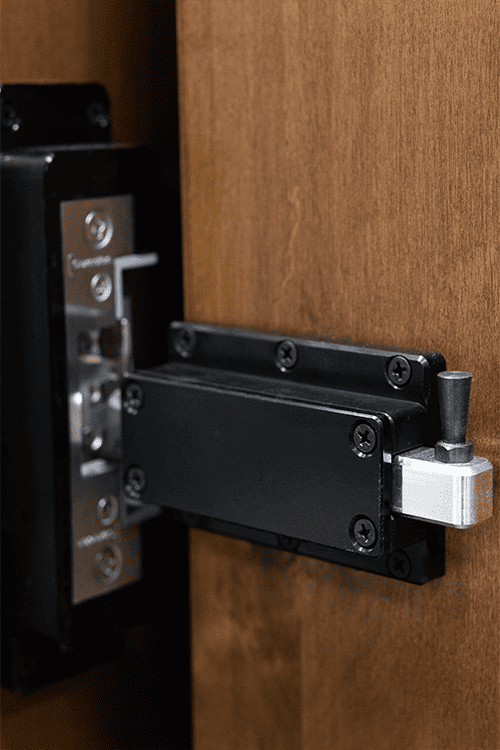
- Test the magnetic lock.
- Test wireless remotes, keypads, or hidden switches if installed.
The door should move smoothly without binding.
Step 10: Load the Bookcase
Install shelves and decorative items.
Once fully loaded:
- Close the door.
- Check the reveal around the frame.
- Make small tension adjustments if necessary until the gaps are even.
This final tuning ensures the hidden door remains properly aligned under its normal weight.
Step 11: Install Concealment Trim
To complete the hidden appearance:
- Install the concealment trim strip.
- Position it before removing the adhesive backing.
- Press firmly once alignment is perfect.
Freestanding models also receive a light-blocking trim across the top.
Step 12: Perform Final Maintenance Checks
Before calling the installation complete:
- Confirm the door opens smoothly.
- Verify all locks work correctly.
- Lubricate moving latch components if needed.
- Keep the emergency lockout tool outside the hidden room.














2 reviews for Bookcase Secret Door