
Article Summary
- Selecting non-repeating panel patterns reduces the visibility of seams and shadow lines.
- Flawless execution requires advanced spatial planning, precise substrate preparation and mathematically consistent panel alignment.
- Pre-hung systems from the Hidden Door Store eliminate the complex engineering challenges of custom threshold-less designs.
Mastering how to create a hidden door with wood paneling is an engineering challenge. Some homeowners often overthink matching detailed raised panels perfectly to existing walls. Ironically, forcing a complex wainscot pattern to align across a door gap can highlight the exact outline they want to conceal. Knowing how to hide a door with paneling means maximizing predictable, repeating material patterns rather than fighting rigid architectural constraints.
1. Choose the Right Wood Paneling
Even robust hinge systems experience accelerated wear if the door slab becomes heavily top-weighted or unbalanced. Adding a heavy secret door wood panel can throw off the mechanism’s center of gravity if it’s not properly accounted for. Calculating the combined weight of the core door slab, the adhesive and the paneling material prevents this problem.
Pattern selection dictates concealment success. Consider how vertically oriented shiplap or acoustic slat walls are great for hiding doors. Their vertical lines repeat every few inches, which makes it easy to bury the entrance’s seams within the wood’s shadow lines.
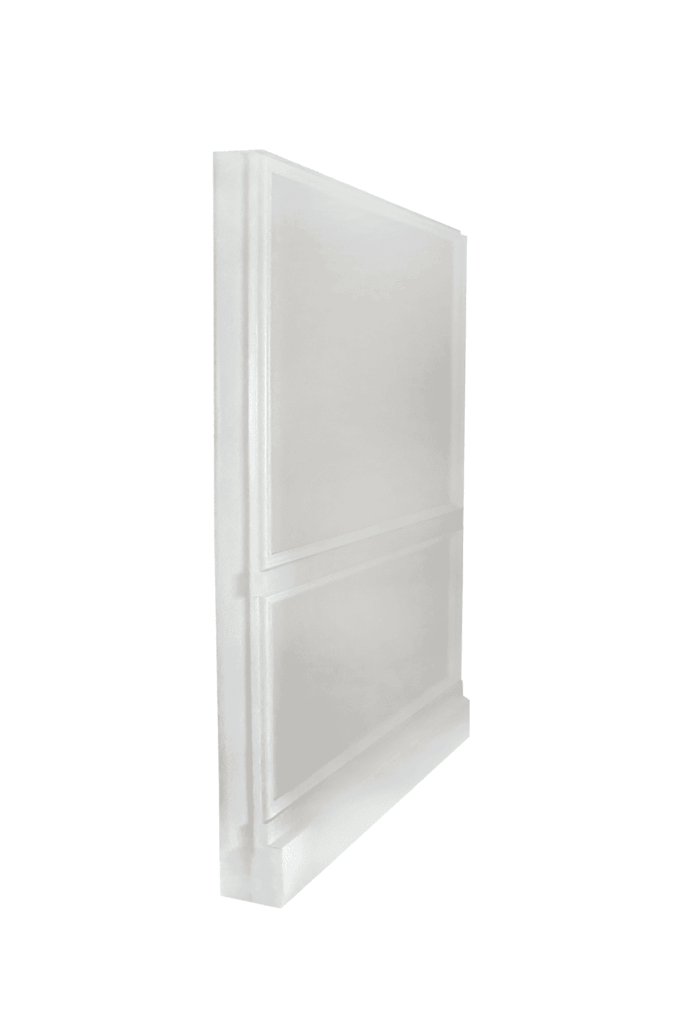
In contrast, a large, square raised-panel wainscoting requires mathematical perfection across the entire wall width. It can force the door opening into a highly restricted location to maintain visual symmetry. A continuous vertical slat removes this burden.
Mix textures strategically. While using a uniform material across a single wall is mandatory for the illusion, expanding the design perspective to the rest of the house offers flexibility. For example, a well-executed board and batten paneling design works well with other panel types, complementing adjacent spaces without breaking the disguise.
2. Make Sure the Doorway Is Suitable for the DIY Panel Kit
A secret door requires plumb walls, level flooring and adequate swing clearance to prevent floor scraping or hinge binding. When using a DIY panel secret door kit, the surrounding framing must be structurally sound enough to bear the heavy load. Installing a concealed entrance is not like hanging a standard door. There’s no margin for error.
Off-the-shelf systems place the layout burden on the installer. The existing rough opening must perfectly match the kit’s strict dimensions, unlike custom doors, which are CAD-designed to meet a specific wall’s millimeter constraints.
Before purchasing a panel secret door kit, you must account for the reduction in functional entryway width. A standard door sits inside a thin frame. However, a secret door comes with a heavy-duty mechanism that relies on thick pivot points, which take up horizontal space when opened.
To avoid building a doorway that’s too narrow to pass furniture through, calculate the door’s cleared width before finalizing a purchase. Clear width accounts for the true rough opening, specifically the raw stud-to-stud hole without trim, to determine exactly how much space the final open mechanism will leave for daily use.
3. Remove the Architrave and Door Trim
Any visible trim or casing can ruin the illusion of a continuous wall. Standard trim is almost exclusively held in place using brad nails. You can use a pry bar to pop the casing off, exposing the true rough opening and allowing for accurate stud-to-stud measurements.
Pulling the trim can damage the underlying drywall paper and leave raised nail holes. If you install flush paneling over a thin drywall ridge left by old caulk or pulled paper, it can telegraph through the wood. The hidden door would then sit slightly proud of the adjacent wall. Repair nail holes, sand uneven surfaces and patch perimeter scars to prevent flaws later on.
4. Plan the Panel Layout
Don’t apply a single drop of adhesive or make any permanent cuts until you’ve mapped out the entire wall’s layout with dry-erase markers, laser levels or painter’s tape. The size, shape and frequency of the wood panels dictate exactly where the door’s opening can exist. You can’t cut an opening wherever you please. The seam must fall exactly on a natural panel joint.
Understanding how to make a hidden door invisible comes down to meticulous seam placement. For example, if you’re using 4-inch vertical slats, the layout must be centered so that the left and right edges of the secret door end exactly at the edge of a slat. It shouldn’t slice awkwardly through the middle of the board. Map out pivot points to ensure overlapping panel edges don’t bind when the door swings.
5. Prepare the Wall and Door
High-strength adhesive will fail if applied to contaminated surfaces, so strip the wall and door of grease, lingering construction dust and loose paint before installation.
Remove any existing hardware, like door knobs, latches and strike plates. Fill their remaining cavities with wood filler or auto body filler to create a rock-solid substrate, then sand out any imperfections. Ensure painted or patched surfaces are dry before applying any adhesive.
A truly concealed entrance typically relies on push-to-open mechanics. If you apply a thin veneer of wood panel directly over a poorly sanded drywall patch, any ridge can press outward. The slight curve will betray the wall’s flat plane, highlighting exactly where the door is hidden.
6. Fit and Align the Wall Panels
To pull off a flush-panel secret door DIY project, you must disregard the room’s existing visual cues. Never trust the floor or ceiling to be perfectly level. Establish an independent, perfectly level datum line across the entire wall using a precision spirit level or laser level.
Dry-fit each section. Every panel must be cut, placed against the wall and verified for plumb before applying adhesive. Follow the kit’s instructions for fitting each part. Check the slat spacing after each panel placement.
If the first panel is installed just one degree off plumb, that error would compound with each subsequent board. By the time the installation reaches the door opening, the panel will likely be noticeably crooked. The wall’s vertical lines might also clash heavily with the vertical plunge of the door seam.
7. Cut Panels Around the Frame and Hinges
Measure the hinge positions and transfer the measurements to the panel. Cut notches or small openings to ensure smooth hinge movement. Test each panel cut before securing it. Use the saw, blade or cutting tool the kit recommends for consistent cuts.
Accuracy is crucial. The panels must be notched flawlessly so that they sit tightly against the hardware without scraping against the pivot points during the swing radius. Undercutting leaves a visible gap, while overcutting causes binding.
Precise clearance is essential because the secret door mechanism rides on a set of precision ball bearings. These high-end engineering features allow users to push a heavy, full-paneled door open with just their pinky finger. A poorly cut wood panel can create friction against the hinge and ruin this effortless operation.
Precision cuts also protect the longevity of the secret door hinges during operation. Maintaining the smooth mechanics comes down to the hardware’s weight capacity. For example, thick wood materials can quickly increase the dynamic load on the pivot system.
Fortunately, using a high-quality system eliminates weight-sag anxieties. A panel secret door kit has a 75-pound load capacity and a threshold-less design, so you can install most architectural panels without risking failure or floor damage.
8. Attach the Panels With Adhesive
Use an adhesive that’s compatible with both the wall surface and the panels. Follow the manufacturer’s instructions when you apply it to prevent surface damage and shifting. Press each panel firmly, check its alignment and remove excess adhesive before it cures. You can use tape, bracing or temporary supports to secure the setup until the adhesive sets.
Be careful to avoid adhesive squeeze-out near the doorway. If it’s applied too close to the door slab’s edge, the pressure of pressing the panel flat may force the glue out into the gap between the door and frame. Once it cures, it can act like a rigid wedge, permanently blocking the door from closing flush.
9. Install Panels Directly on the Door
Constructing a seamless panel hidden door requires marrying the stationary woodwork with the moving architecture. Measure and cut separate panel sections for the door, then align them precisely with those already integrated into the wall. Ensure the panels don’t go beyond the door’s edges. They also shouldn’t rub against the frame.
Ensure the new materials are balanced across the door to reduce strain on the hinges. Test the swing path throughout the process. Open and close the door after every panel attachment to catch friction points early. Spotting them after the adhesive dries can mean having to tear down the project.
10. Maintain Consistent Slat Spacing
Relying on a tape measure to check the gaps between vertical wood slats leaves too much room for human error. Use spacers, like metal shims, or a template to maintain even gaps throughout the installation.
Ensure the horizontal and vertical lines continue across the door without any visible irregularities. Assess the top, bottom and latch side of the door for any alignment inconsistencies. Any flaw can become noticeable once the entire wall is finished.
Disguise the actual functional gap required for the door to open and close like one of the decorative gaps between the wood slats. The gaps’ sizes must be identical to render the opening invisible.
11. Add Magnetic Push-to-Open Hardware
Push-to-open mechanics remove the need for visible handles, preserving the wood paneling’s uninterrupted look. You can enter the secret room using a handheld magnet, which lifts the surface enough to pull the door open.
When deciding on the placement, position the magnetic catch so that it can release the door without disrupting the panel design. Test the mechanism multiple times before completing the final panels.
The right hardware depends on the door’s size, weight and swing direction. Heavier architectural panels typically require high-tensile magnetic catches or multiple latches positioned strategically to keep the door from ghosting open.
Electronic sensor options embedded entirely within the woodwork run on standard AA batteries that can last years. The interior also features a fail-safe manual mechanical latch to prevent users from getting trapped inside during a power outage.
12. Test the Door and Make Adjustments
Cycle the door through its full swing path multiple times. Inspect the wall from various angles and lighting conditions to identify visible gaps and irregular shadows. Ensure the magnet mechanism releases reliably and adjust the hinges, latch or panels if necessary. While using a high-quality pre-hung secret door kit minimizes these adjustments, never skip the final clearance check.
Top-tier systems from the Hidden Door Store arrive pre-hung and rigorously tested to eliminate the rubbing, sticking and sagging that affects low-quality alternatives. Consider light leakage. When a heavily illuminated secret room sits behind a dimly lit hallway, light photons bounce aggressively through the tightest spaces. This can highlight the secret door’s outline.
You can mitigate light leakage by installing mechanical drop seals that plunge into the floor upon closing. Hanging heavy blackout curtains also helps.
13. Finish the Project
Apply specialized edge trim or finishing strips to cap any exposed wood grain or rough panel edges that might draw unwanted attention. Remove any uncured adhesive squeeze-out. Don’t forget to purge the tracks or hinges of any lingering construction dust.
Ensure the entire structural envelope is fully cured and secured before transitioning the door into active, daily use.

Common Mistakes to Avoid
Disguising a door with wall panels successfully requires avoiding critical lapses:
- Overloading the slab with panels exceeding its thickness and weight limits
- Failing to verify swing clearance before installation
- Doing permanent cuts without a comprehensive dry-fit layout
- Aligning panel seams directly over the rough opening outline
- Using incompatible adhesives
- Neglecting spacers, which leads to erratic, visually obvious slat gaps
- Improperly notching panels, which bind and grind against the hinges
- Installing underpowered push latches that fail to release a heavy door
The Security Reality of Concealment
Learning how to build a hidden door in a wall provides an extra layer of residential protection. Standard locking mechanisms offer limited resistance against determined intruders, but relying on concealment removes the target from the equation.
The additional security measure is essential given modern threat landscapes. Reports show that 52% of burglaries in 2024 involved residential properties. Daytime incidents outnumbered nighttime invasions.
Post-incident recovery statistics are poor, with only 13% of burglaries being cleared by law enforcement in 2022. This means property crimes rarely end in an arrest or recovery, leaving victims without closure or suspects. Keeping your valuables out of sight behind a secret door is an excellent defense.
Secure Your Space With a Hidden Door
Installing a hidden door with wood paneling can upgrade your home’s aesthetic value and defensive capabilities. Prioritize engineered mechanisms and strategic concealment to make any space disappear into the surrounding architecture. Visit the Hidden Door Store and explore different secret door designs to find the best kit for your home.